Background
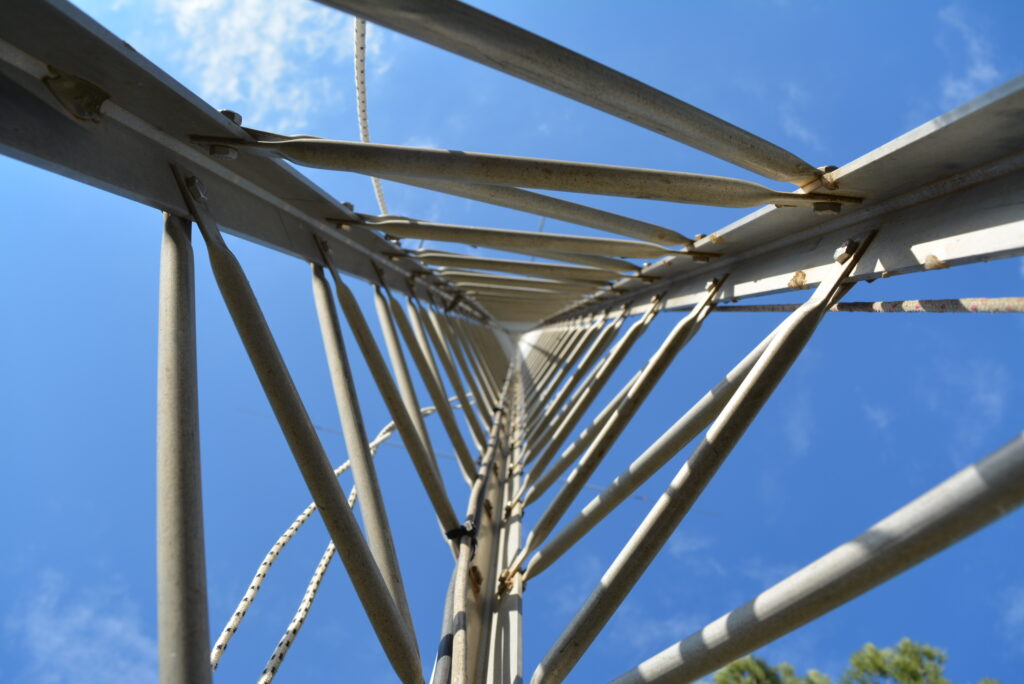
The 1st tower that we installed at SZ1A was donated to us by the Municipality of Agrinio many years ago. The tower was used for a radio station of the Municipality. In the meantime, it was abandoned and some “clever people” cut the guy wires so that it would eventually fall and they could “take” it. We found out about this, so we asked for it from the Municipality and it was given to us. However, since its abandonment and the cutting of its guy wires, a part of it had been distorted. When we tried to install it in the present position, by mistake of the crane operator and due to distortion, the tower broke. Then we believed that the dream was over, but it was not so. We repaired the tower somewhat tentatively, ordered spare parts for the antenna and a year later, in October 2010, the tower took the form it had until the end of January 2022.
At first, we installed the Cushcraft X7 there and after that a 4 element monoband yagi for 20m. At some point, in January 2020, two years ago, with the storm Hepheastion, the 3rd tower that hosted the 40m beam was damaged. The damage there was repaired later in July 2020. However, we had decided, among other things, to swap the antennas and put the 20m beam on tower 3 and the 40m beam on the aluminium tower. This is because we thought that Tower 3 had a better opening towards America and Europe, which was more necessary for the 20m band.
At the same time, John – SV1GE had given us a new tower section, 6m long, compatible with the one we had and we wanted to finally add it so that we could significantly increase the overall height of the tower.
This job was delayed. Doing the work with a crane required a lot of money that we just did not have but, most importantly, it was difficult, if not impossible, for a large crane to reach the station site, since the access road, close to the station, is narrow and with horseshoe turns, which would make it difficult for a 25m crane to reach.
The Plan
The only solution was to do it by hand but that required specialization, which we did not have. Specialization on the one hand in terms of safety but also in terms of knowledge regarding tower rigging, etc.
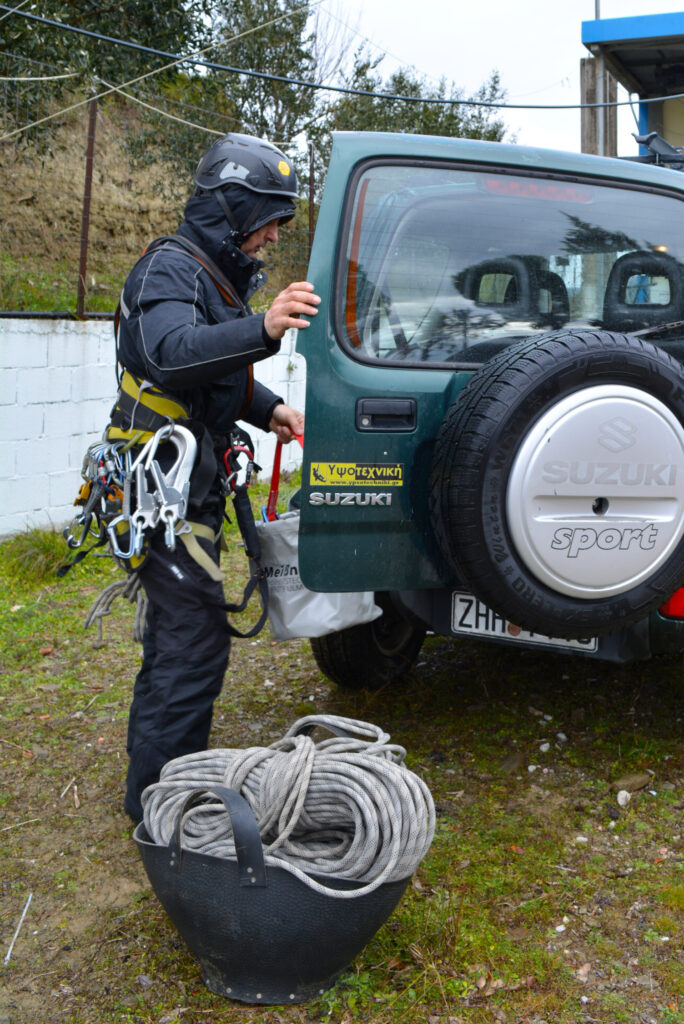
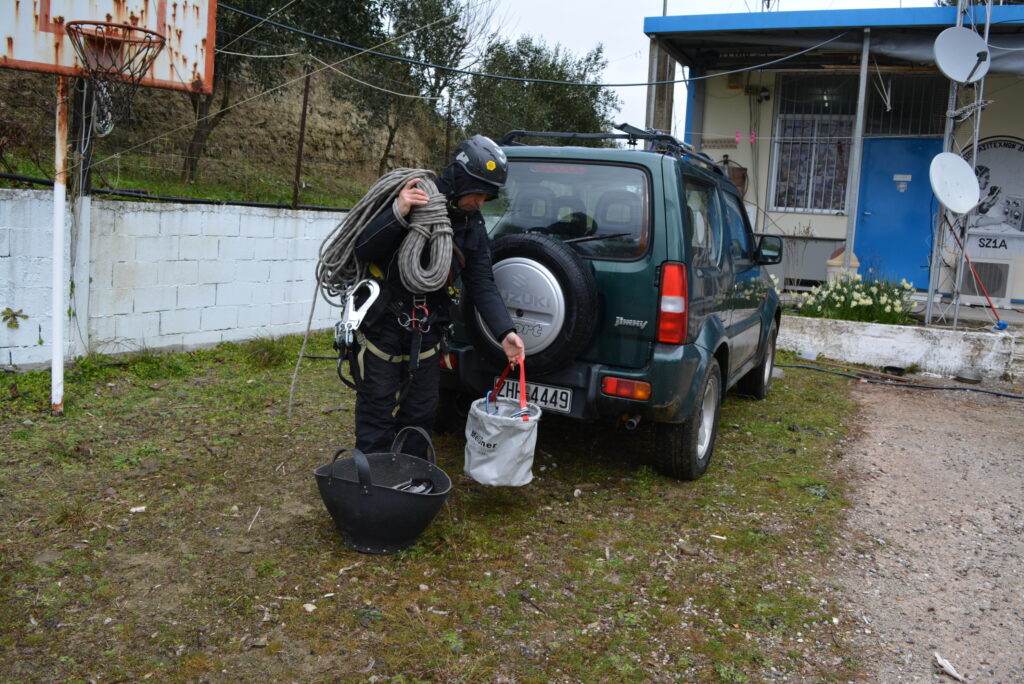
So we decided to get in touch with Giannis – SV3CYM. Giannis does this job professionally and is a technical climber & tower rigging specialist, owning the company “Ypsotechniki“: Work at height, Tower & Aerial Services. Working on towers like ours is a piece of cake for him since he has climbed and worked on towers on mountain tops, in Greece and abroad, for more than twenty years, some of which are 200 and 300 meters tall! At the same time, he does other related work of course: cutting trees, work on skylights, on blind sides of buildings, etc. See more on their company’s website. And of course, they undertake work on amateur radio towers all over the world and not only in Greece!
However, at the time Giannis was working in Germany and Austria and in combination with the pandemic, we went a little further back behind schedule than what we wanted. However, it’s better late than never and as promised, on the weekend of January 29-30, 2022, work would begin. Our tower consisted, after the repairs of 4 tower sections: 6m, 2m, 3m and 5m.
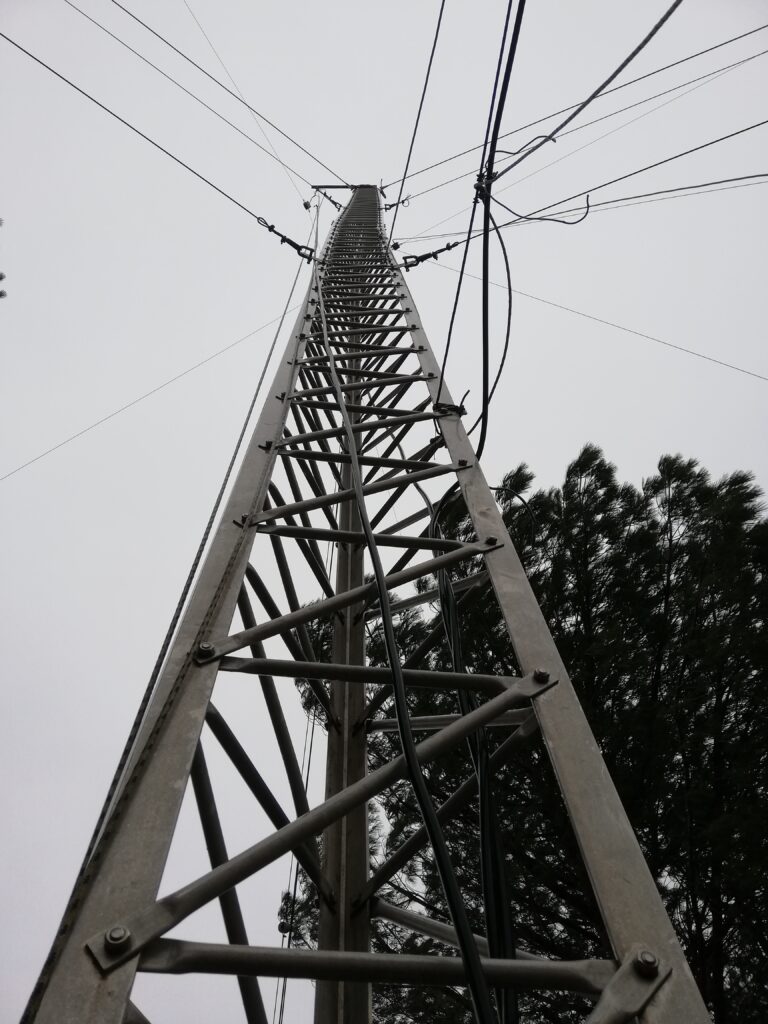
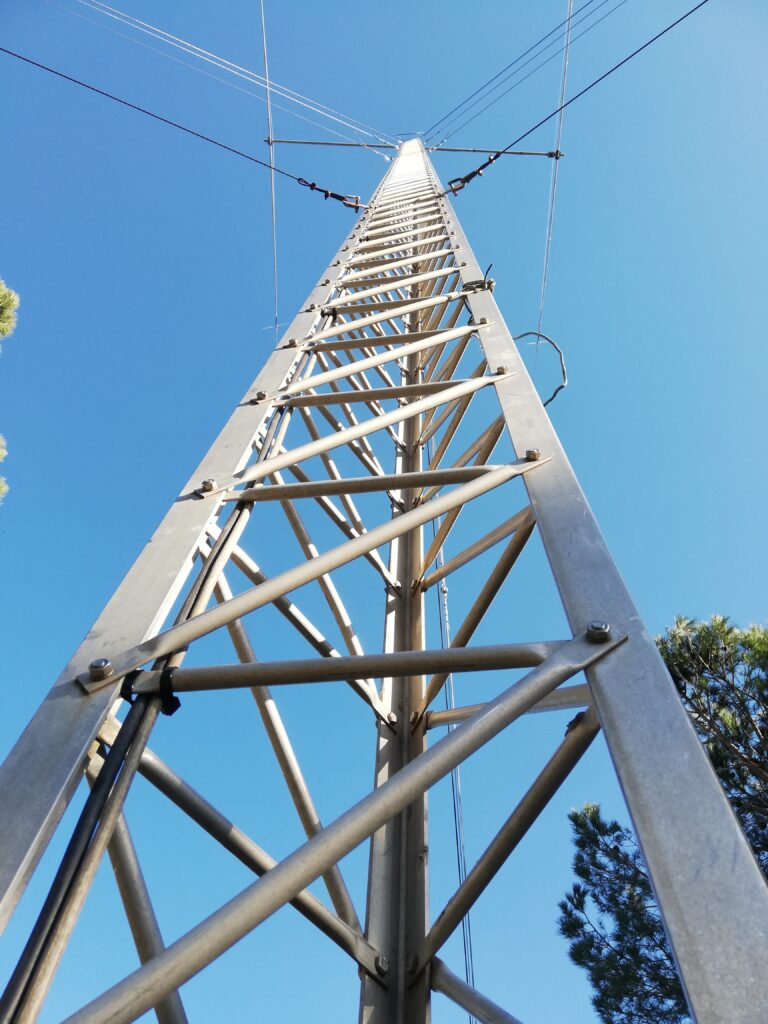
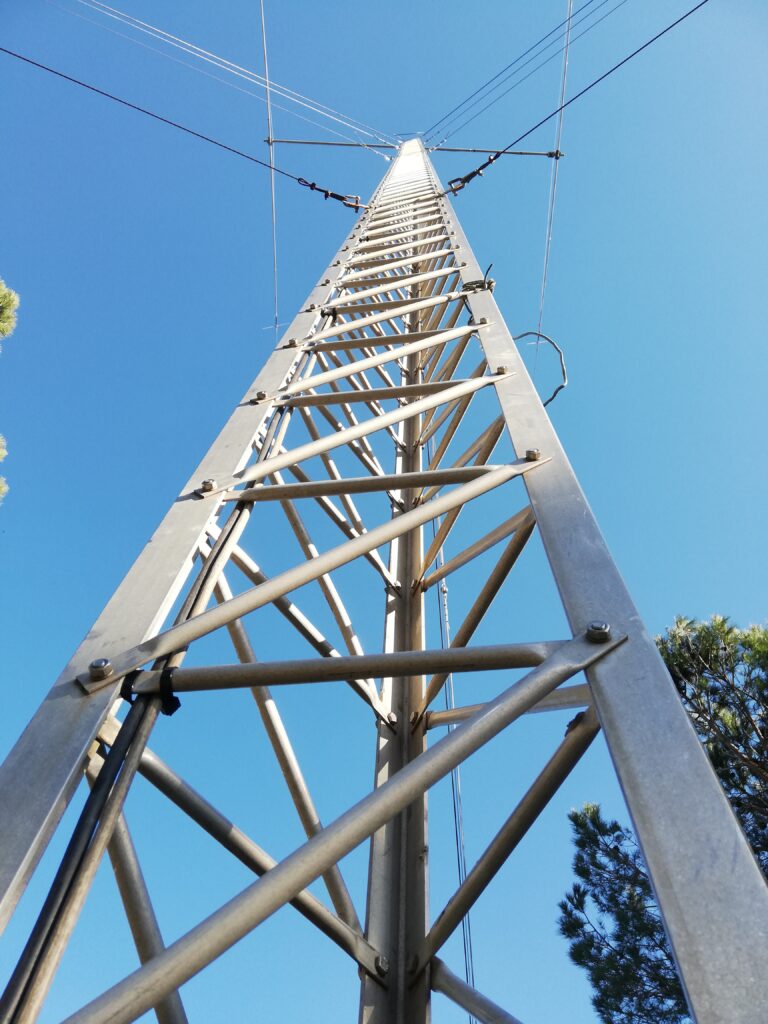
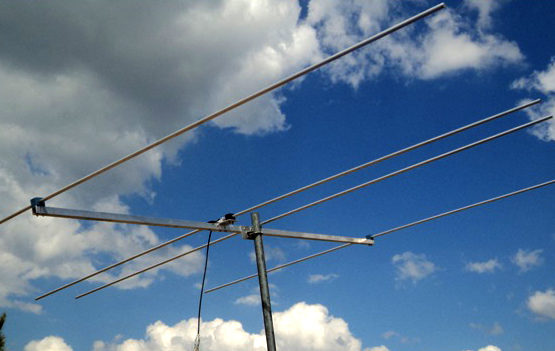
The 2m section was a bit crooked and warped. It would be daring to place another 6meter section at the top, having the crooked and possibly fragile section underneath. We first had to lower all of the sections, repair them, if we could, and then place the 2m section on the top. So after the first 6meter section, we would place the second new 6meter section, then the 5meter one, then the 3meter section and finally the 2m section. Then we would replace the guy wires with new ones, since the old ones were rusty, replacing them with new 8mm wire cables at three levels and at the very top level (4th level) we’d use synthetic composite (non-metallic) guy wires, in order to minimize the impact on the radiation pattern of the antenna. Additionally, for added isolation, the metallic guy wires would have insulators installed so that there would be no lengths greater than 9m thus making them non-resonant on the bands we use. Finally, on the top of the tower, we would install a two-element monoband yagi antenna for 40 meters, which was the same model as the one we previously had (destroyed by the previous tower failure), a Cushcraft 40-2CD, given to us by Thanasis – SV1RLC. The antenna had already been assembled, it had been waiting on the ground for a long time, and in addition, instead of the air choke proposed by the manufacturer, George – SV1ELF had built a Balun, which had also been installed. Finally, we would also install our dipole for 80m at a higher height.

First things first: taking the tower down
The weather forecast for the weekend at the end of January was good, especially after noon on Saturday as it would rain in the morning. Giannis had told us that a little rain did not bother him, since the way he works and with the precautions he takes he would be safe. Early Saturday morning on the 30th of January, SV1CIB, SV1DPI and SV3CYM were there. Unfortunately, after the rain, a strong 5-6 Beaufort wind started, against the forecasts. We were afraid that there was nothing we could do. Giannis reassured us and was absolutely confident about what he was doing.
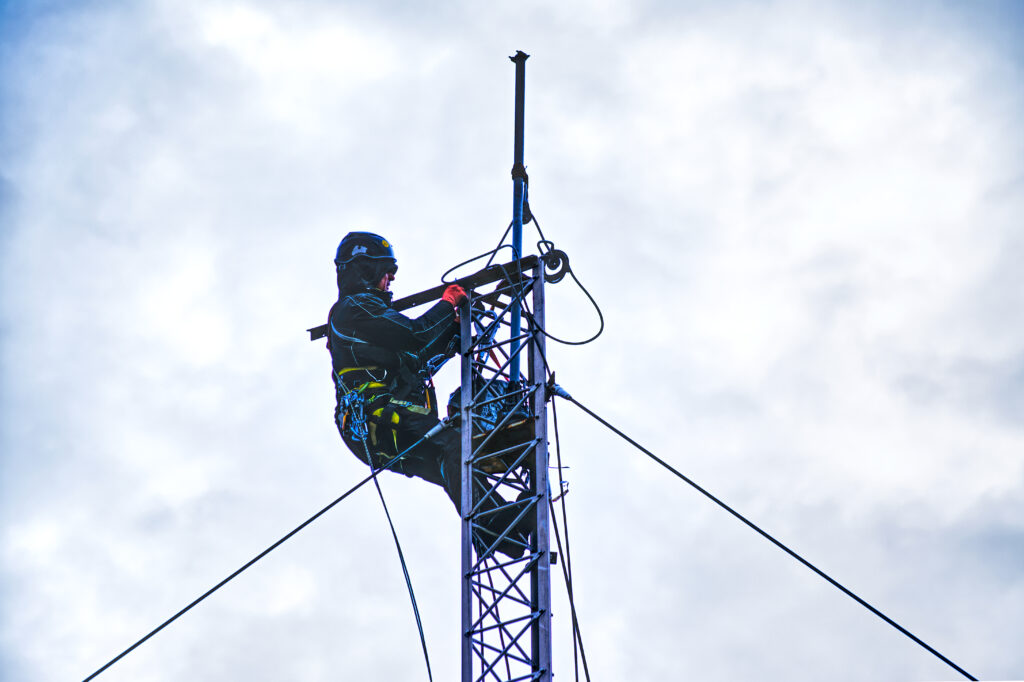
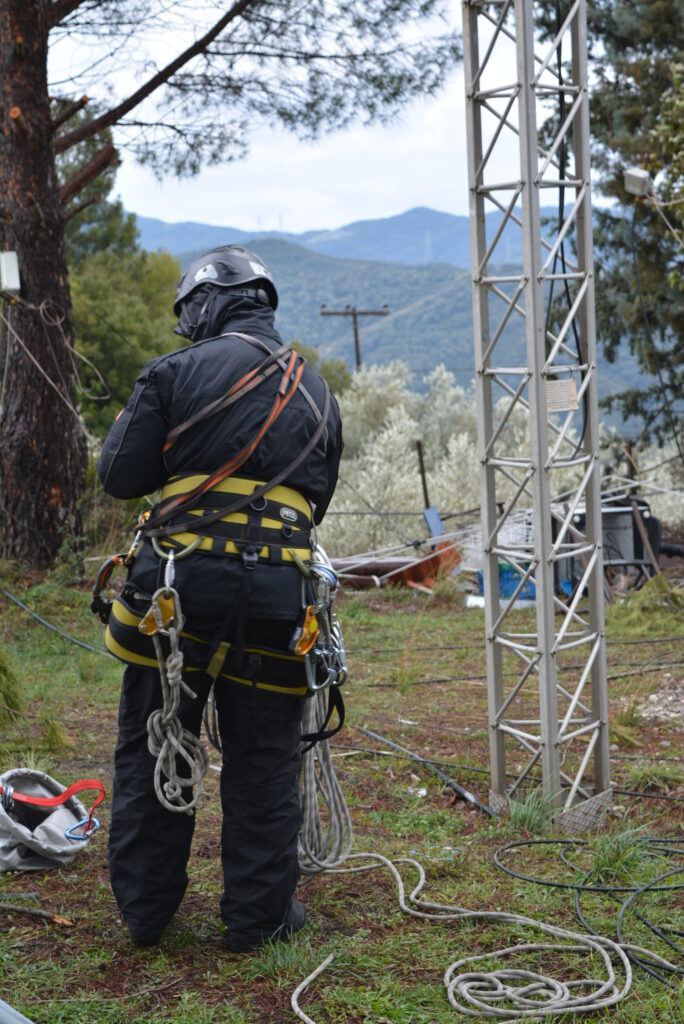
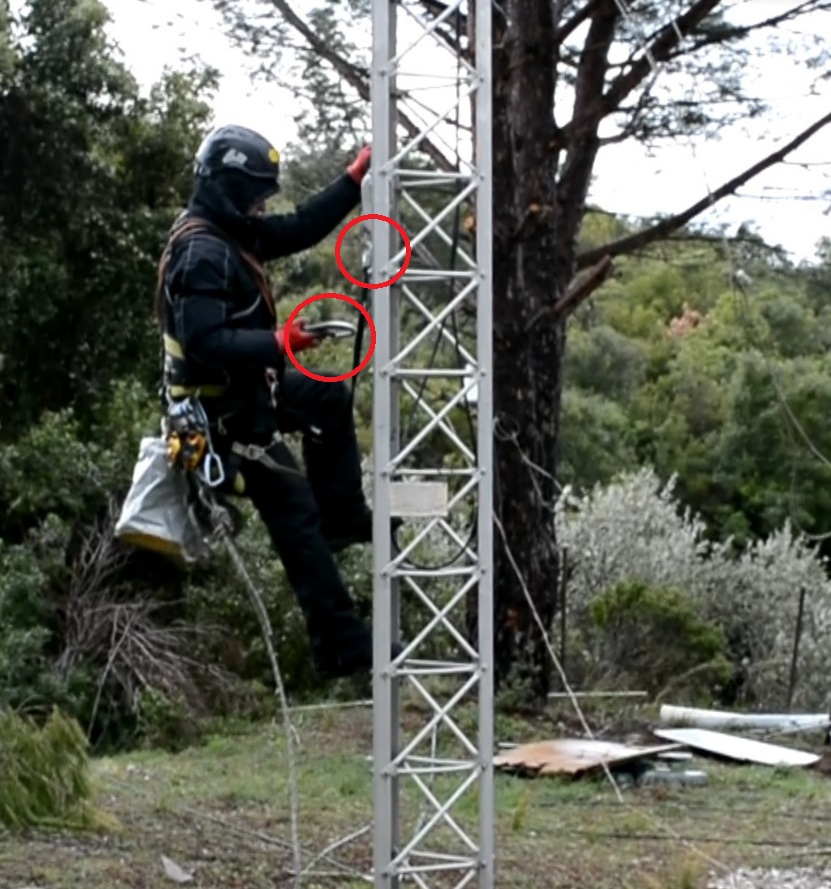
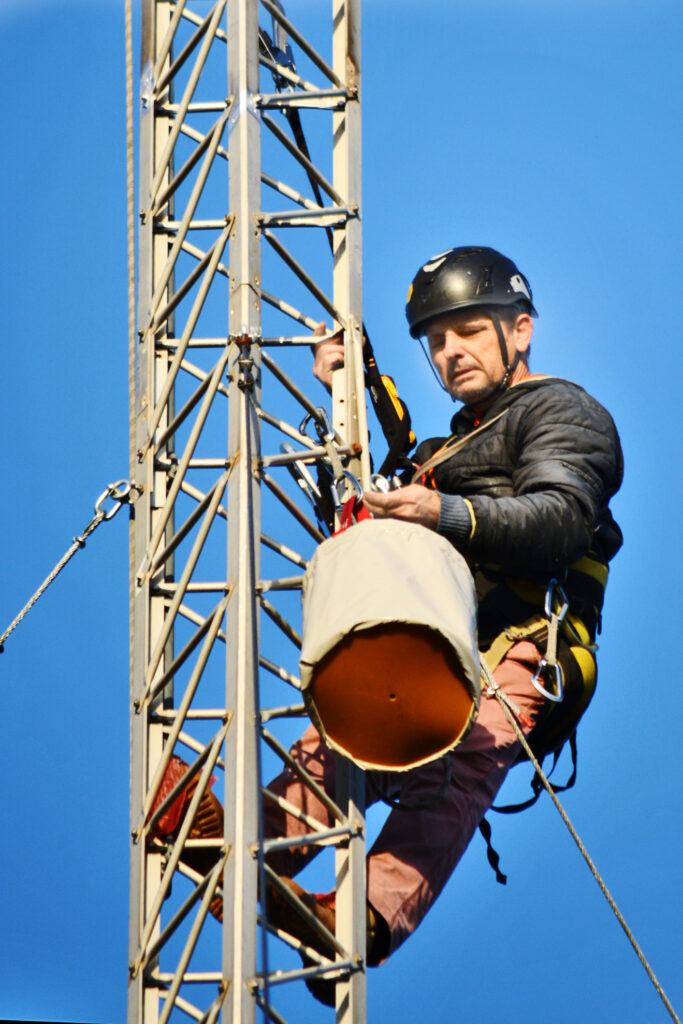
Seeing him go up and especially seeing with our own eyes the safety measures and the high level of technique he demonstrated, we were convinced. He was tied at each step, using a double tie, never unhooked from the tower, while at the point of work he was tied in at 3 points!
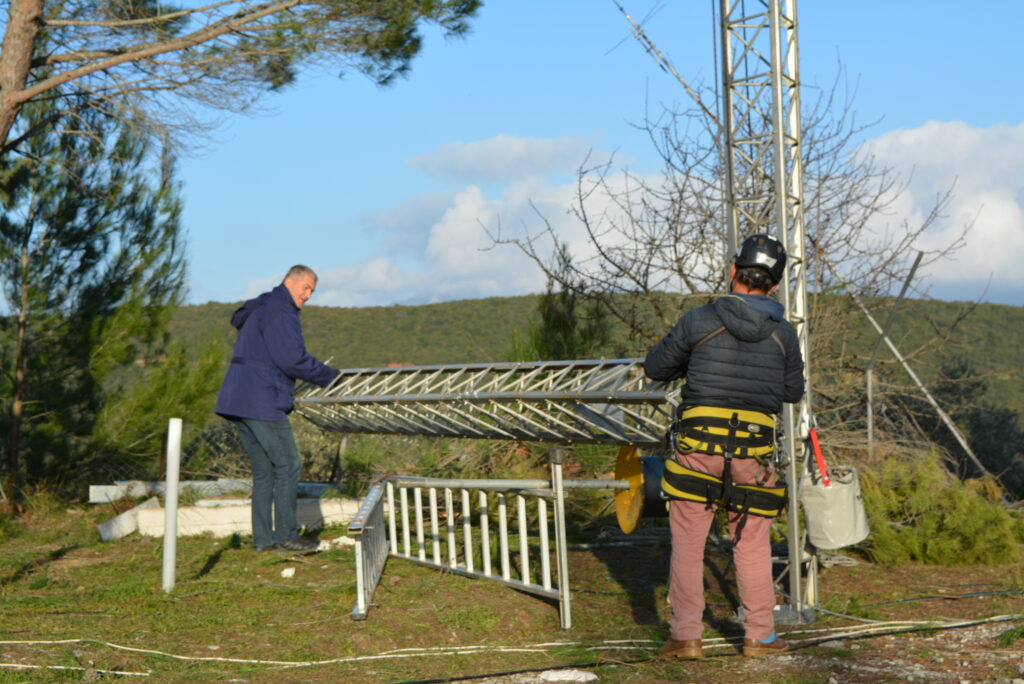
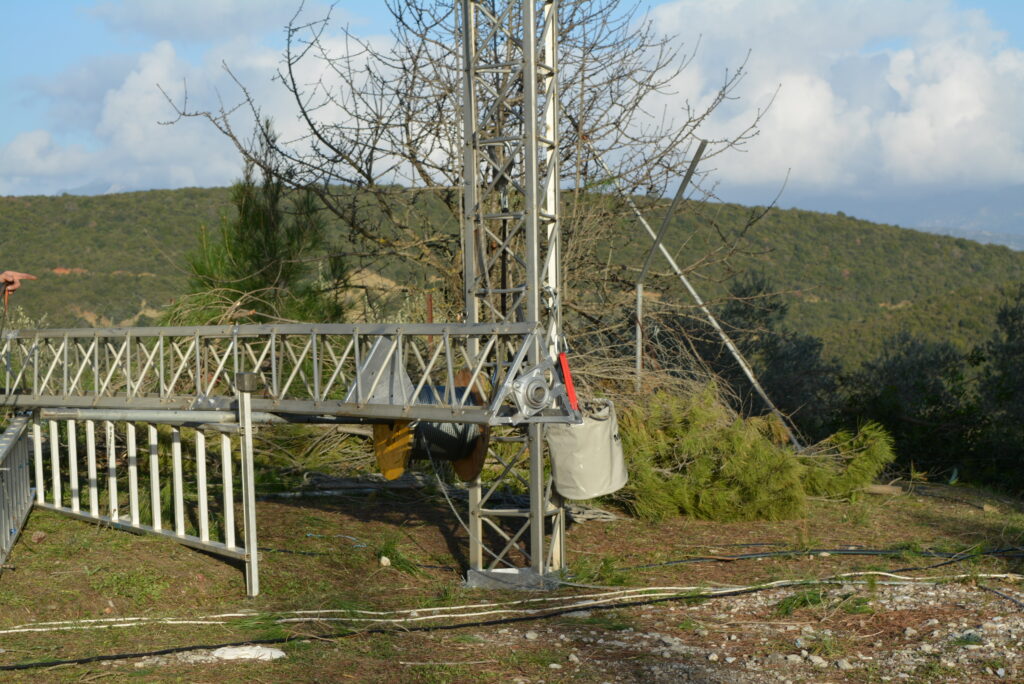
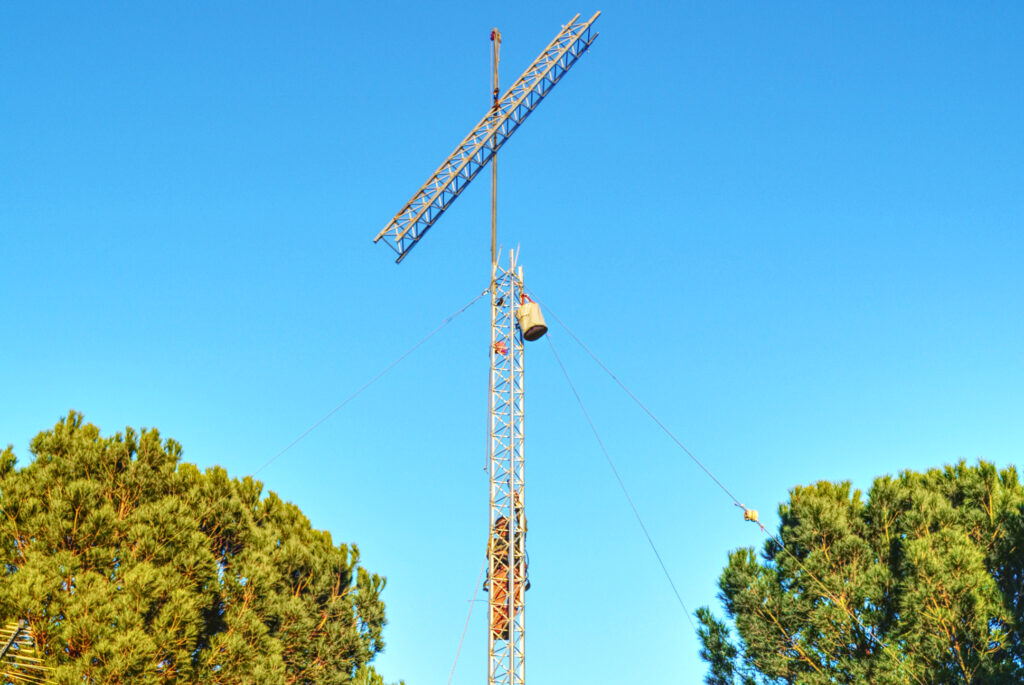
So in less than two hours, the tower sections were down. How did he do that? He used a 5m long pole (called a Gin pole) that was attached to the side of the tower and protruded from the top of the tower. He passed his ropes through it, having a kind of pulley at the top and tied each section, just above the middle, detached it from the tower, then lowered it with slow movements. What was even more impressive was that with an accessory that he used, there was no risk of the section leaving and falling, it was being lowered in a completely controlled and secured way, inch by inch.
Re-assembly on the ground.
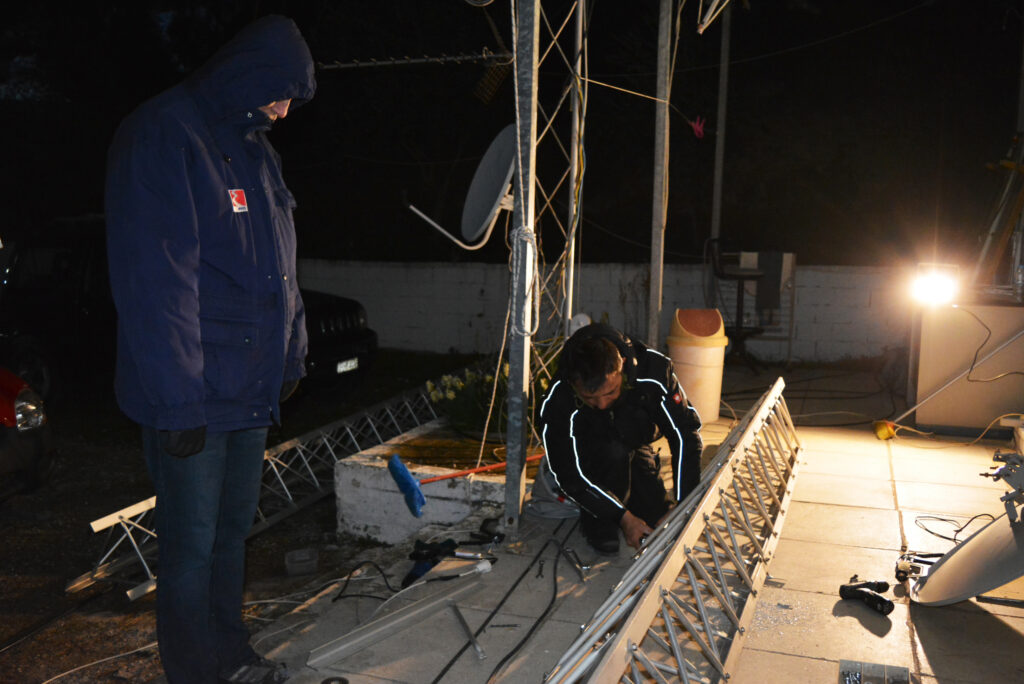
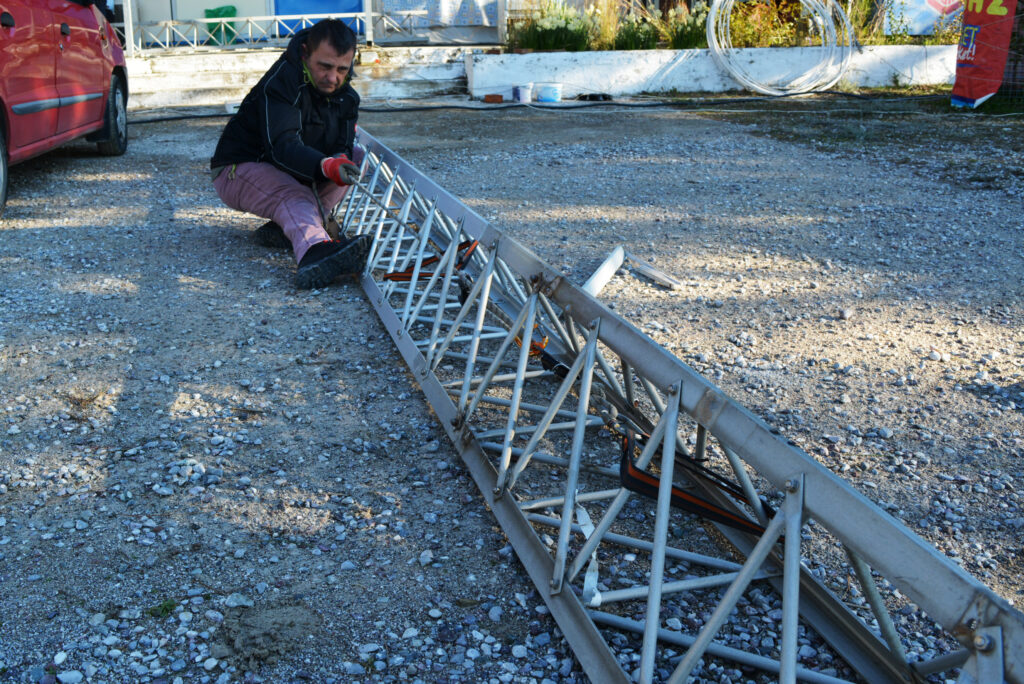
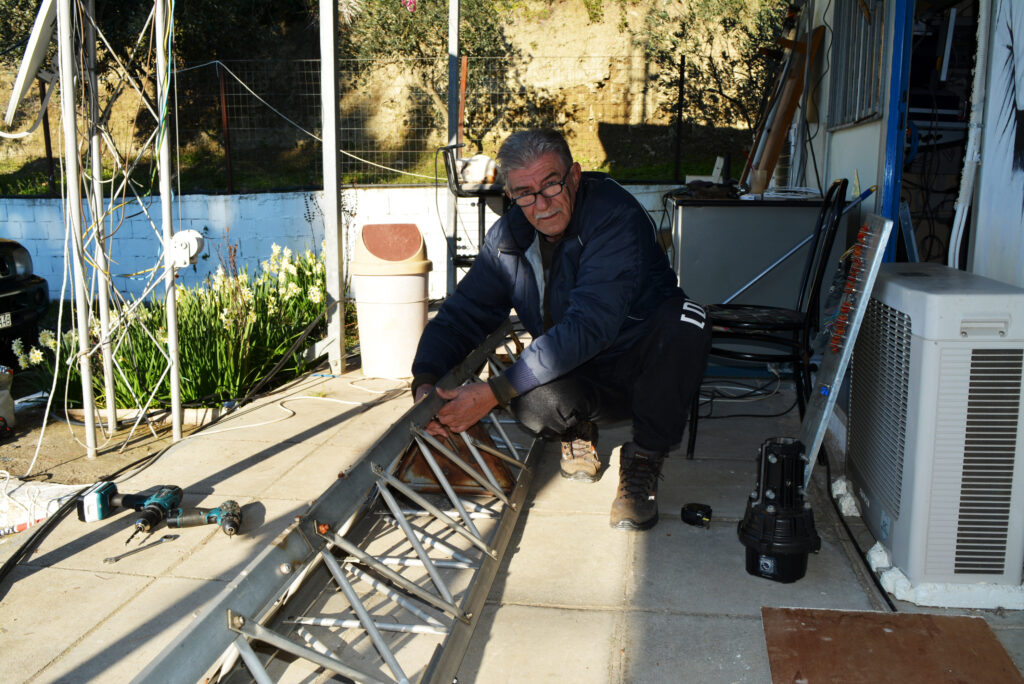
Thanasis SV1CQK came on Saturday afternoon for help. There was still a lot of work to do and most of it we hadn’t even previously thought about. Fortunately, Giannis knew… Something that had not even crossed our minds that would be needed, was to assemble the tower on the ground so that we could match the pieces precisely together. Each section was not enough to be joined with bolts but the alignment of the support mesh (“knitting”) of the tower had to be aligned, straight and continuous.
So, because all sections were not the manufacturer’s originals, they had to be cut a little (from 4 mm to 10 cm) so that the sections would align correctly and the mesh “knitting” was straight. At the same time, the warped crooked section was completely repaired!
Bringing the Tower back up…
The matching and the repair of the tower, along with the configuration of the new positions for the rotator and the bearing took us until mid-Sunday, while we had worked until 7:30 pm the previous night. To be honest, we are lazier and almost gave up early, but, Giannis was determined and kept on working, so we were motivated and followed his passionate example….
So, by noon on Sunday, Giannis began to re-install the sections on the tower: first, we put the new 6meter section and then the old one. Then a series of guy wires were installed at 12m, while there was another at 6m (which we left to replace at the end). At 6pm on Sunday afternoon and while it started to get dark, the next 5meter section was installed on top. Exhausted, we left the tower at 17m high (essentially 1m taller than it was before) and renewed our schedule for the team to meet again the next weekend….
We had the initiative and drive now that something good was going to happen, and we were anxious to reach the end where we would turn on the radio…
Second Weekend: Completing the Project
A winning team does not change and so SV1CIB, SV1DPI and SV3CYM were there again next Saturday, February 5th. This time the weather was wonderful and it did us a favour… Later in the afternoon SV1CQK also came and joined us. The whole morning was devoted to clearing the place where we anchored the guy wires and removing branches that came in the way of the highest guy wires.
Then the guy wires were placed at the 17m level, and, with surgical precision, the last two 3m and 2m sections, were installed on top. They were also anchored in with the final level of guy wires, and the rotator and the top-mast pole for the antenna were installed.
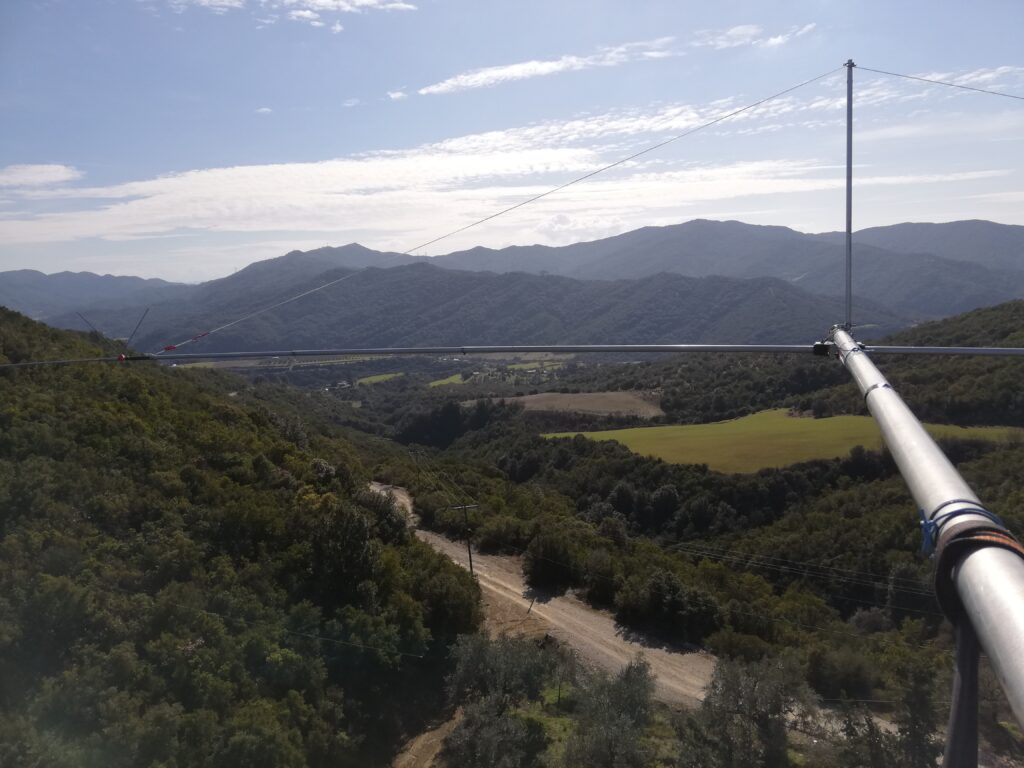
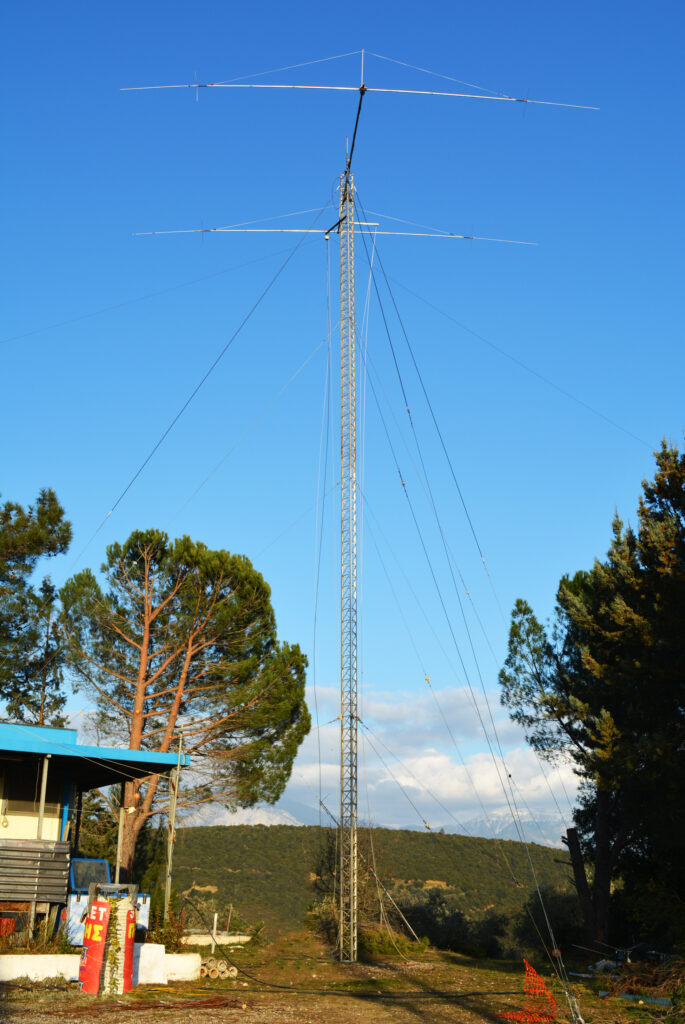
The antenna is now at 22.5m while the tower is 22m tall. The tower is now completely straight and safer. ….When we turned on the radios the signals we heard were clearly loud. Many stations were coming over S9+30 dB!!!
Raising the Antenna
On Sunday morning, SV1CQR, SV1CQG came and SV1CQK left. The time was slowly coming for the antenna to be raised and installed on the tower. Some last-minute work was done on the antenna, after we put a rope to support the elements, re-check for forgotten screws, etc.
Giannis again had the solution for how the antenna will go up. He threw a rope from the top of the tower, next to a guy wire, creating a “railway line” that the antenna would use to be raised to the top – ingenious!
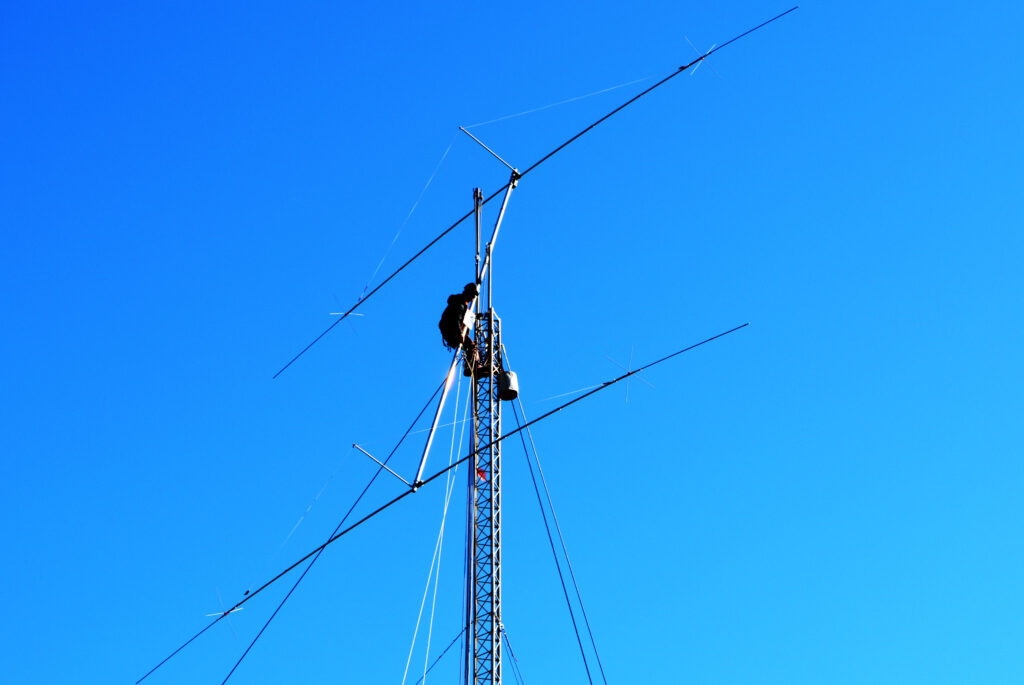
In parallel with the ropes and systems he used, he tied the antenna just in front of the middle of the boom, while two people held the antenna with two ropes, tied a little further behind the middle of the boom, so that it went left and right (lateral movement). So, in complete control, the antenna went up. At the top, Giannis took over the next steps. He secured it, centered it to the south, where we had put the rotator, passed the coax feedline and the rotator cable through the tower, and generally tidied everything up.
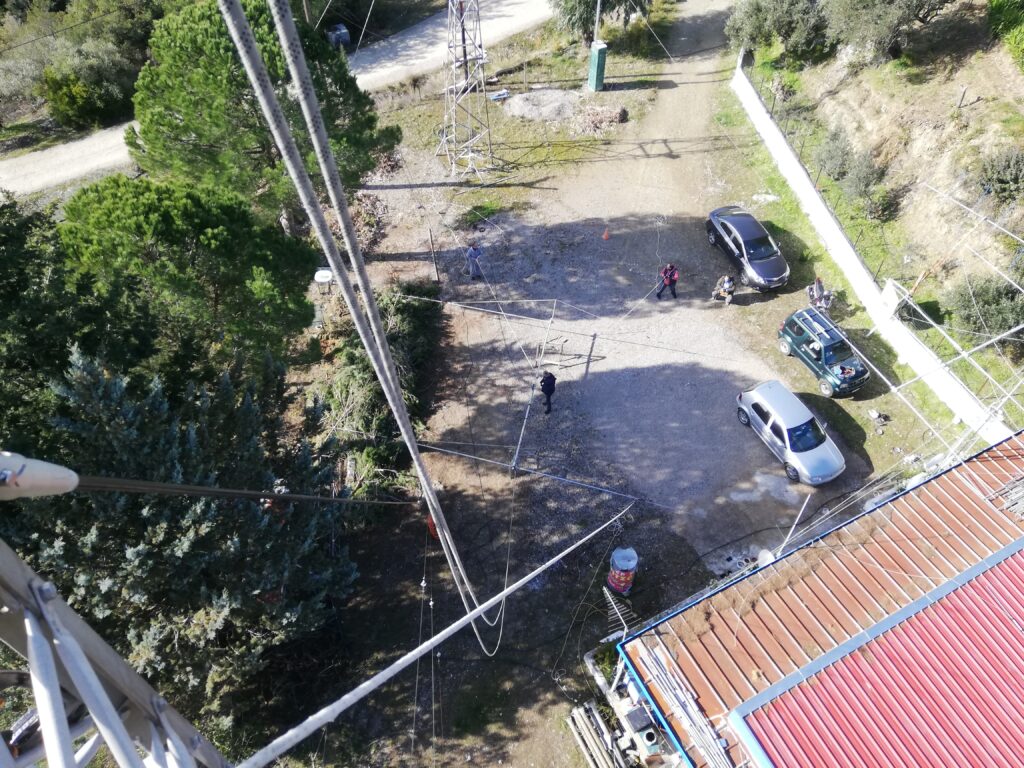
Then he installed the 80m dipole. The time had passed 5 pm in the afternoon and the rest of us started to gather all the tools, together with “ourselves”, since Giannis, was still very energized and obviously satisfied with the great work done – as were all of us!
The Final Outcome: Impressions and Results
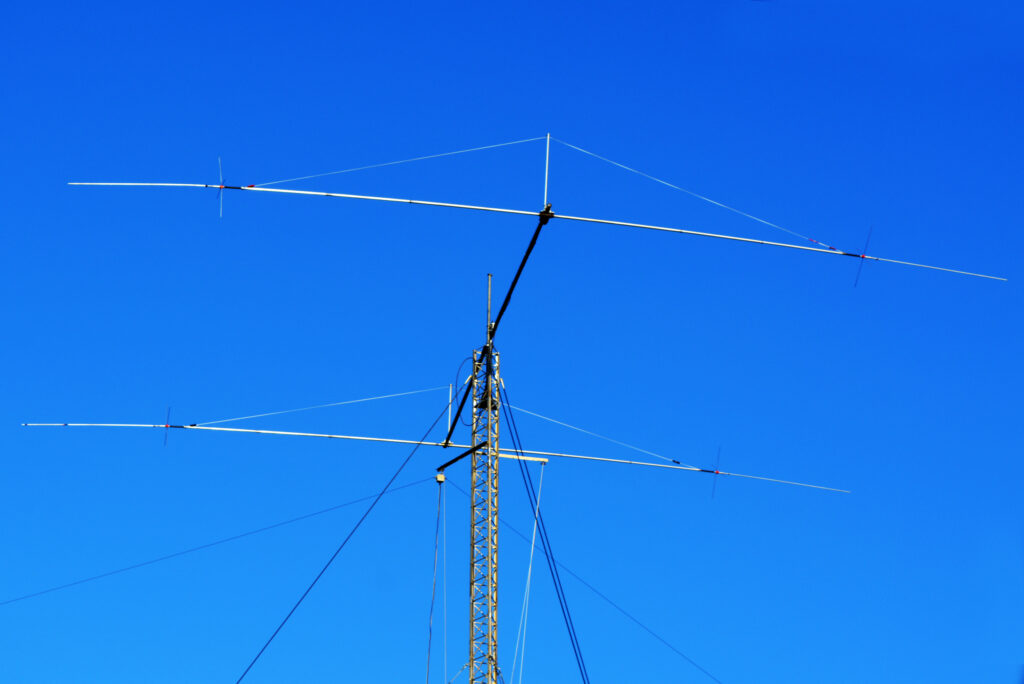
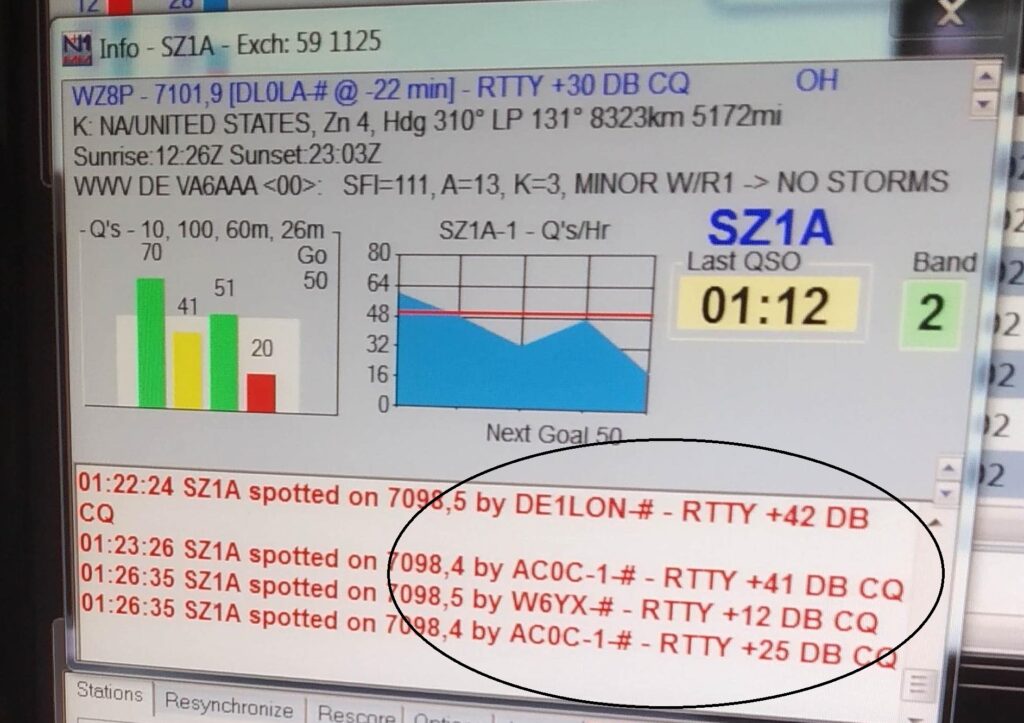
The antenna is now at 22.5m while the tower is 22m tall. The tower is now completely straight and safer. SWR of the beam was good as expected, with 1.2:1 at 7100KHz. The bandwidth was a bit sharper now, compared to the past when it was positioned lower. When we turned on the radios the signals we heard were clearly loud. Many stations were coming over S9+30 dB!!!
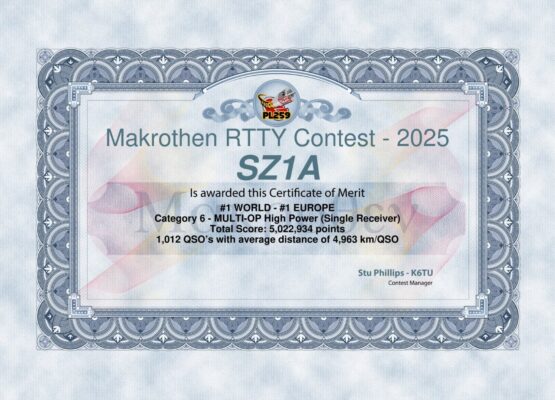
Next weekend was the CQ WPX RTTY Contest. Our score and the performance of the 40m beam antenna left us speechless. The work done was amazingly good and the results were fantastic.
Our score and the performance of the 40m beam antenna left us speechless. The work done was amazingly good and the results were fantastic.
The only drawback we had, is that for some reason that we still do not understand, the 80m dipole, which was placed at a new height up at 20m, refused to resonate with an SWR better than 1.8:1! So we had to move it to the other tower at a lower height… Well, you can’t have everything, and we’ll leave that one for another day….
Acknowledgments and Thanks
First of all, a huge thank you to Giannis SV3CYM and Ypsotechniki. On the one hand for the consistency and professionalism, and on on the other hand because with his passion he motivated us to perform, and finally, thank you not only because he did a great job, but also because we met a wonderful person, with humor, who had a lot to teach us.
He worked continuously and passionately, and, at no point did we worry that an accident might happen. Because everything was done in a way that made us feel confident that “the man knows what he is doing”. It is not worth risking our lives and whatever project we undertake must always have safety as the first priority!
We must also thank the other Giannis SV1GE and Allmast who donated the new 6m tower section and who has stood by us many times so far. We also dearly thank Thanasis SV1RLC for donating the antenna, George SV1ELF for providing the Balun and a final thank you to all of you for your support because for all this we need funding. Without your support, all of this would not have been possible. We are truly and sincerely grateful!
First of all, a huge thank you to Giannis SV3CYM and Ypsotechniki. On the one hand for the consistency and professionalism, and on on the other hand because with his passion he motivated us to perform, and finally, thank you not only because he did a great job, but also because we met a wonderful person, with humor, who had a lot to teach us.
We’d love to have a QSO and work you on 40m but also, most importantly, for you to come and visit us, to exchange ideas and knowledge with you, and to compete together in the next contest with team SZ1A!
