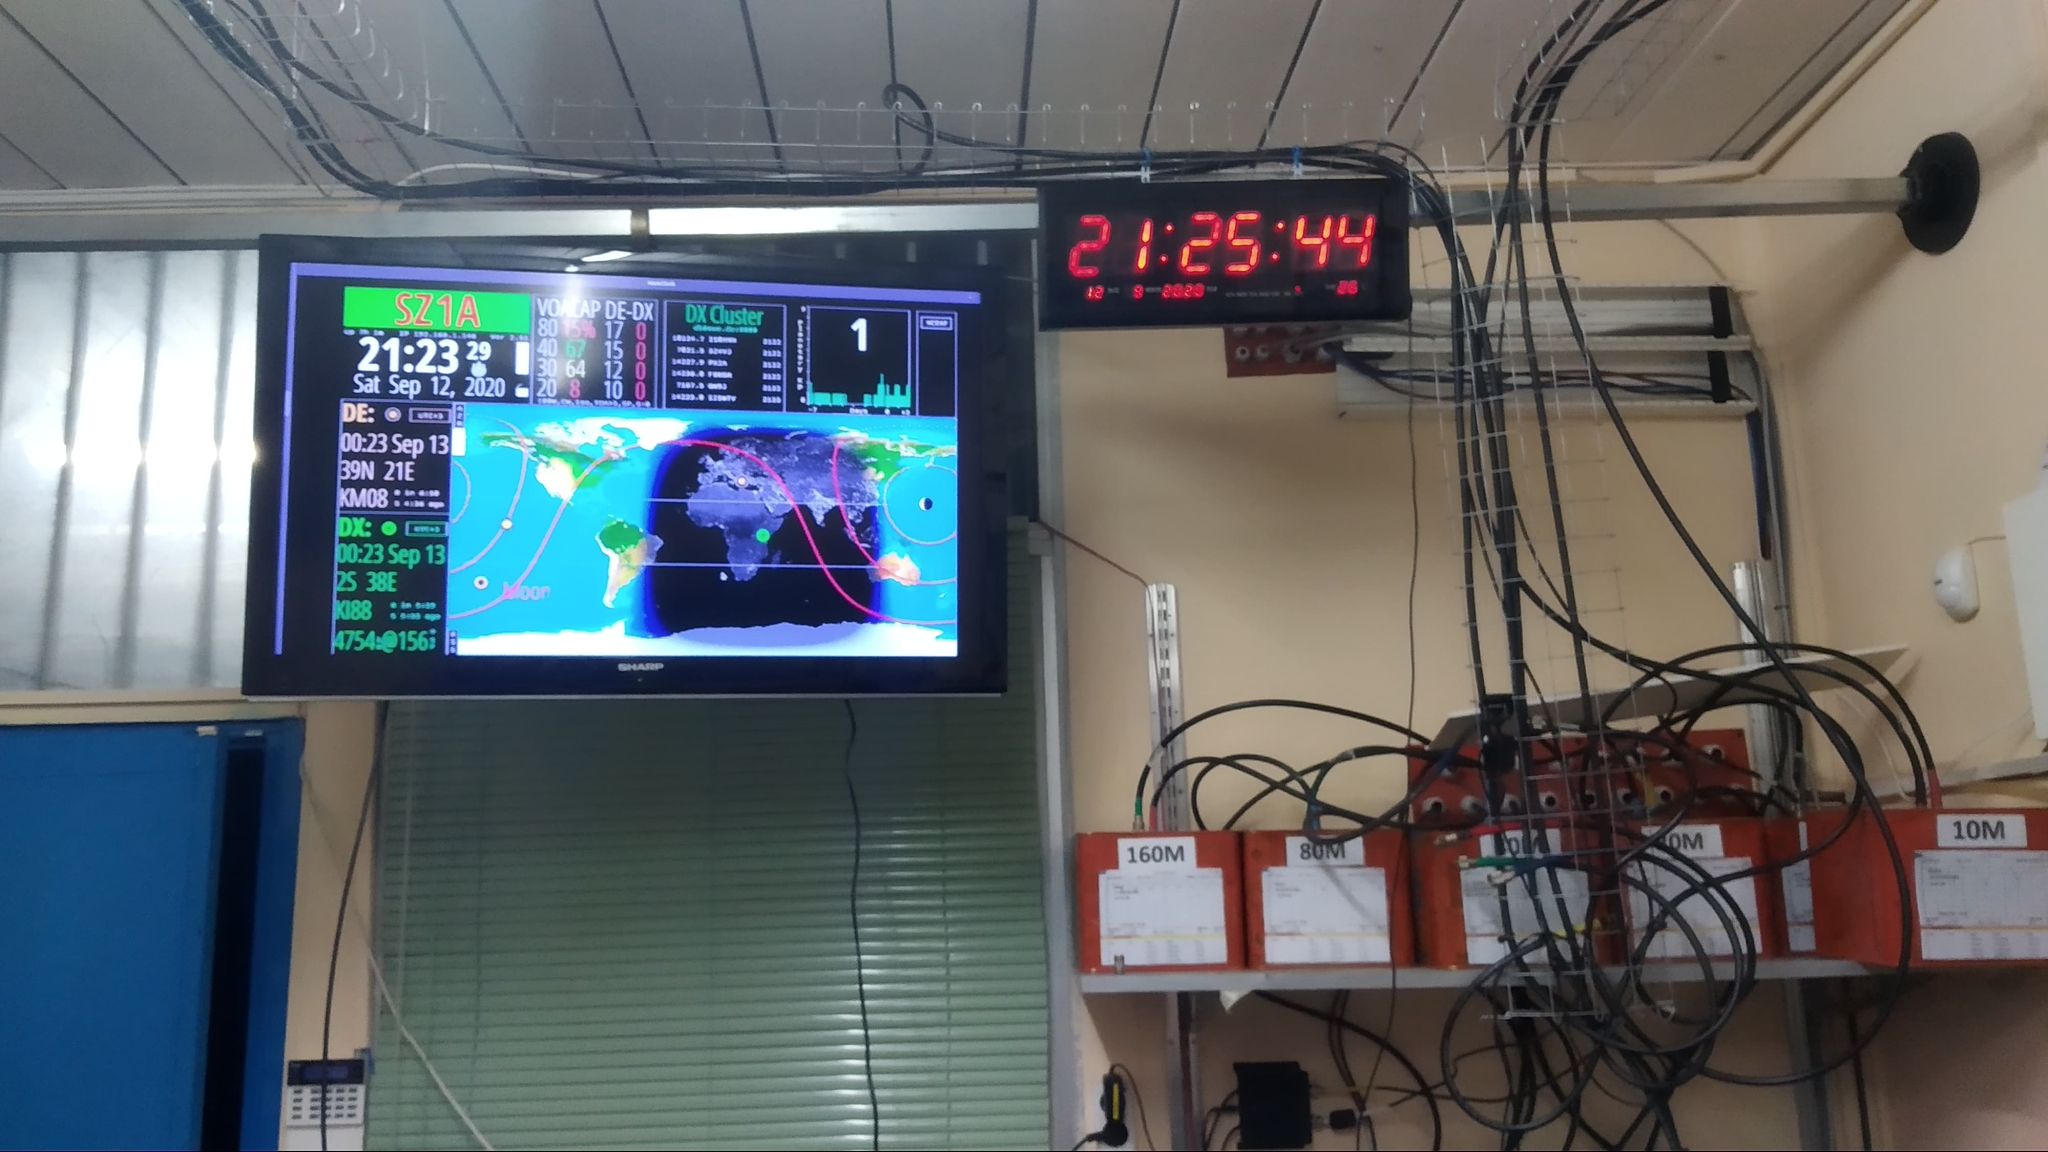

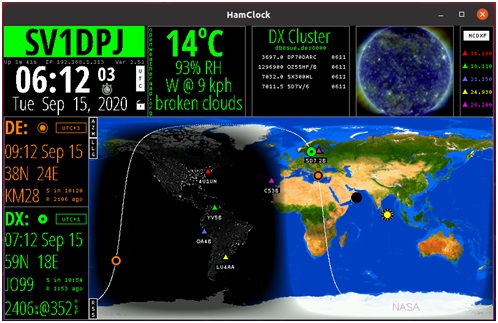
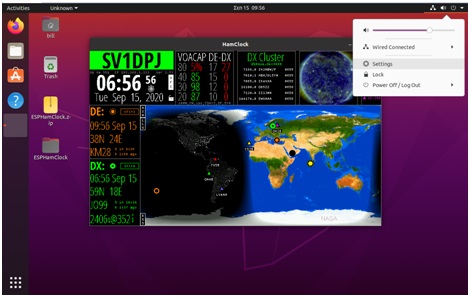
Hamclock is a handy application able to show:
- accurate time,
- world map & time zone,
- solar activity,
- sunrise and sunset times (grey line),
- DX Cluster Spots, Beam heading & Maidenhead Grid Locators,
- Northern California DX Foundation (NCDXF) beacons,
- RSS feeds & news headlines and
- other useful information.
The application was developed by Elwood Downey WB0OEW.
This guide assumes that you know how to install Ubuntu desktop. The ubuntu installation guide is available at https://ubuntu.com/tutorials/install-ubuntu-desktop#1-overview
I propose that you select “minimal installation” to avoid occupying space with not-needed applications.
Note that in this guide all commands that are to be executed on the command line (terminal window) will be specially formatted. For example:
sudo apt update- Download the latest version of Ubuntu from https://ubuntu.com/download/desktop
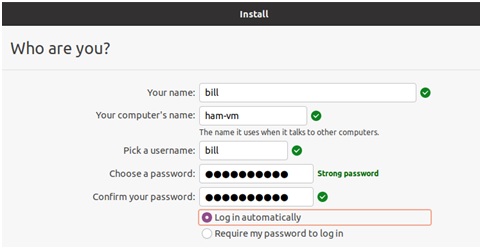
- Install Ubuntu desktop and select Log in automatically.
- Open a terminal window and install the latest updates.
sudo apt update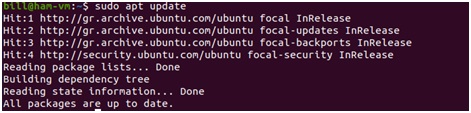
- Next, let’s install the additional required packages (prerequisites) that are needed for Hamclock to be installed.
sudo apt install curl make g++ xorg-dev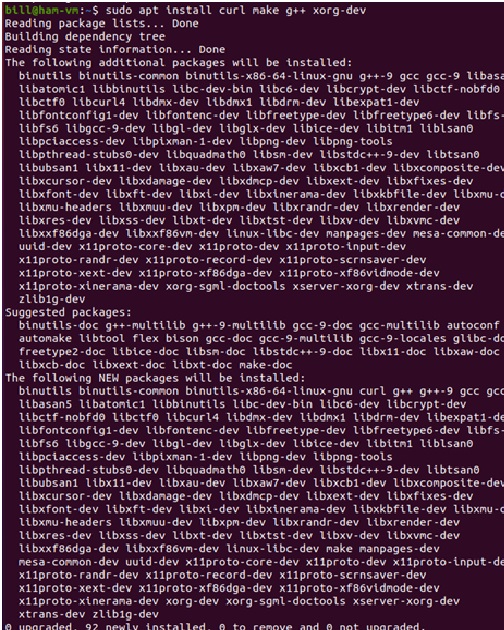
- Now, we will install Hamclock on the user’s desktop.
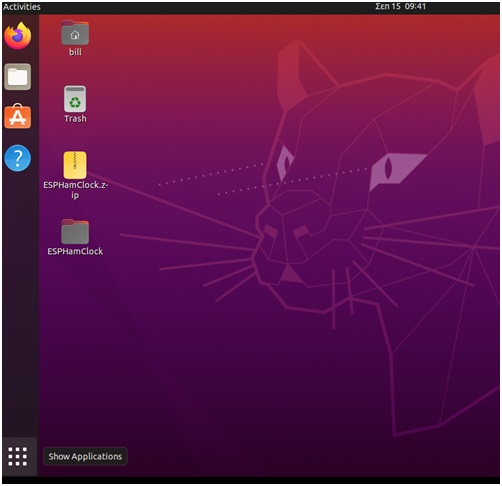
- Change Directory to the user Desktop.
cd ~/Desktop- Download the Hamclock source archive (zip file).
wget http://www.clearskyinstitute.com/ham/HamClock/ESPHamClock.zip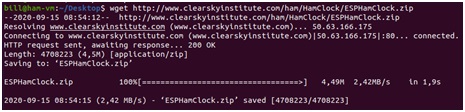
- Unzip the source archive (zip file)
unzip ESPHamClock.zip
- Change Directory to the source directory (where the files were previously unzipped)
cd ESPHamClock
- We now need to build the executable file by selecting one of the supported sizes. According to the documentation the supported resolutions are: 800 x 480, 1600 x 960, 2400 x 1440, 3200 x 1920. If the display is larger, HamClock will center itself within a black background. Below we will create the executable for a screen resolution of 800 x 480
make -j 4 hamclock-800x480
- We are now ready to run the application
sudo ./hamclock-800x480
- Configuration Settings Page 1:
- After starting the application, click anywhere on the screen to configure it.

- Configuration Settings Page 2:
- Click on page 1 to configure the cluster node and other settings (if you do not have a mouse, you can use the TAB key to move between the fields and the space key to change the values).
- On page 2 setup any dxspider cluster node that you wish to connect to.
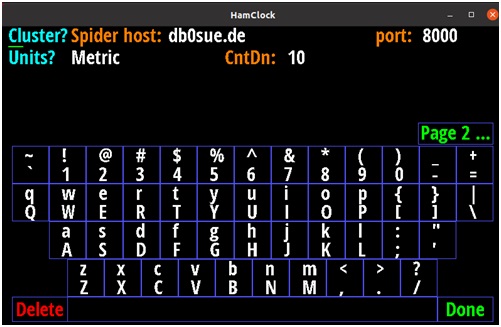
- When done with the settings do not forget to press the Done button to save the configuration.
How to Autostart Hamclock on Ubuntu 20x
In order to autostart the application follow the steps below:
- Edit sudoers and allow your user to execute any command without a password.
- Open a terminal and run “sudo visudo” (omit the double quotes)
sudo visudo
- Go to the bottom of the file and add the following line
yourusername ALL=NOPASSWD: ALL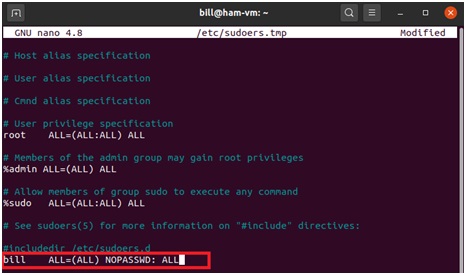
- Press Ctrl + X and answer YES to save the file
- Add HamClock to StartUp Applications
- Click on the show application button (bottom left)
- Type start

- Click on Startup Applications
- Click the Add button
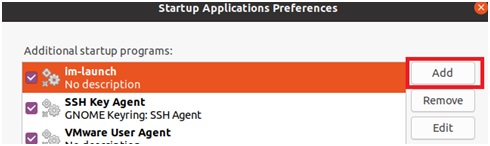
- Enter the information as shown below (replace /home/bill with your username’s home folder), assuming that you have installed Hamclock on the user’s Desktop as shown in this guide

- Click the Add button.
- Restart Ubuntu and test.
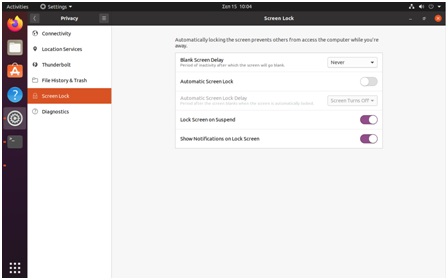
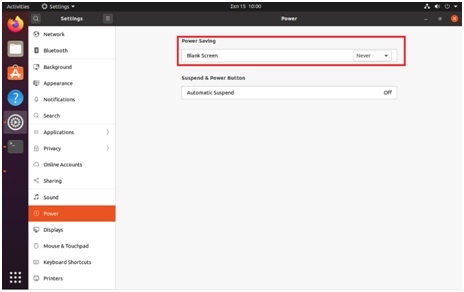
Disabling Blank Screen and Screen Lock
- Open Settings
- Go to Power and under Blank Screen select the option ‘never‘.
- Go to Privacy.
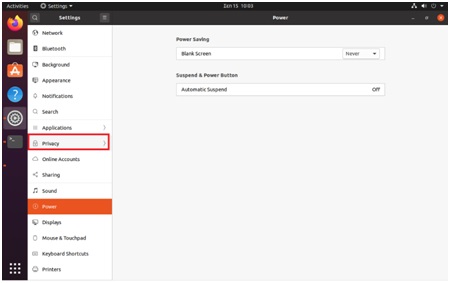
- Modify the settings to disable Blank Screen