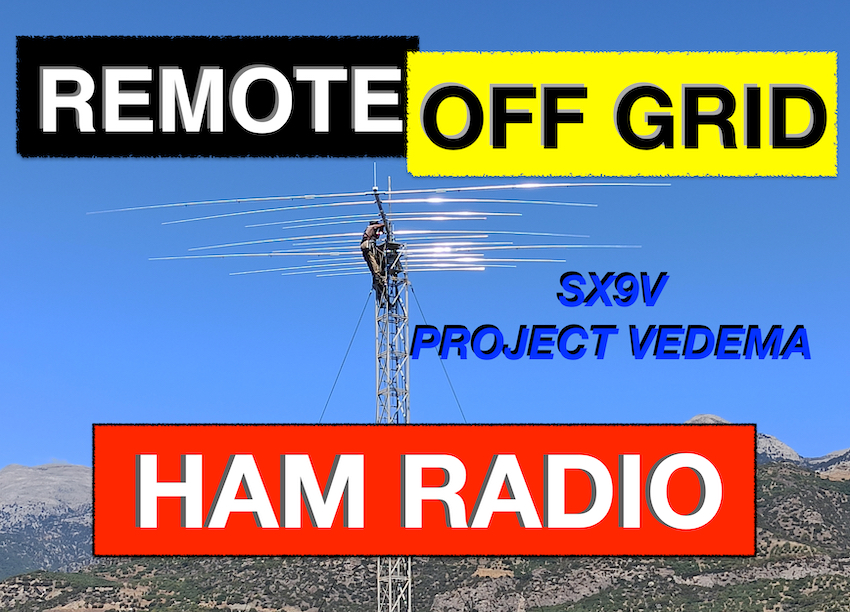
SX9V Remote station description, automation and operation
Background
In recent years, on the one hand, the increased noise floor in cities, especially on the low bands, and on the other hand, the limited space for the installation of efficient antennas, made me look for an alternative location to build my HF station. After a two-year delay and after experimenting with reception antennas in the city, the need to find an alternative QTH became even more urgent. I decided to start something near my home town, on the south side of the island of Crete, very close to Ierapetra. I chose the best spot I had available, 700 meters from the sea and 170 meters altitude (ASL), in an olive grove, away from houses, with relative access to fast internet and excellent take-off angles from an azimuth of 70ο to 290ο (towards the sea) while the mountains to the north are at a distance of more than 10 km.
The decision
Now that I had the site, I started discussing with friends and colleagues my plans and my concerns about the whole project, if and how good QTH it would be. My dear friend George SV9GPV played a catalytic role in my decision.
A milestone in the whole project was the “involvement” of my good friend and best man Konstantinos SV9OFS who found the idea very good and since then we shared a common vision: Building an alternative station away from the city that in the future could develop into a contest station, which will be able to host colleagues from Greece but also from all over the world, either in person or remotely!. Something especially needed in the previous year due to the quarantine where we were locked in our homes, without being able to move to a familiar contest station. I would also say that the possibility of a colleague who can not be with us physically, from the rest of Greece or in fact the entire world, participating in the team was also important.
In recent years, on the one hand, the increased noise floor in cities, especially on the low bands, and on the other hand, the limited space for the installation of efficient antennas, made me look for an alternative location to build my HF station.
Design and implementation
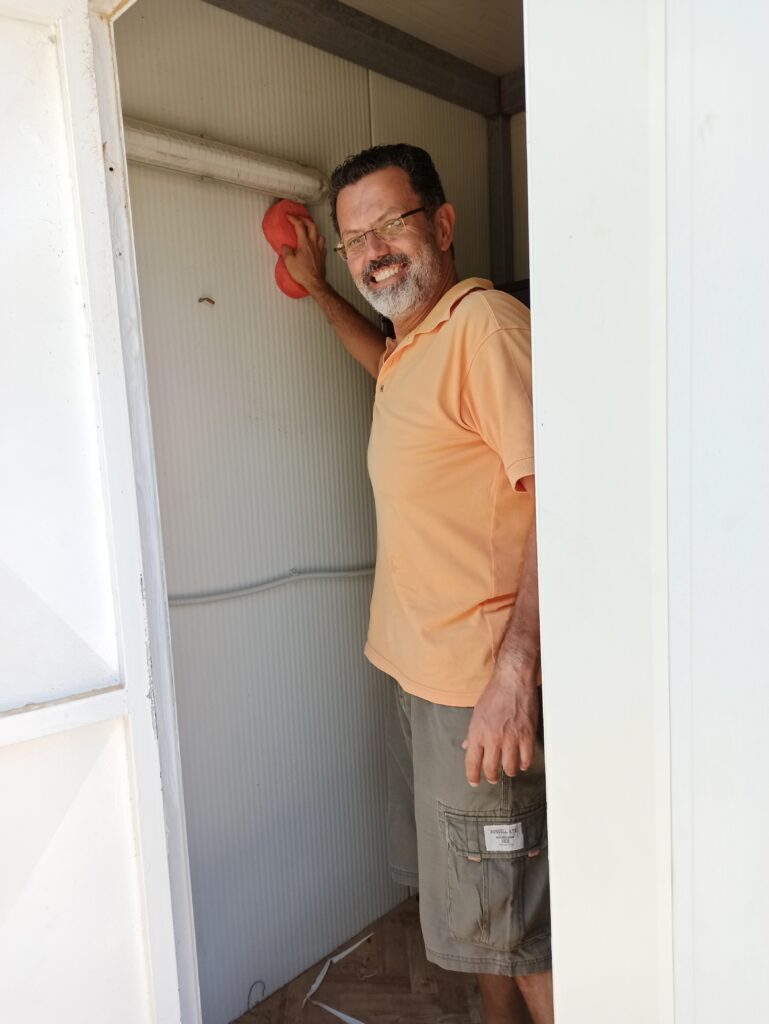
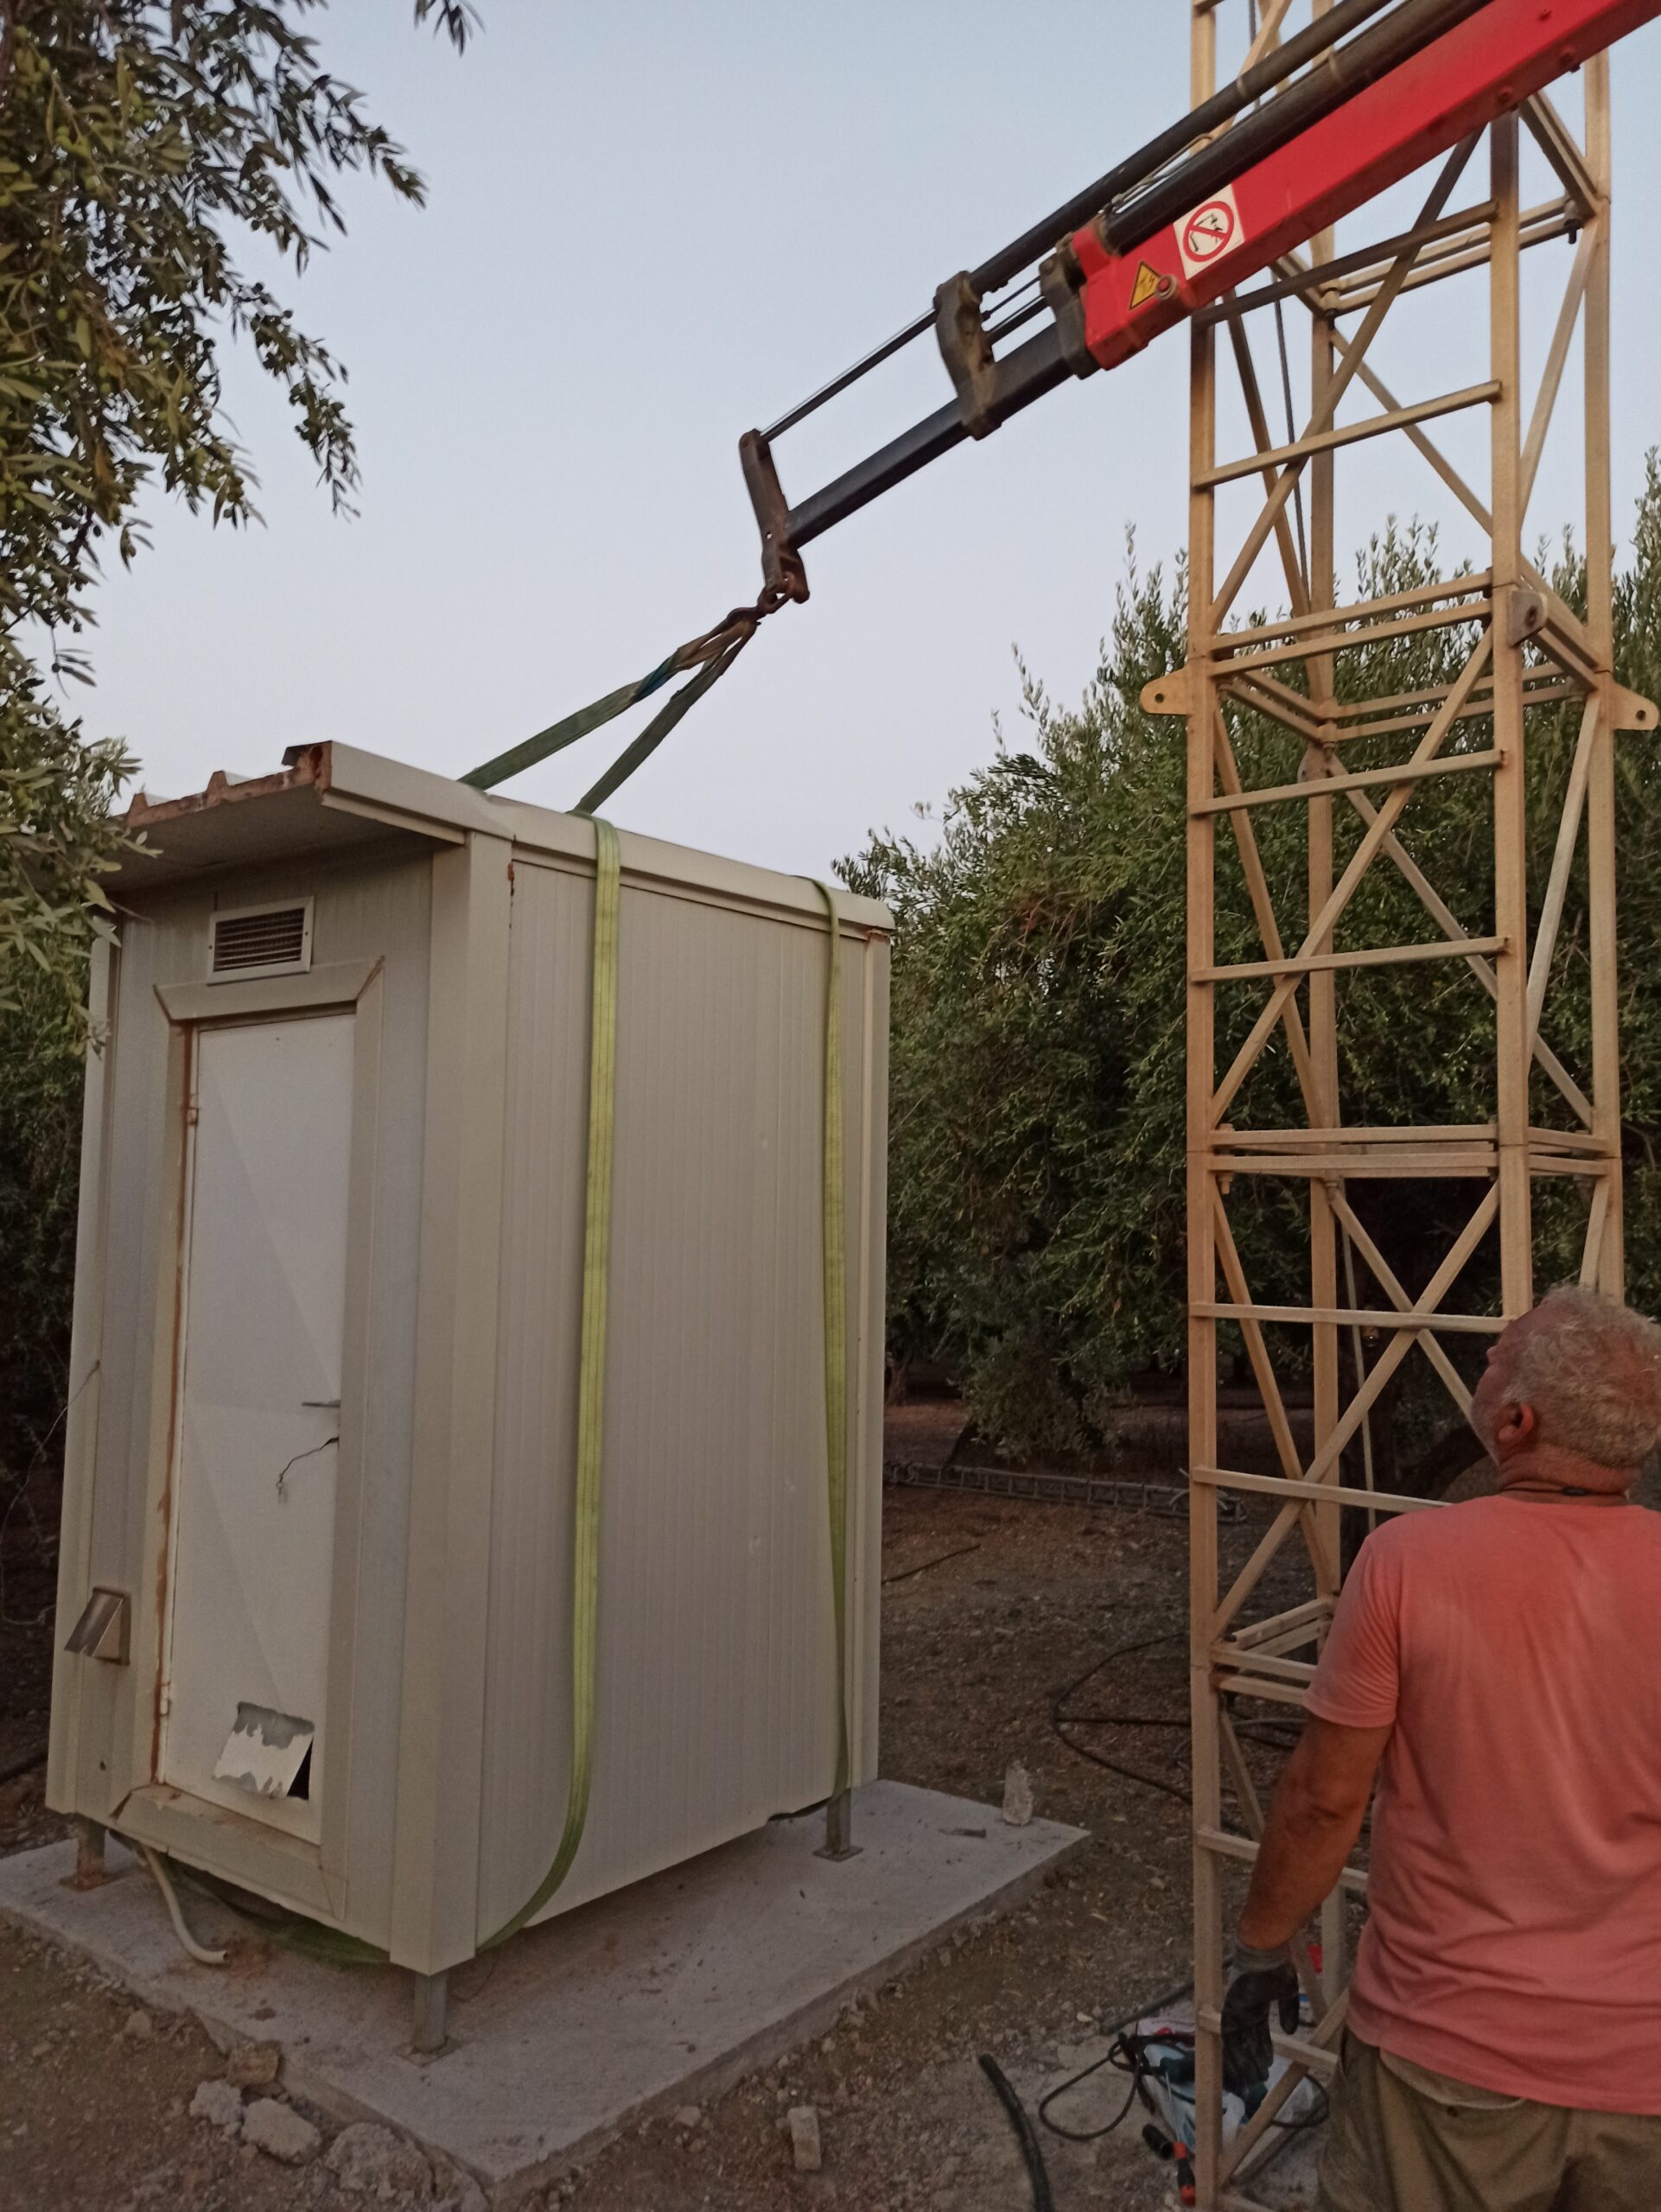
Together we started planning the construction of the station. The facts were as follows: Good location, privately owned and 10 minutes away from my hometown which I visit at least once a week, away from homes, ample space, no high voltage power lines, high-speed internet (OTE Rural 50Mbps Down / 30Mbps Up), ability to install an Isobox container for hosting operators & the equipment, and finally the location is near to the city of Heraklion (less than 50 minutes by car).
I chose the best spot I had available, 700 meters from the sea and 170 meters altitude (ASL), in an olive grove, away from houses, with relative access to fast internet and excellent take-off angles…
Limitations and parameters to be considered
“Korfi“, which is the location’s name, has no electricity (220m from the nearest power transformer), the only building there is quite old and needs maintenance, while additionally the building wasn’t fully owned by us, is secluded and vulnerable to theft, exposed to strong winds, with frequent lightning strikes in the wider area. As a given, we consider that the station should be mainly accessible remotely and we should be able to remotely control everything:
Transceiver(s), TX antennas, RX antennas, filters, stacks, generator, amplifier(s), telemetry, automation and most importantly… as automatically as possible!
The long delay due to COVID19 and quarantine, both in the supply of equipment and in the progress of work and transportation, also had to be taken into account.
Choice of equipment
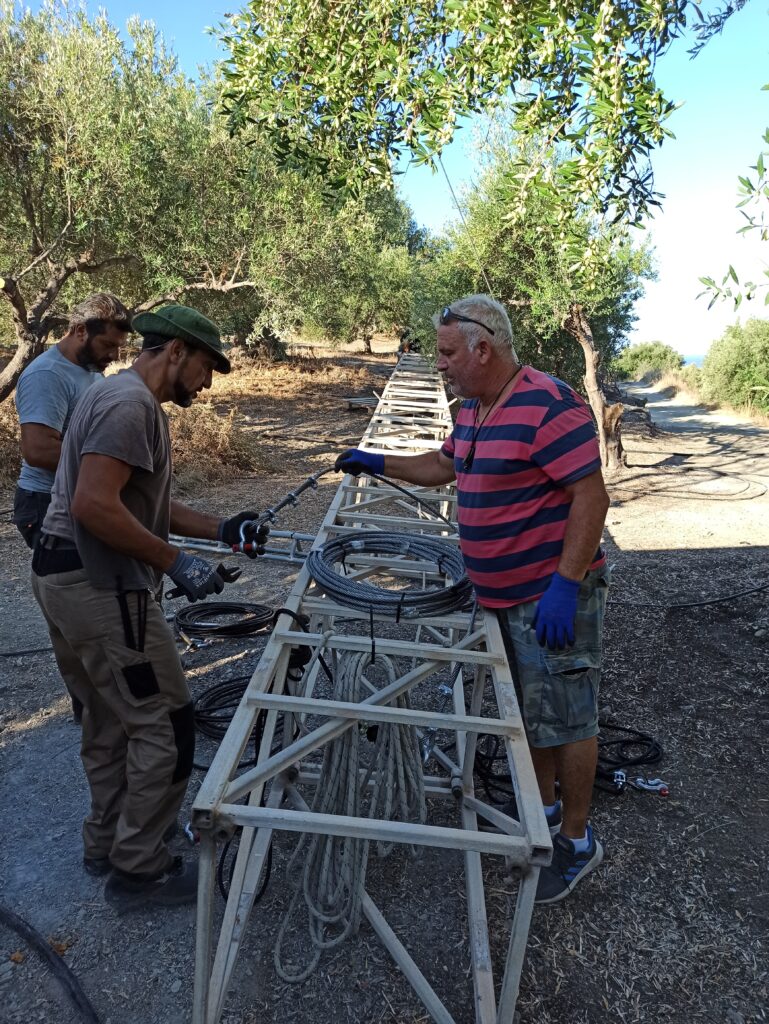
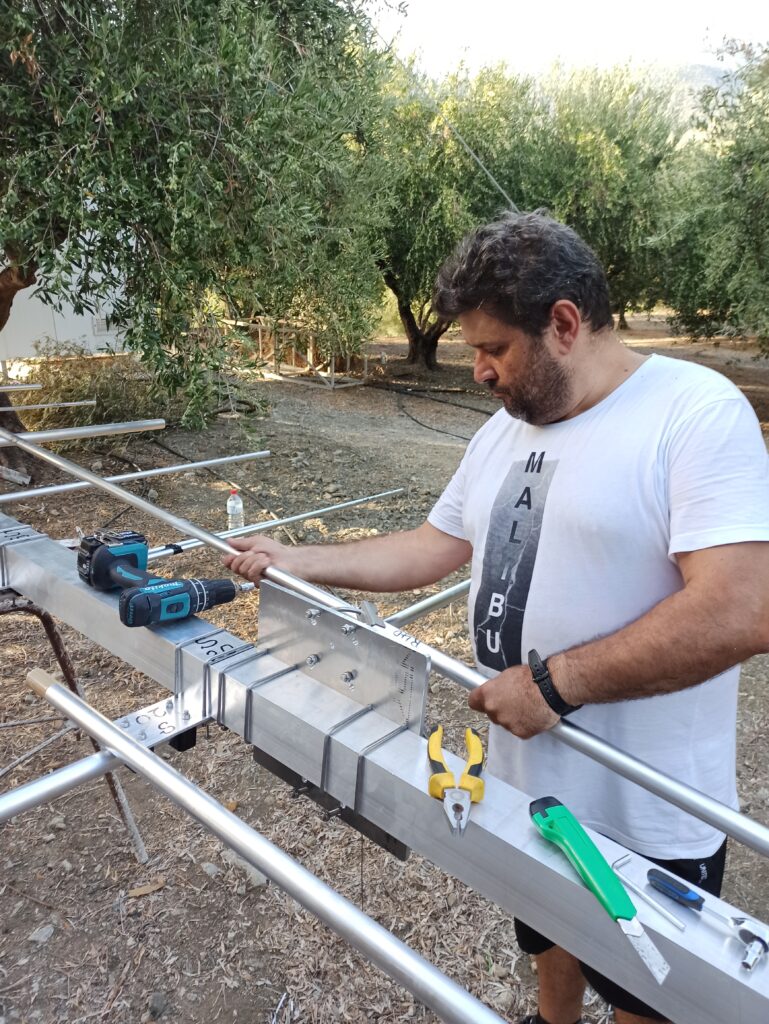
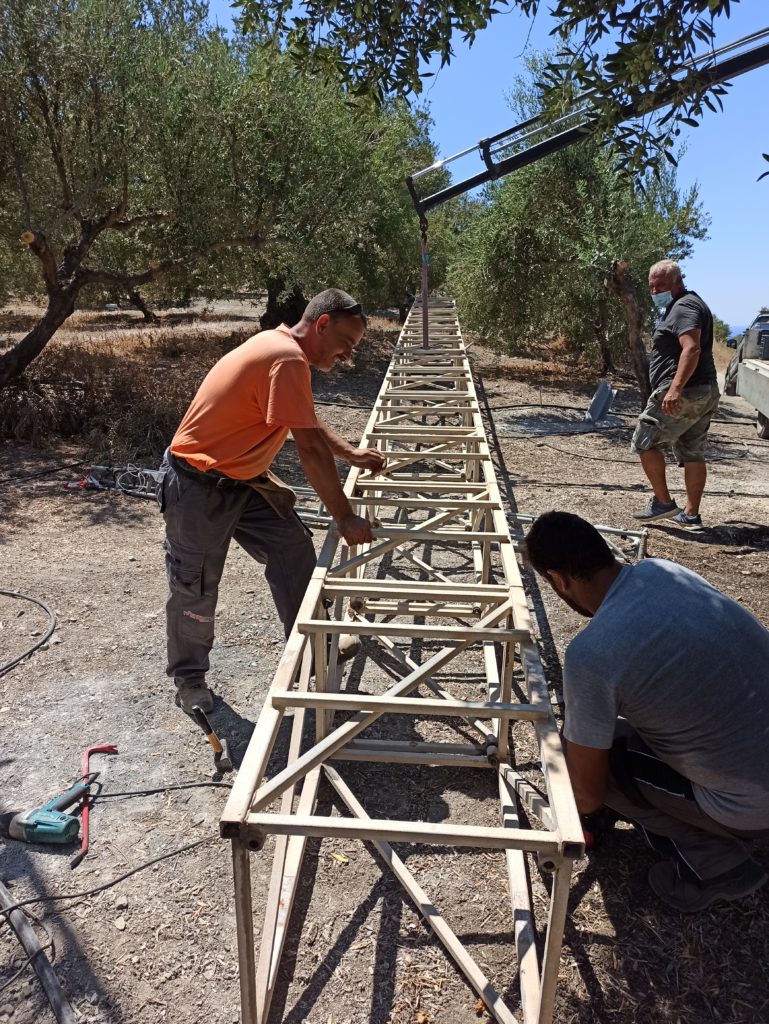
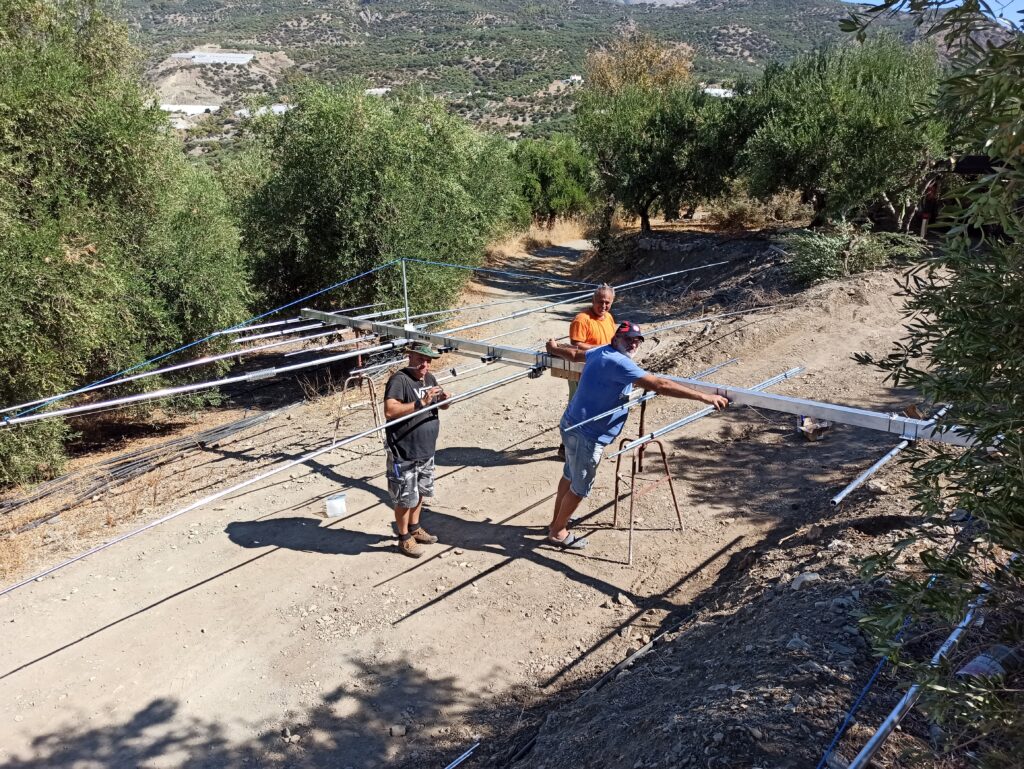
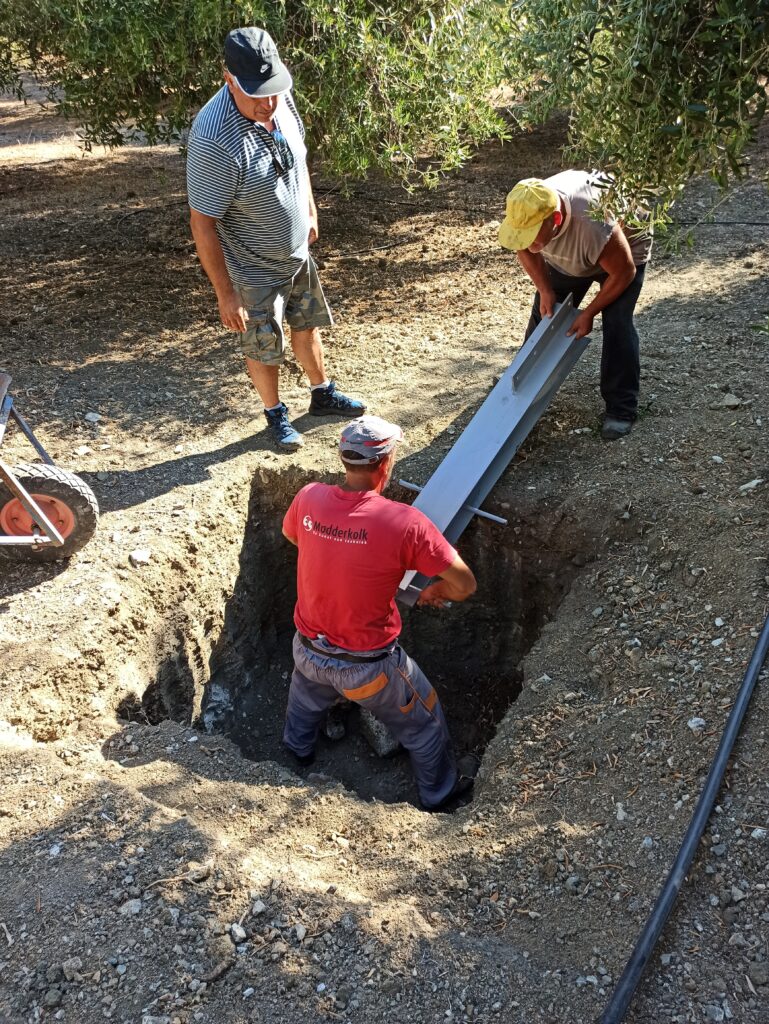
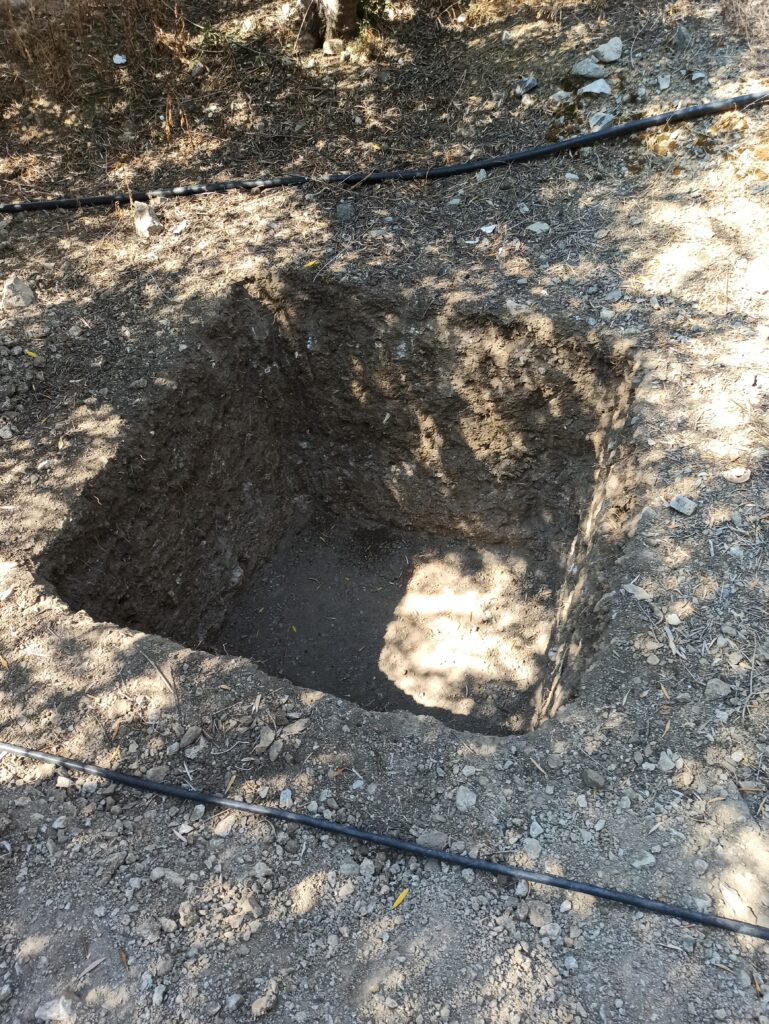
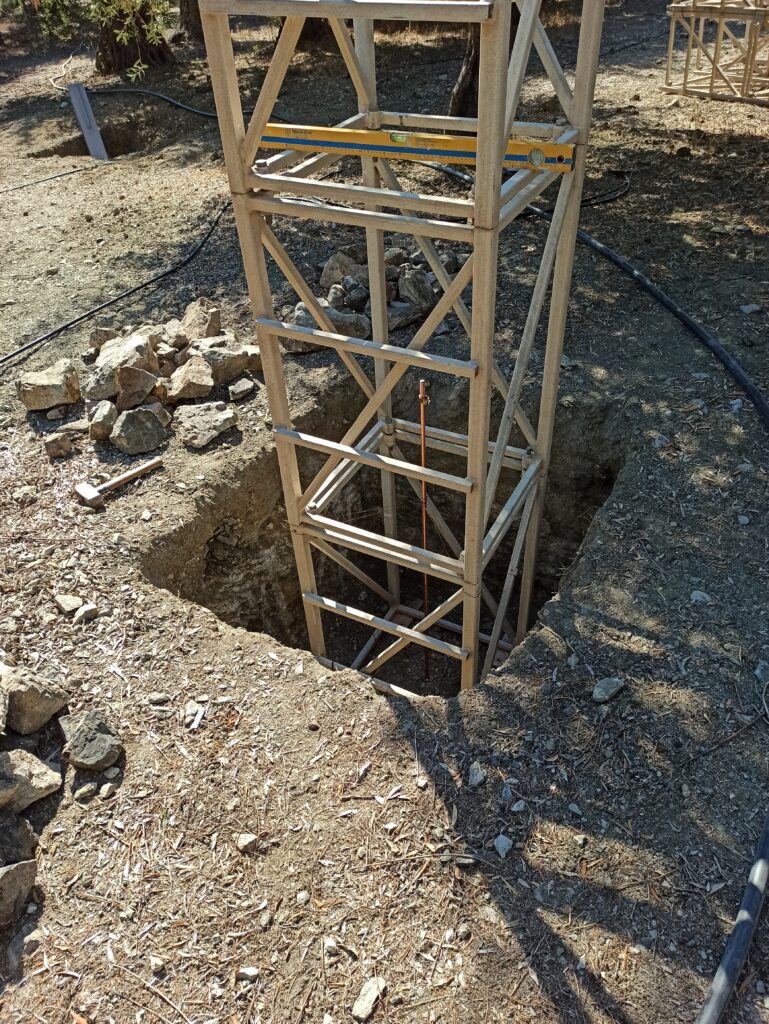
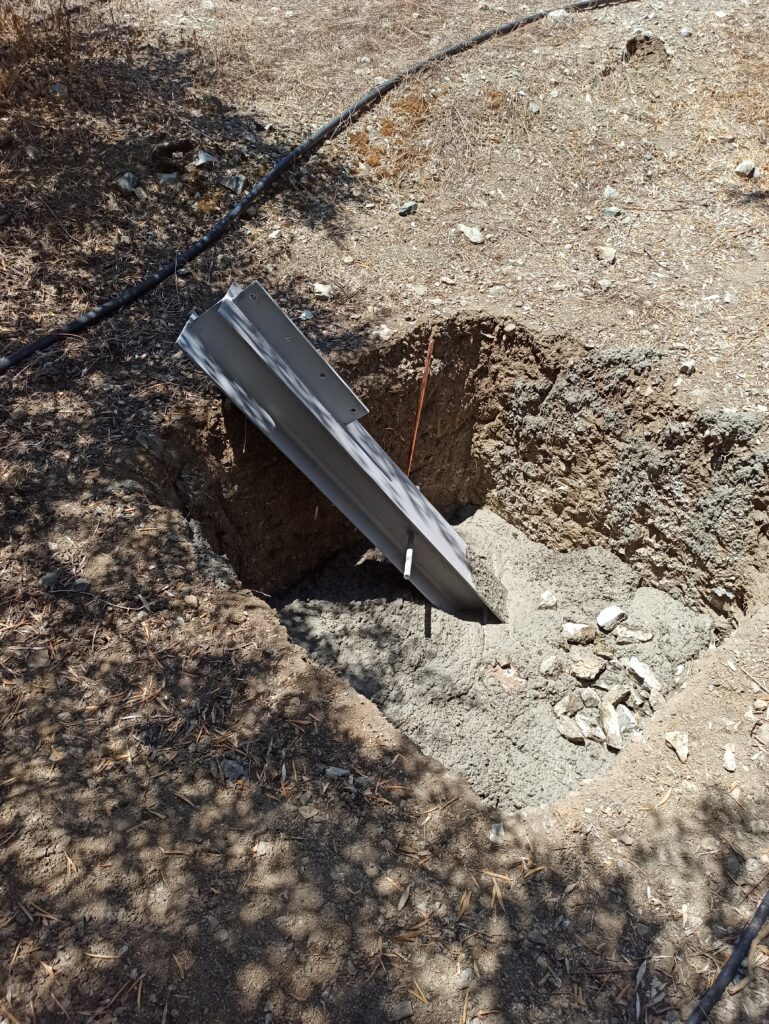
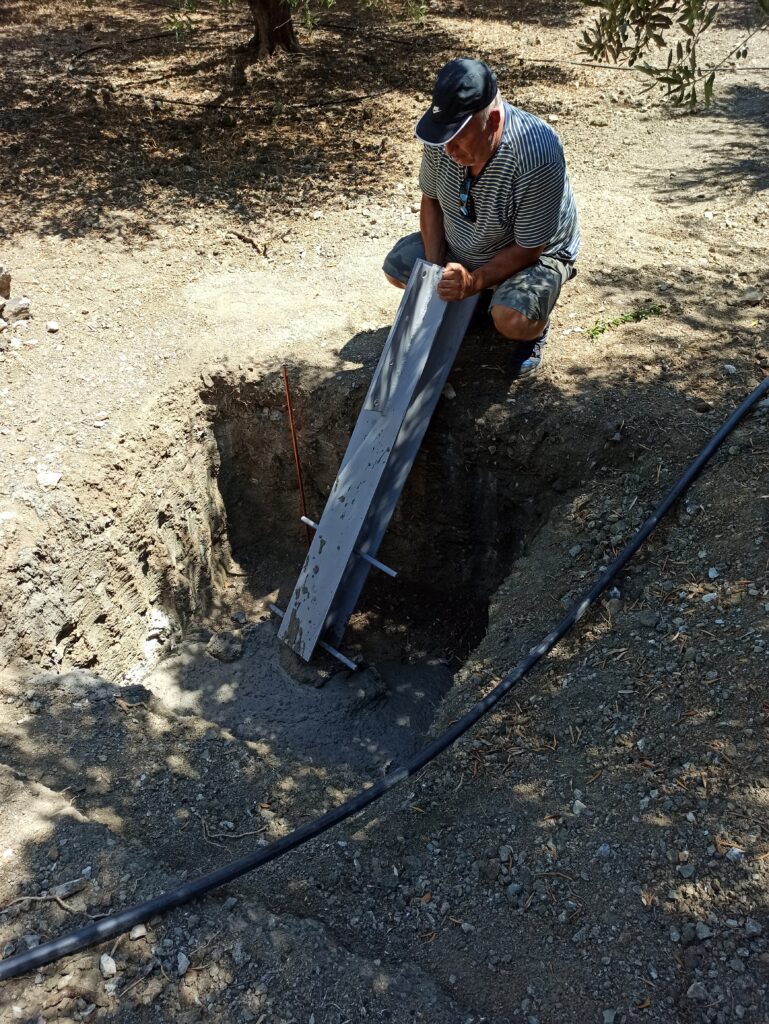
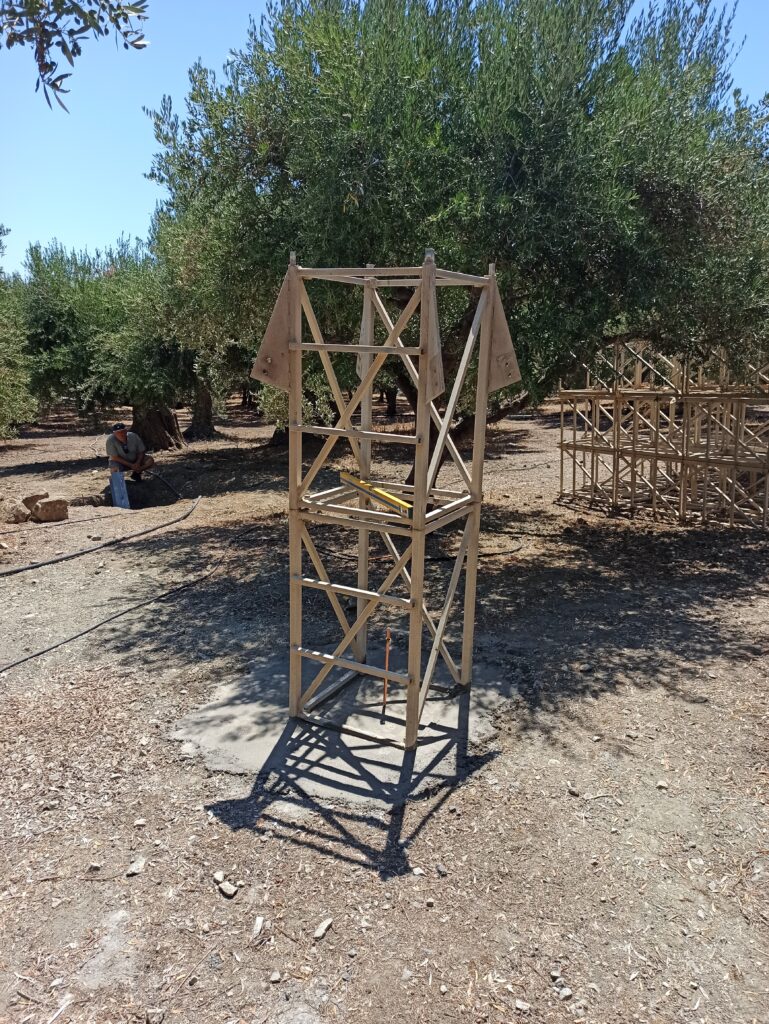
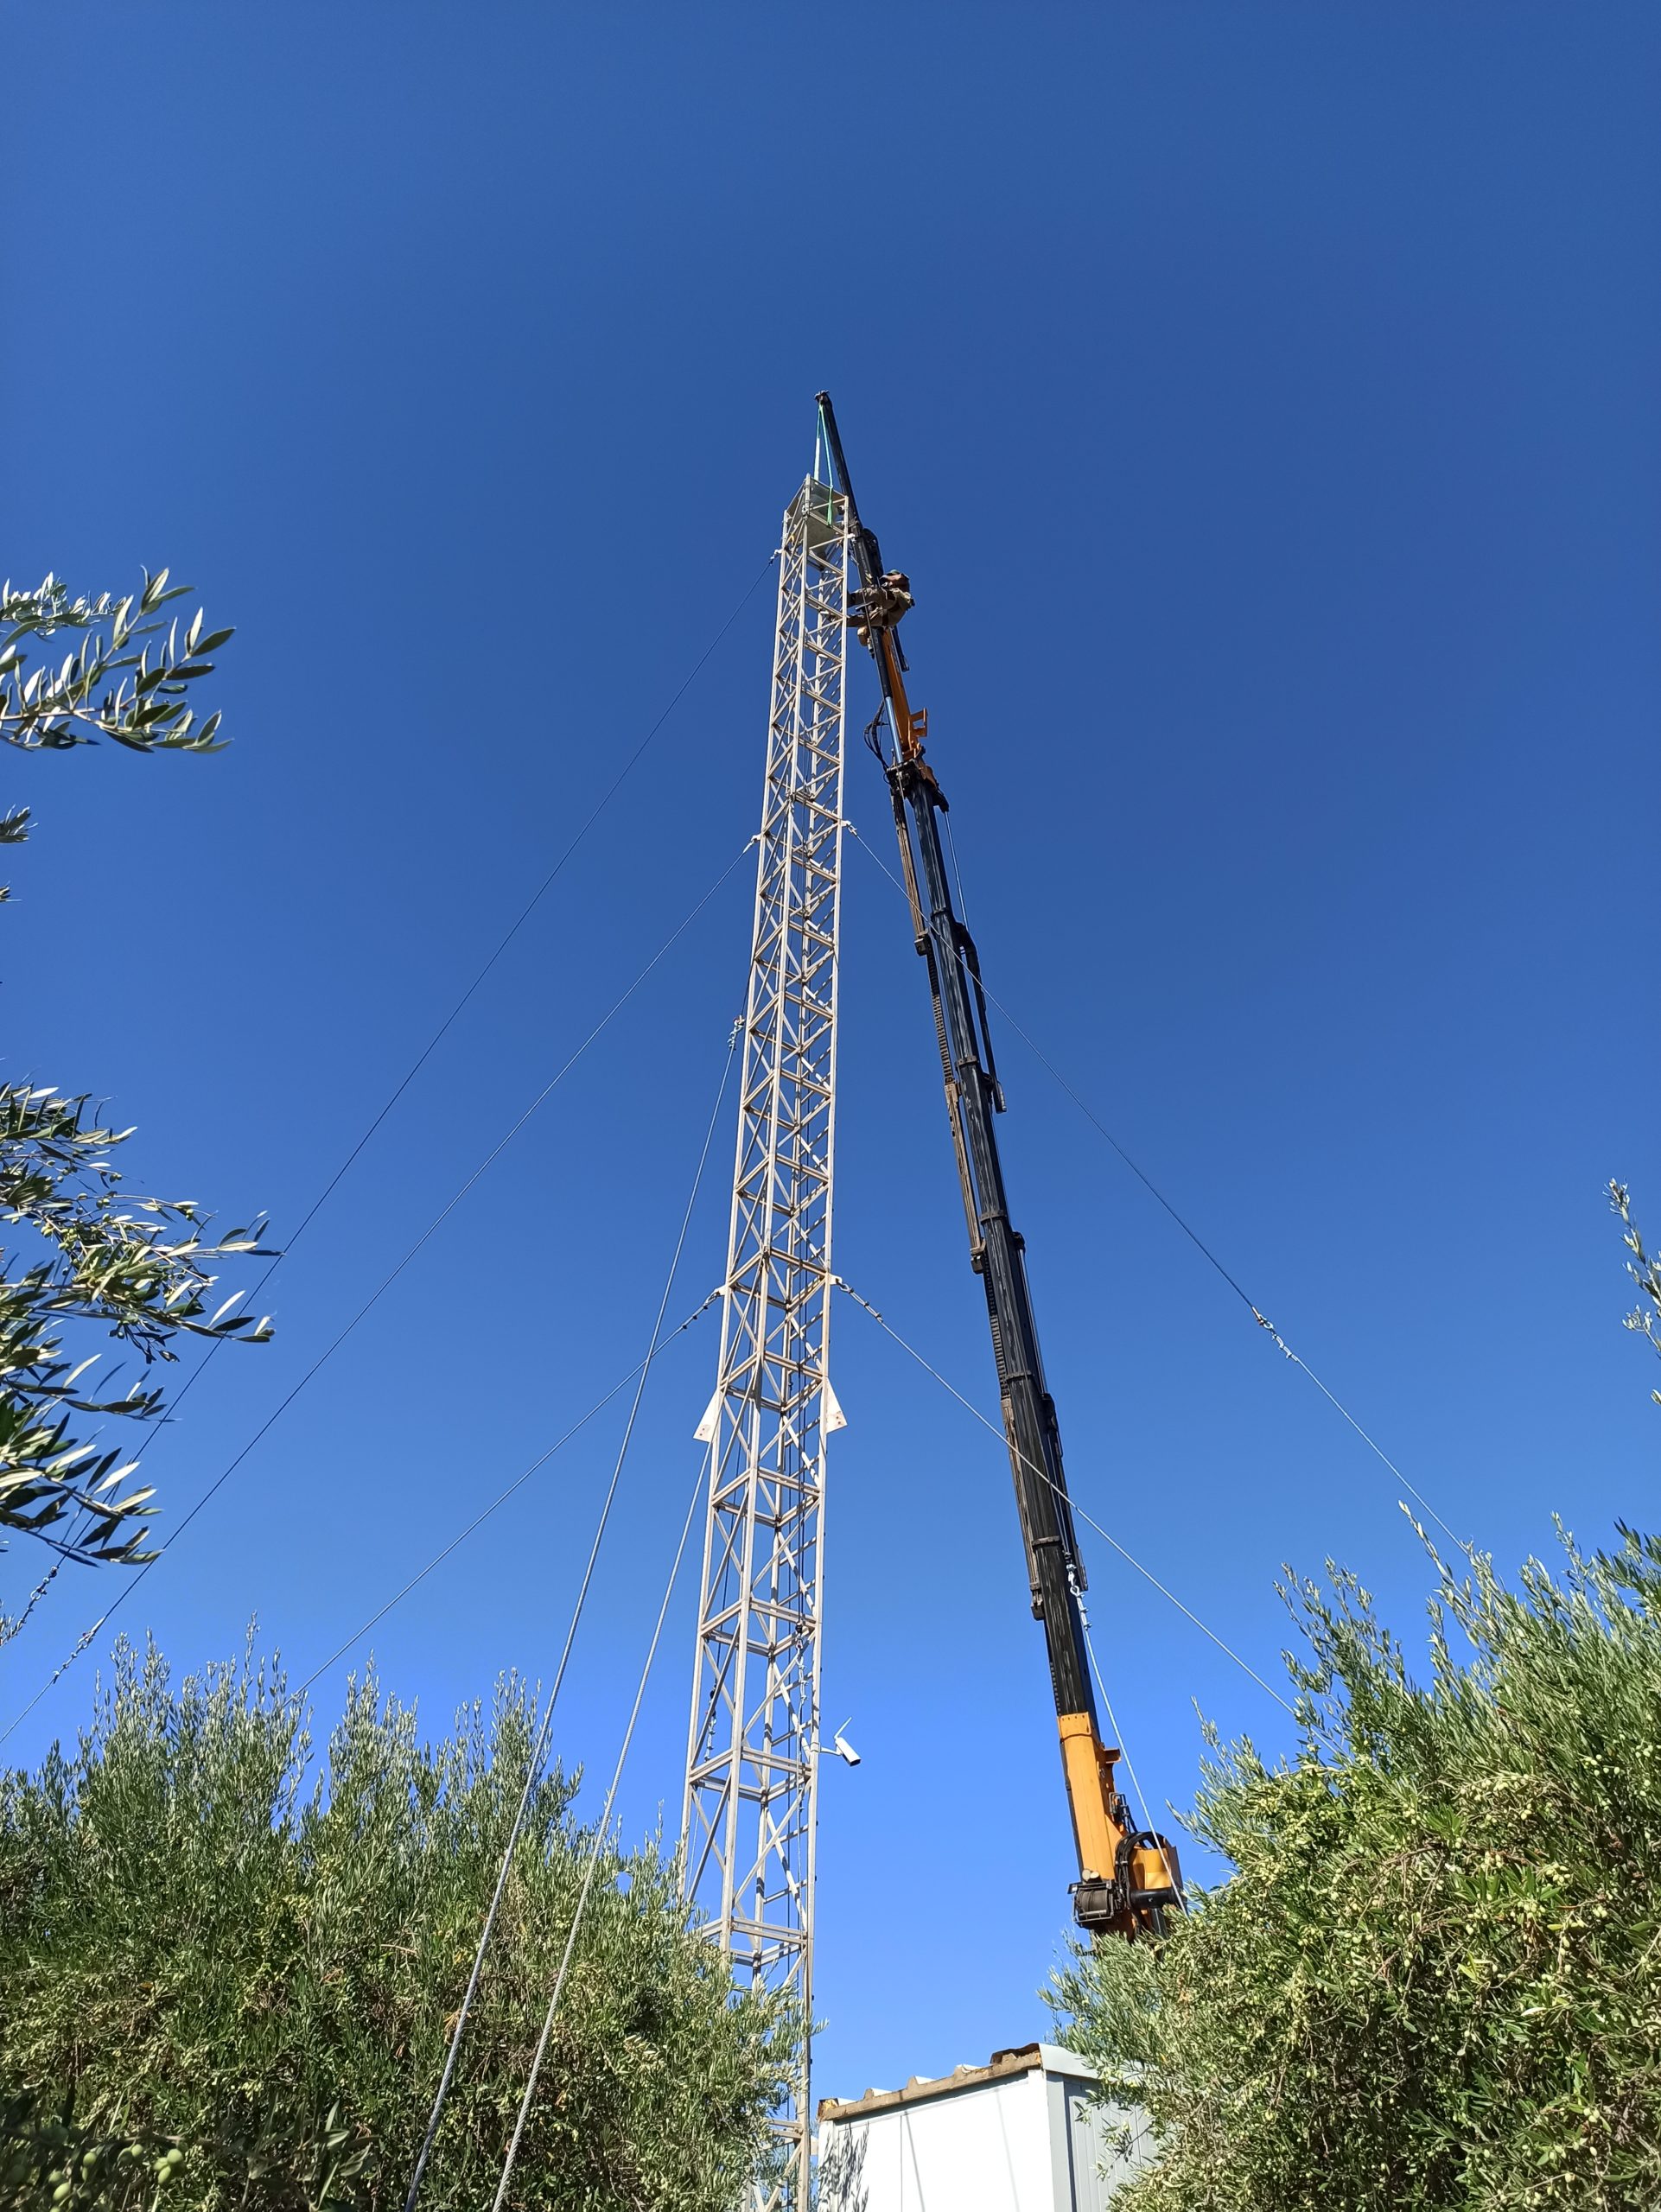
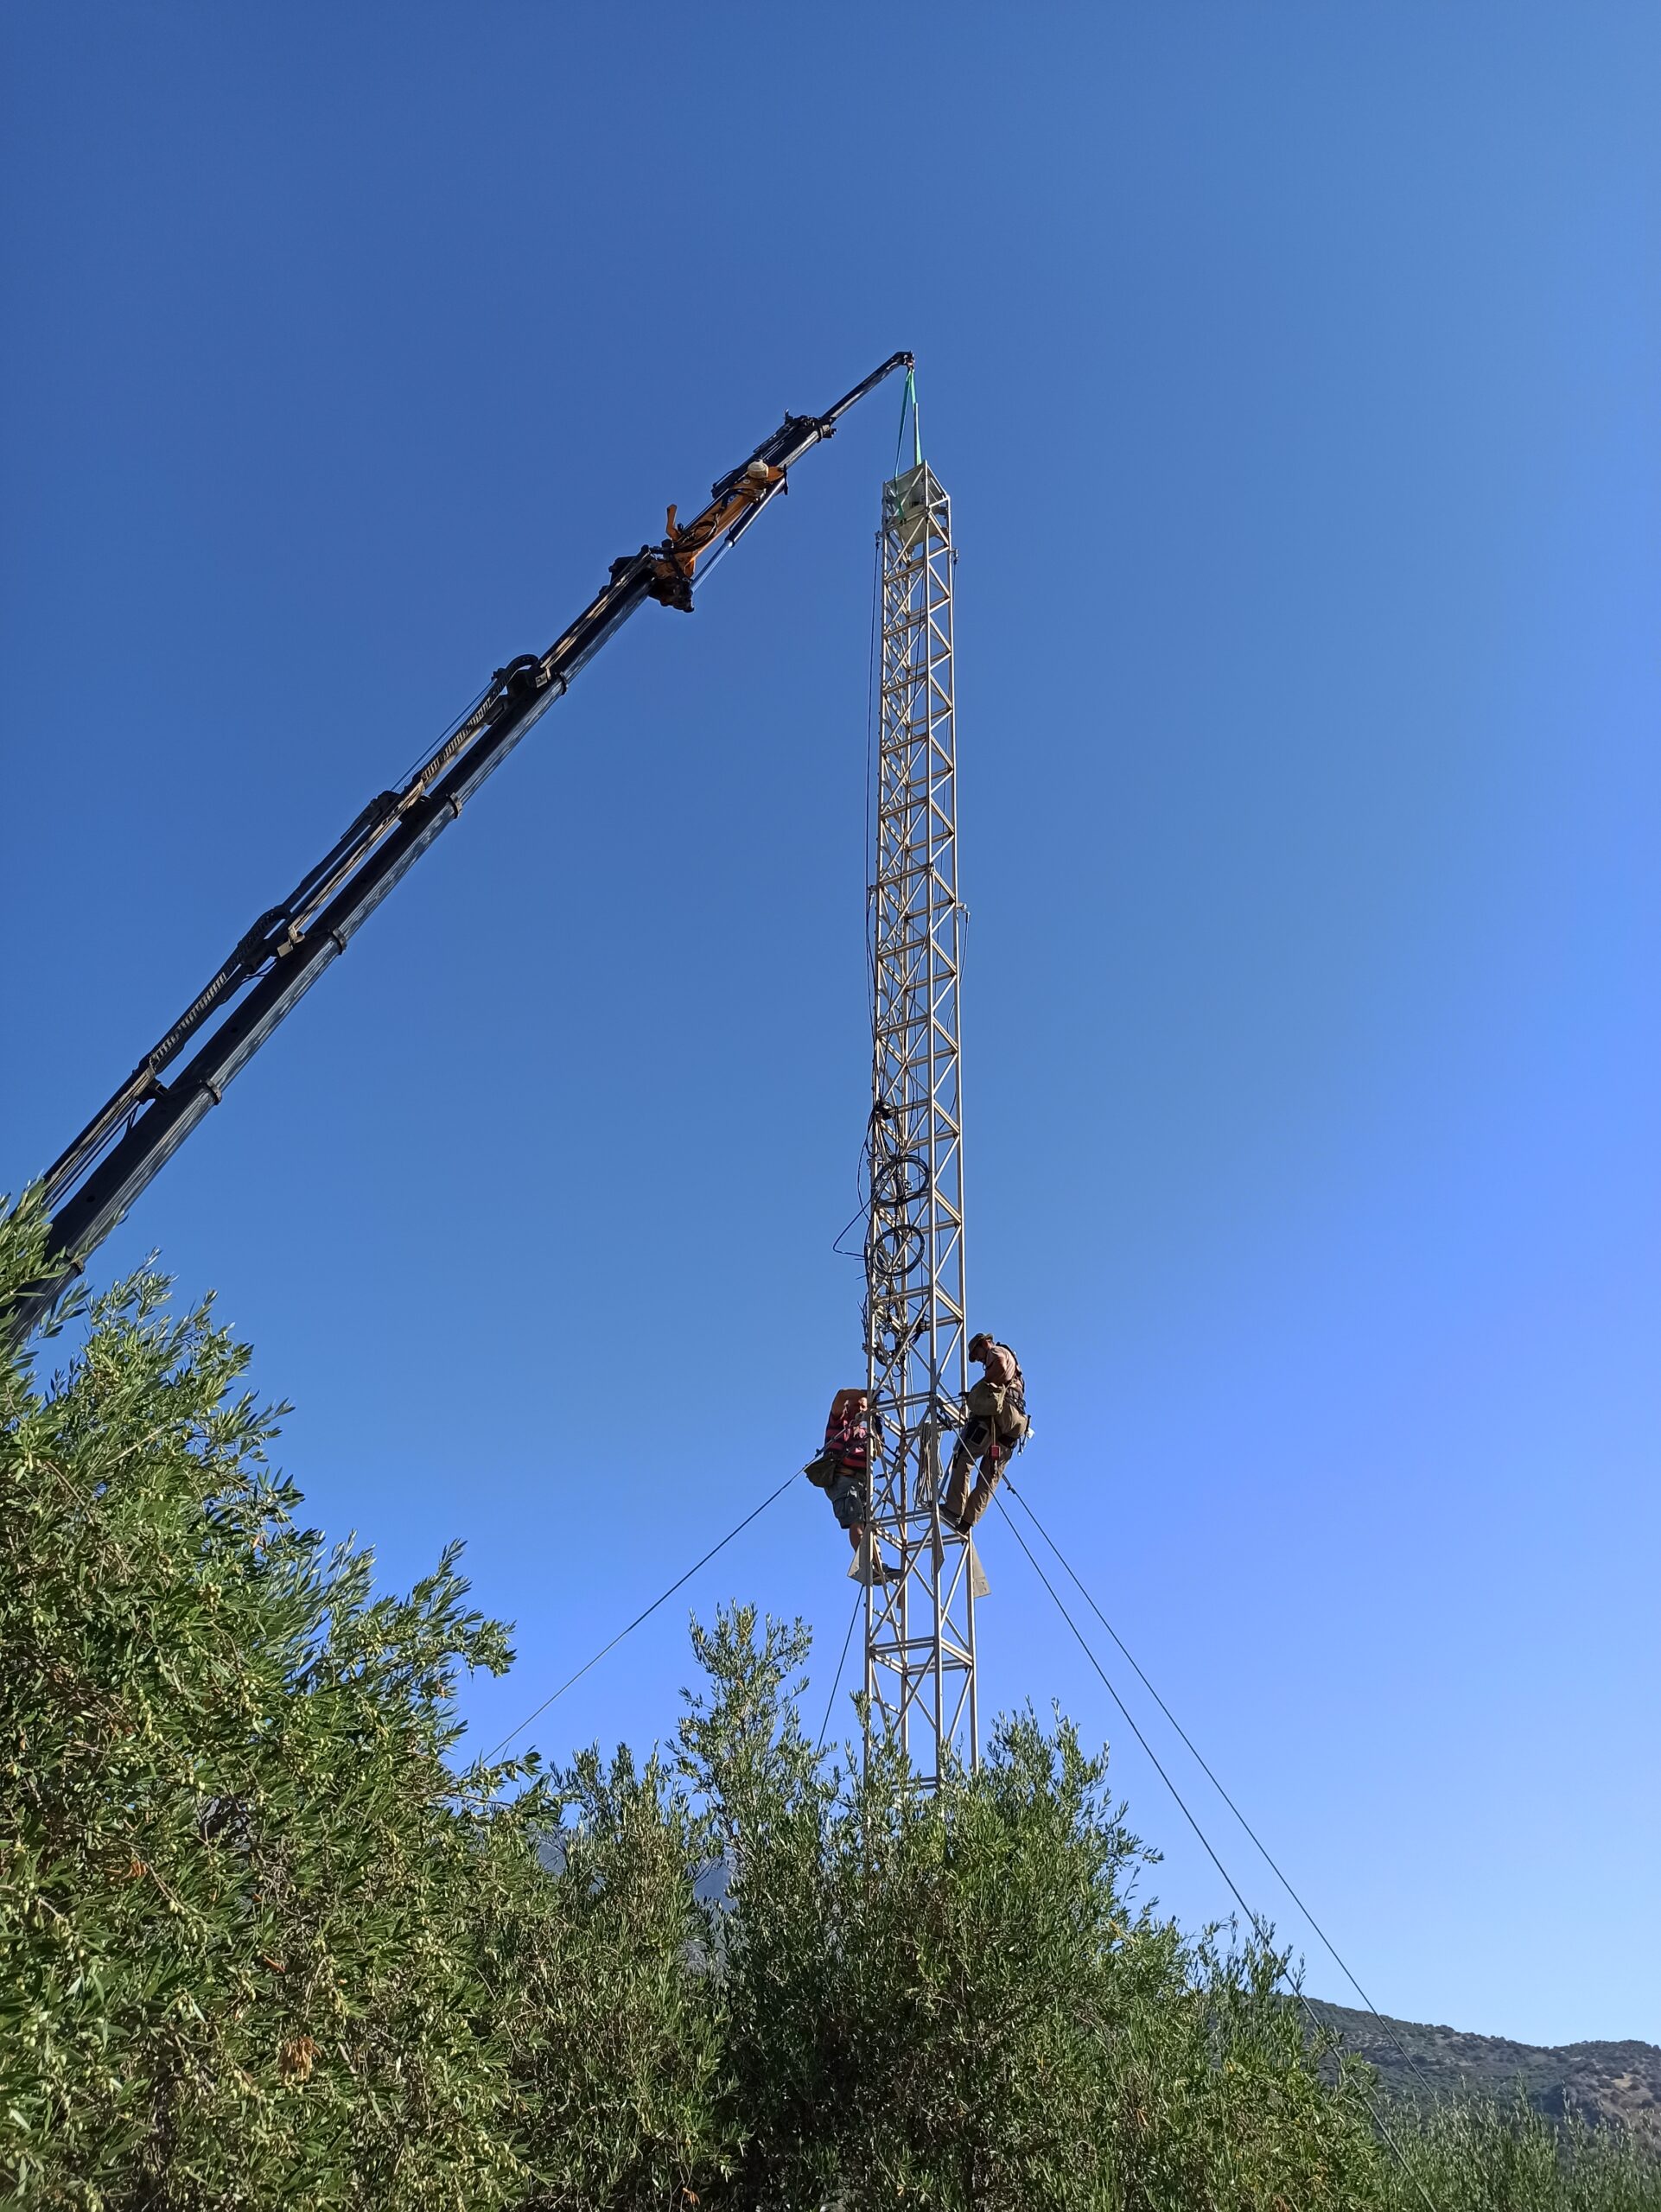
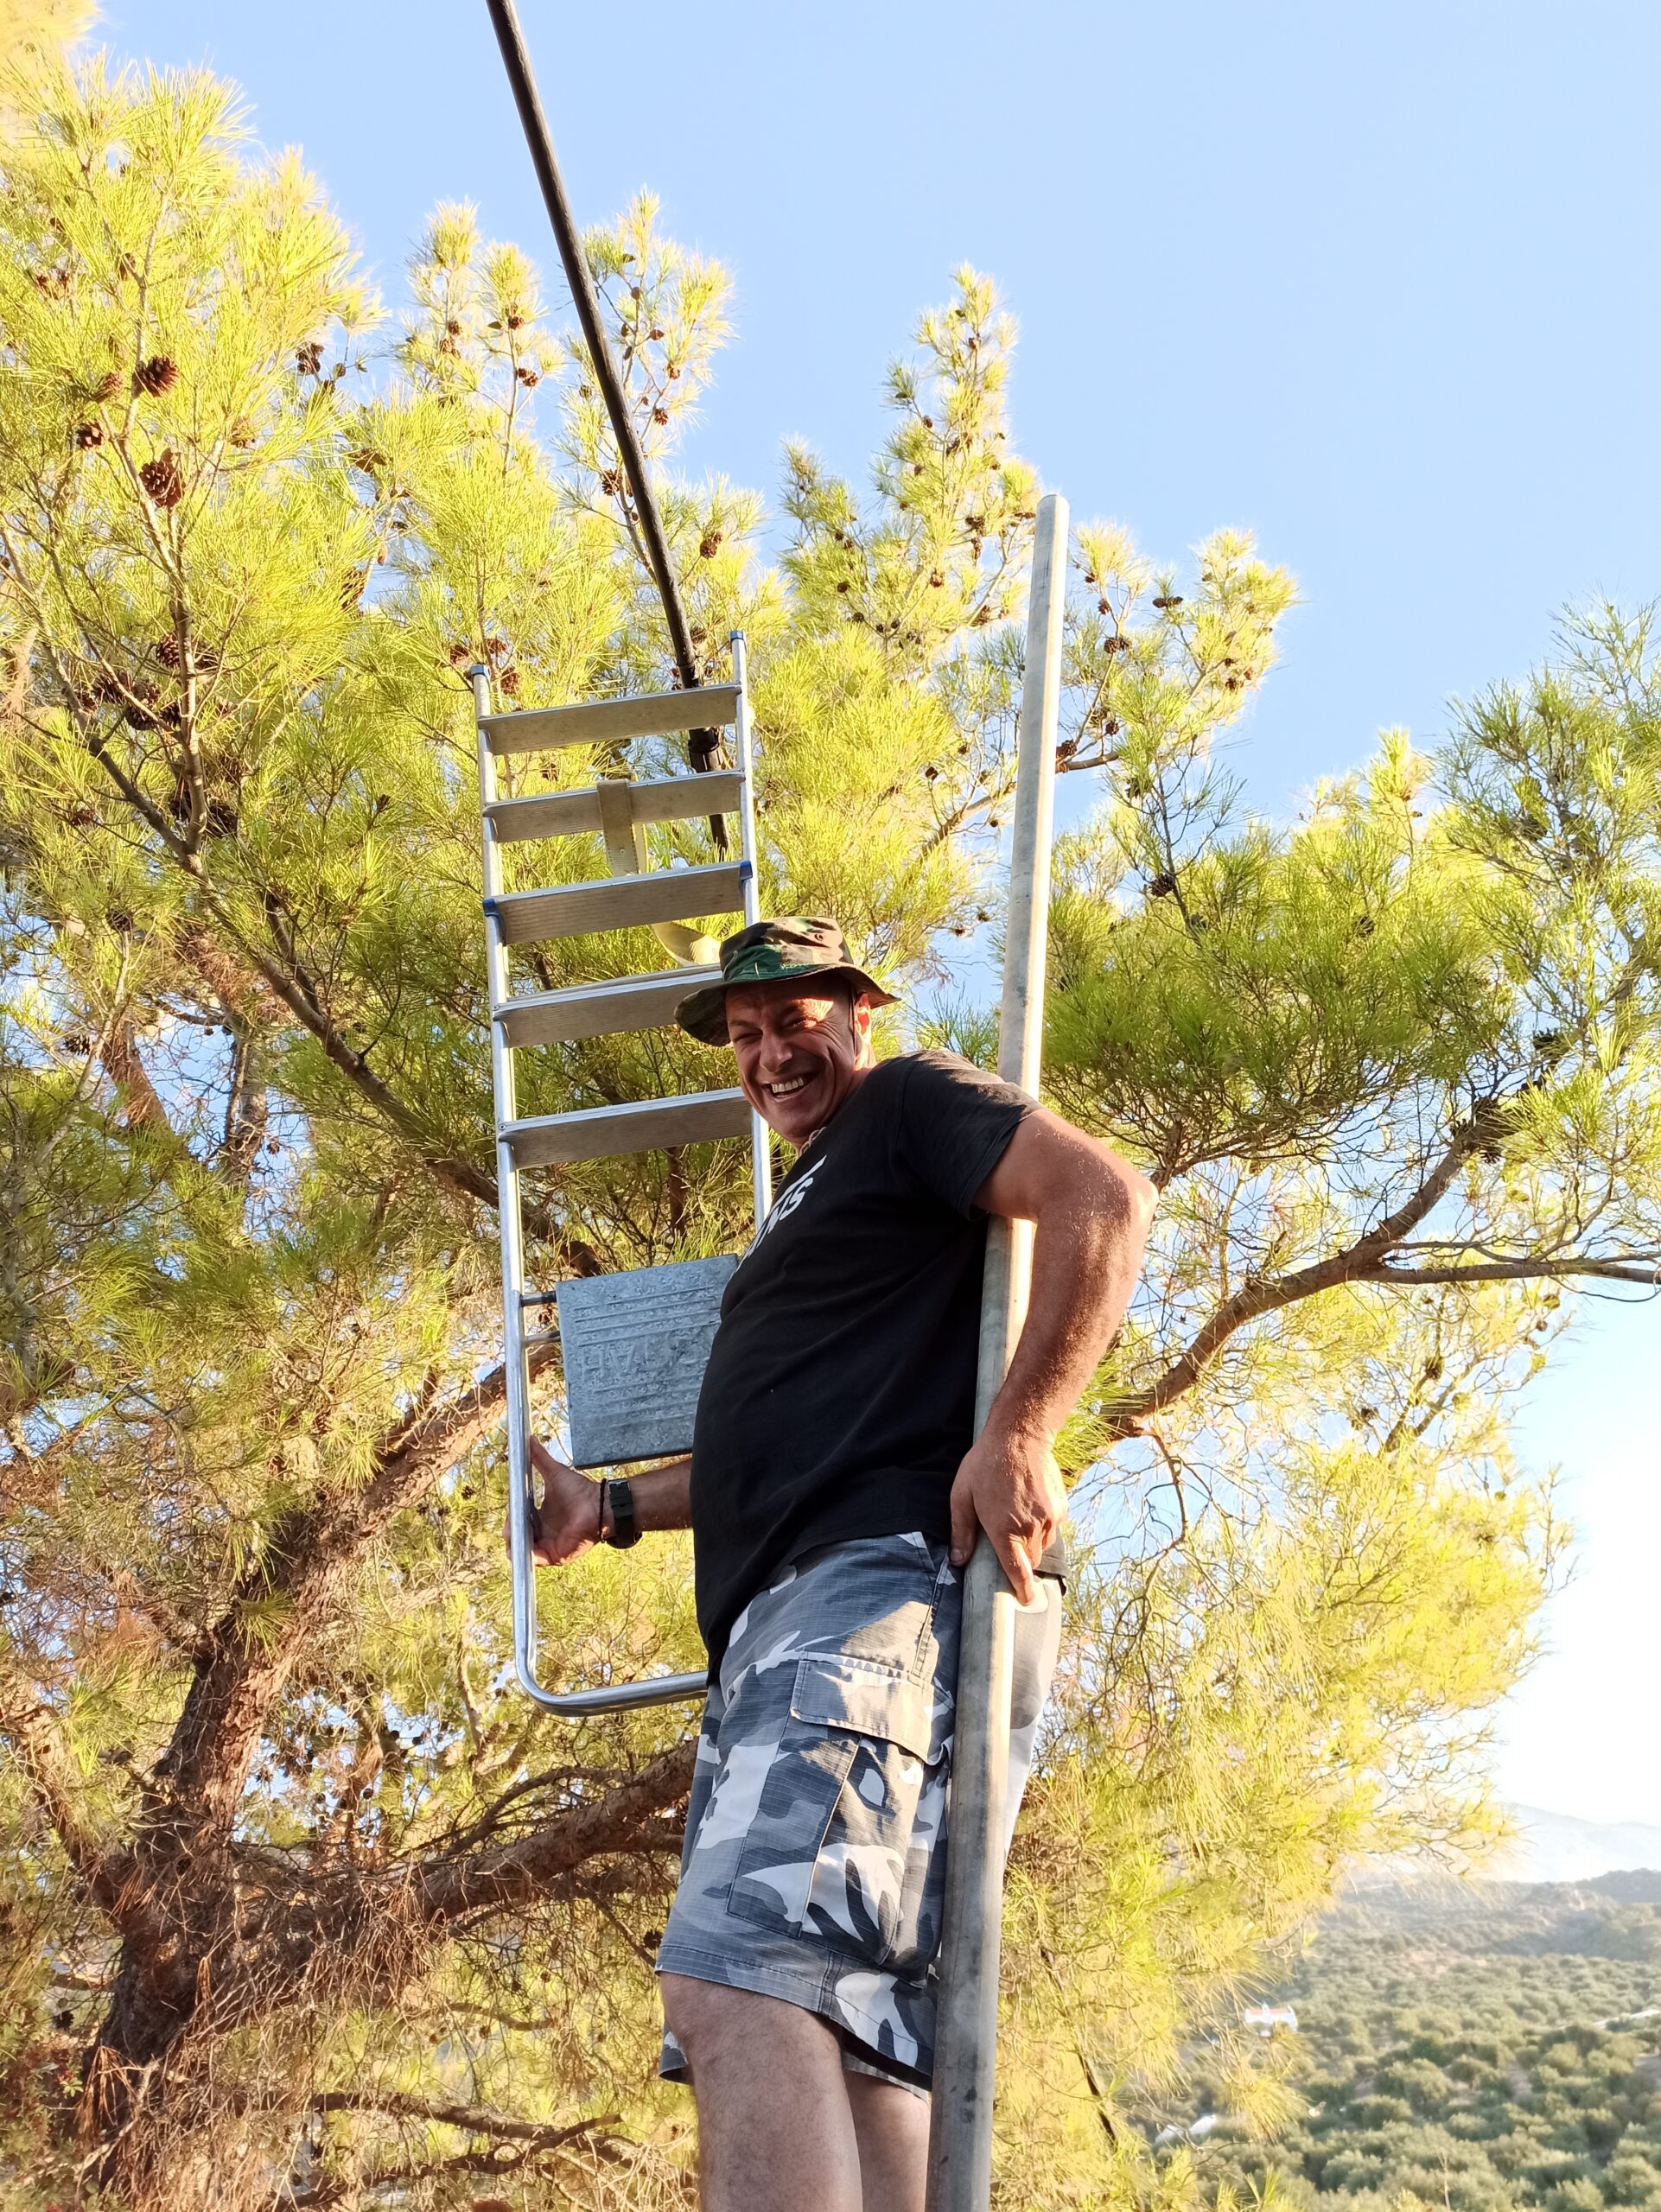
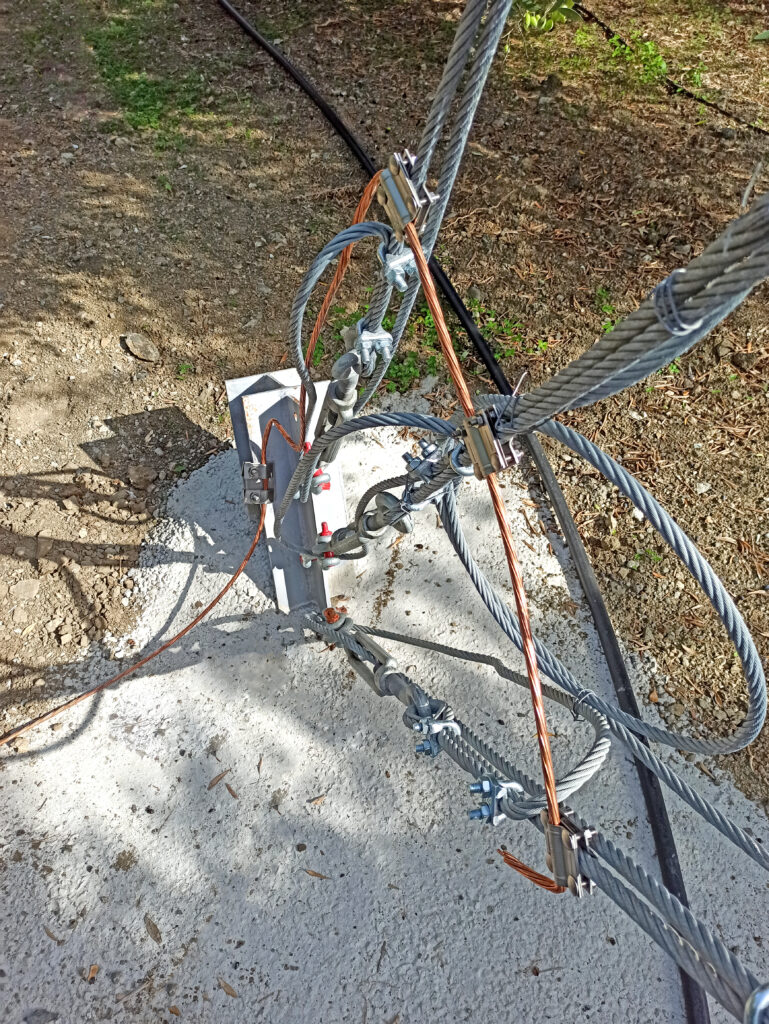
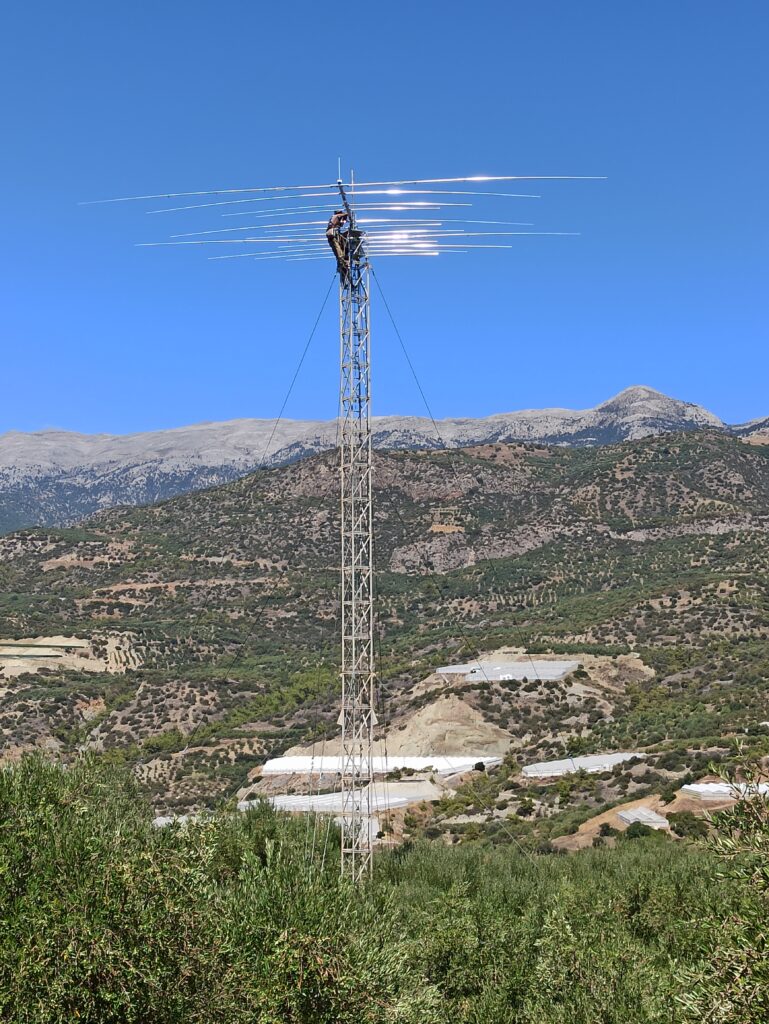
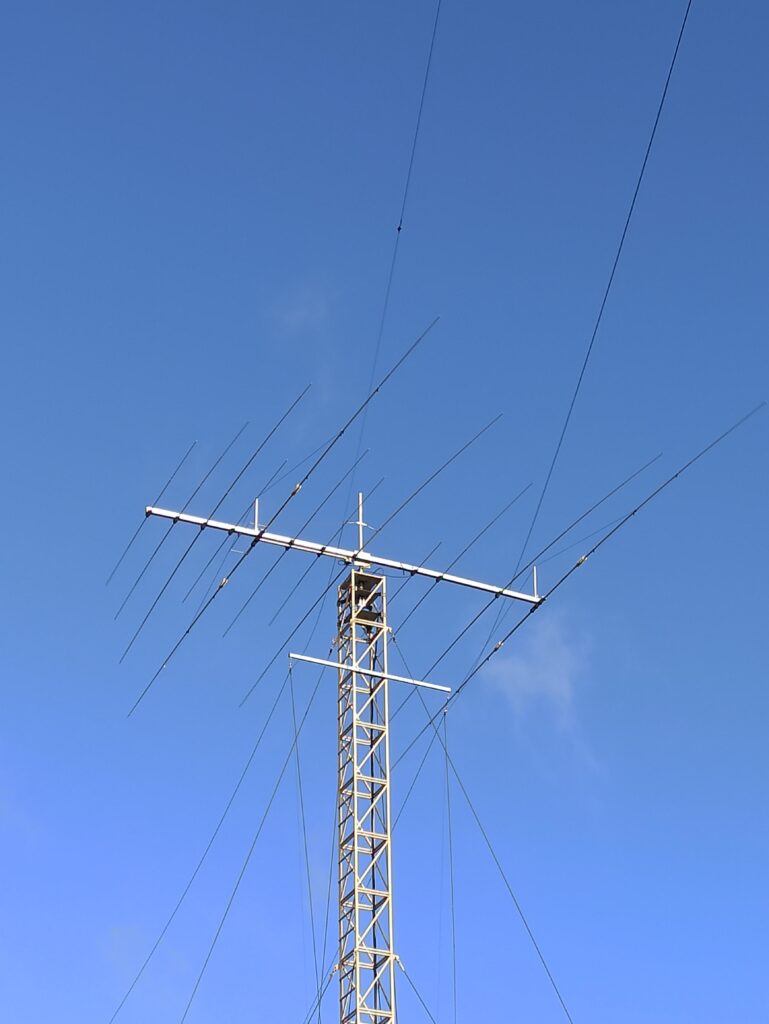
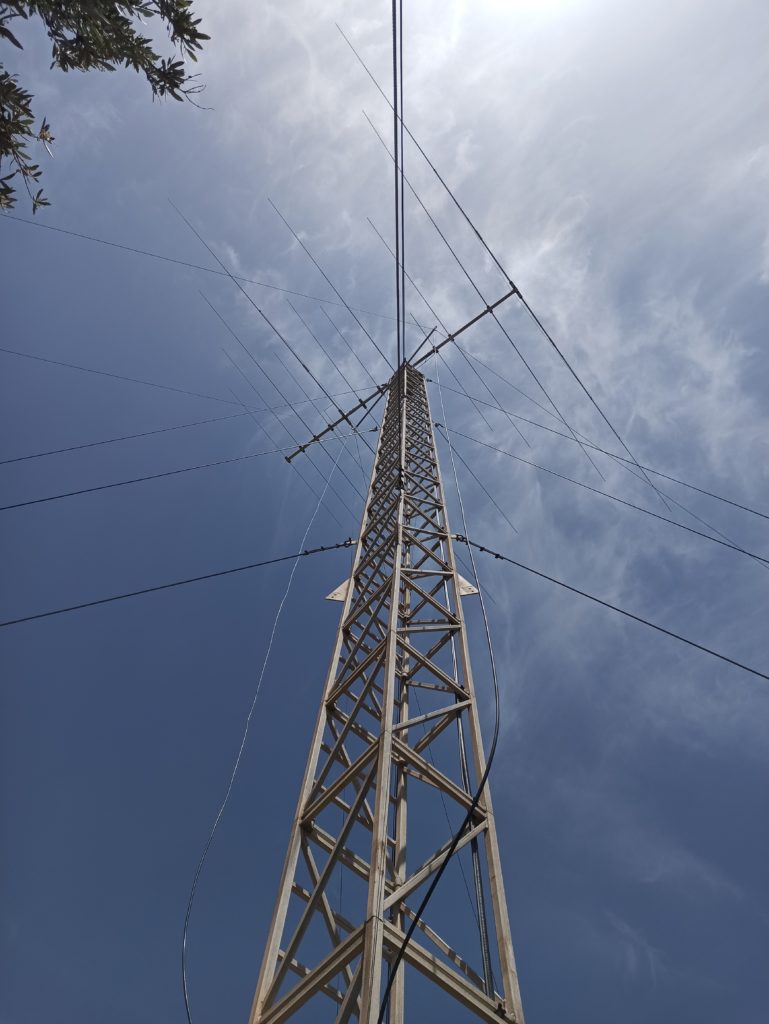
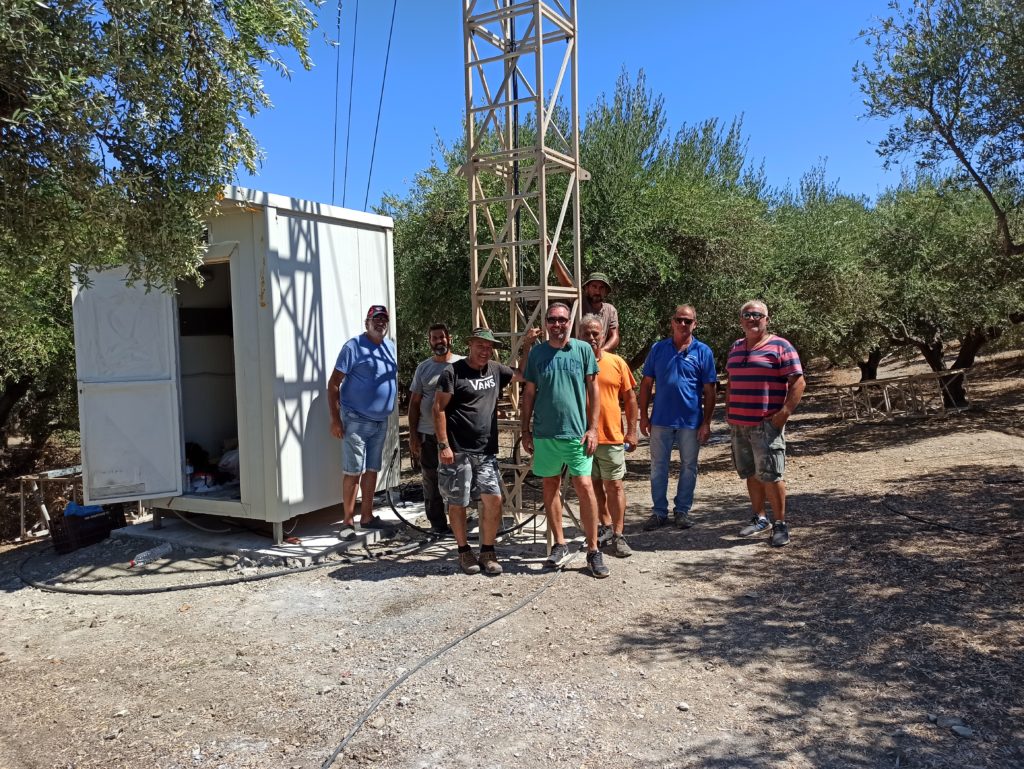
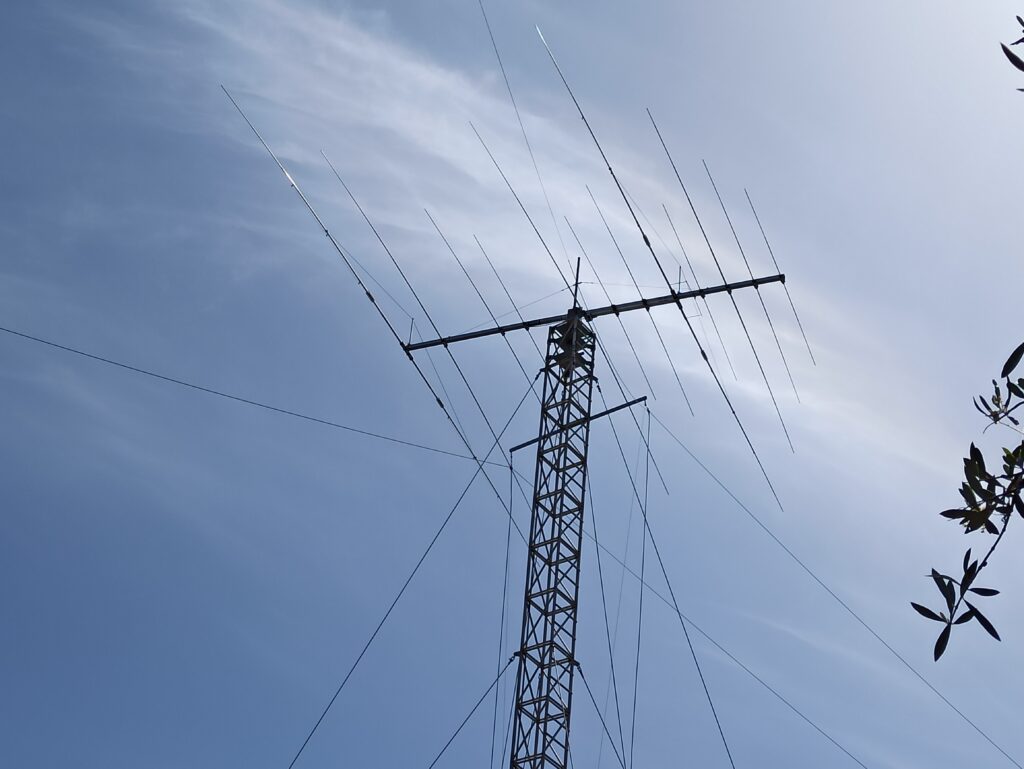
Based on the above, it was now clear, both for the quality of the equipment and for their selection, that everything needed to have contest grade specifications. We secured a stable 27m tall mobile cell telecom tower (in the end we used the 22m due to the fear of lightning). For the main multiband beam antenna, we selected the Optibeam ΟΒ 12-4. The Prosistel PST61 (LAN module) was chosen for the rotator. The guy supports of the tower were done at three points, at 9m with M14 wire-cable, at 15m with Mastrant and at 21m with Parafil. The bases were dug 1.2m deep and the anchors used were 1.5m.
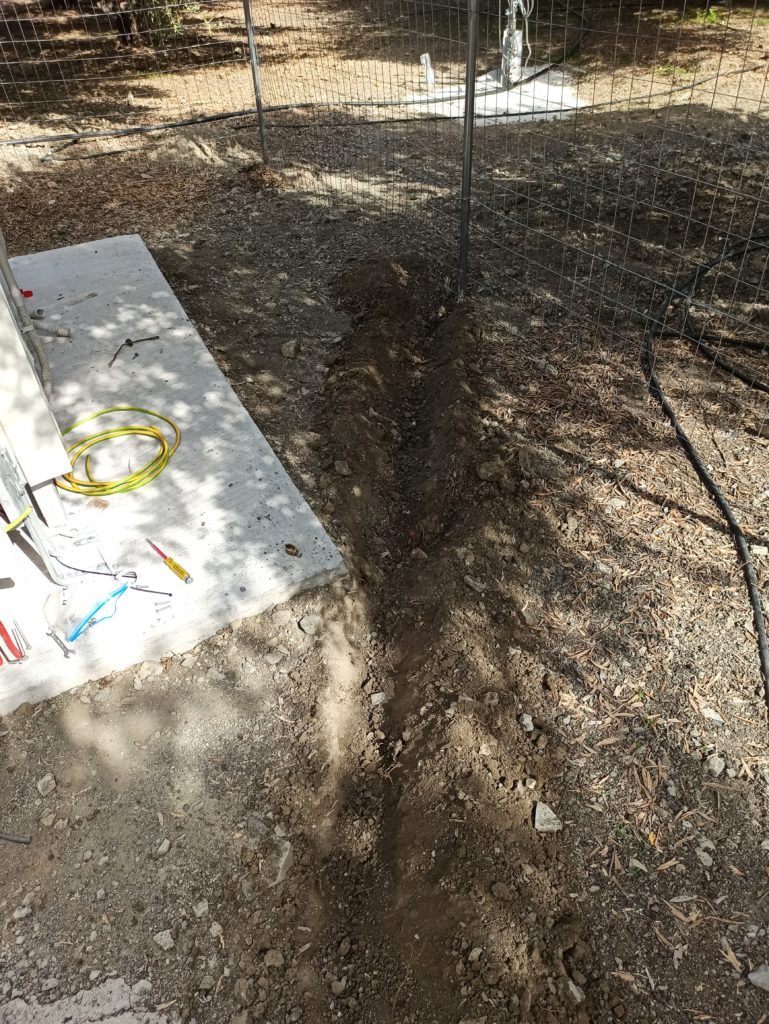
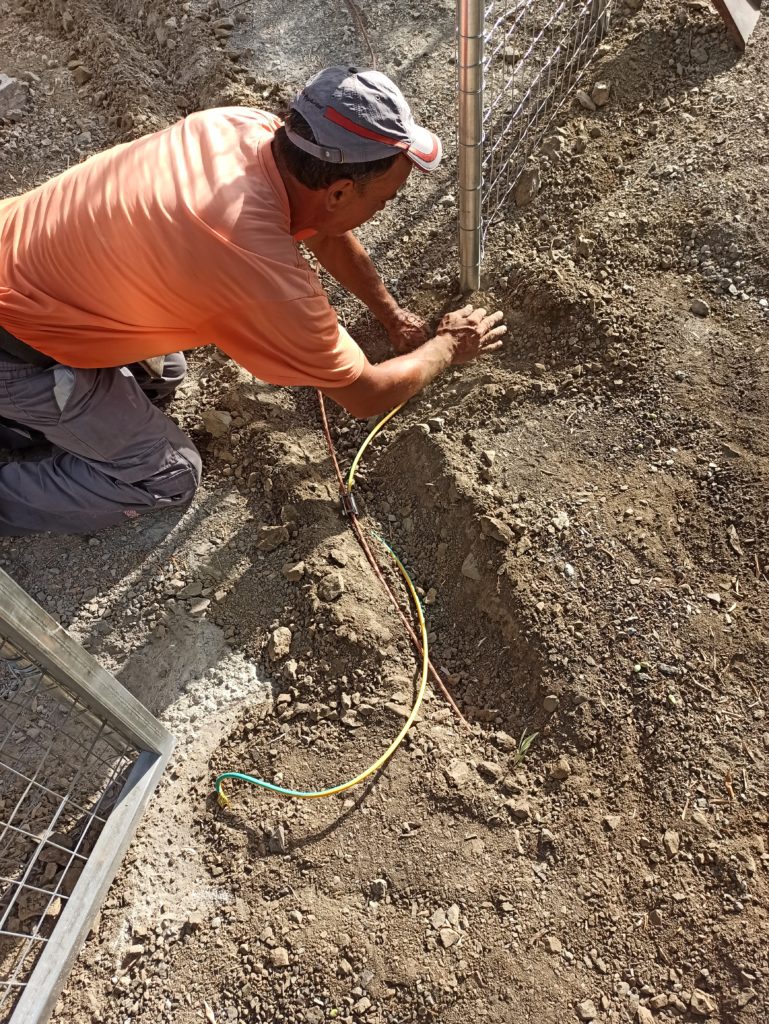
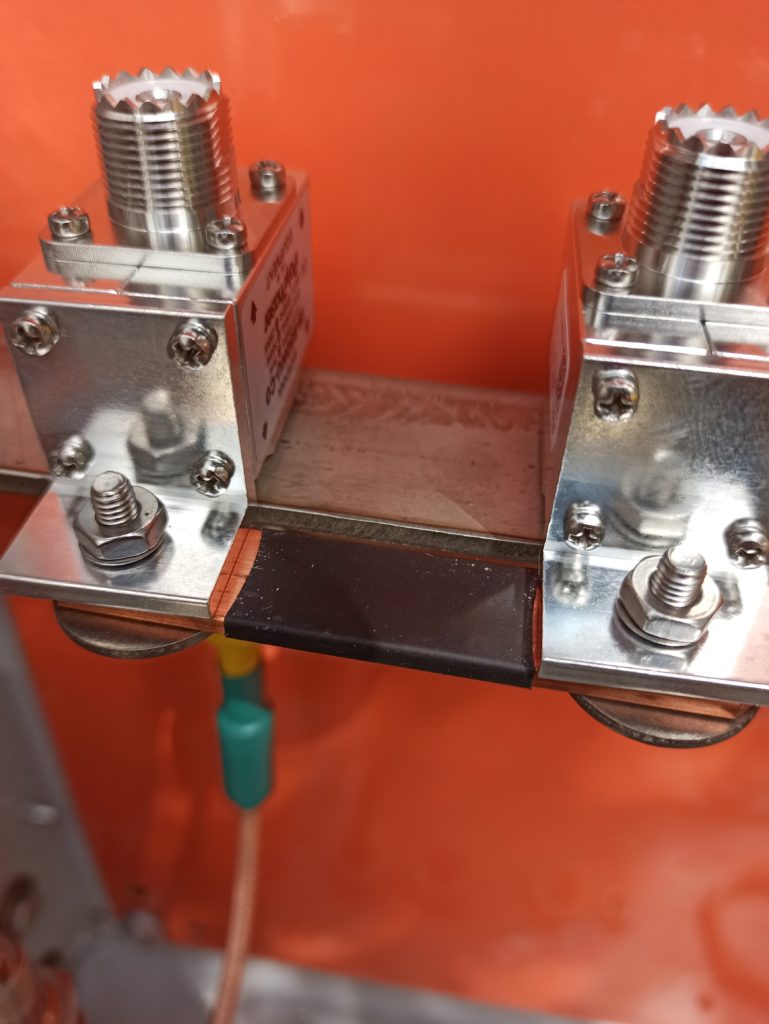
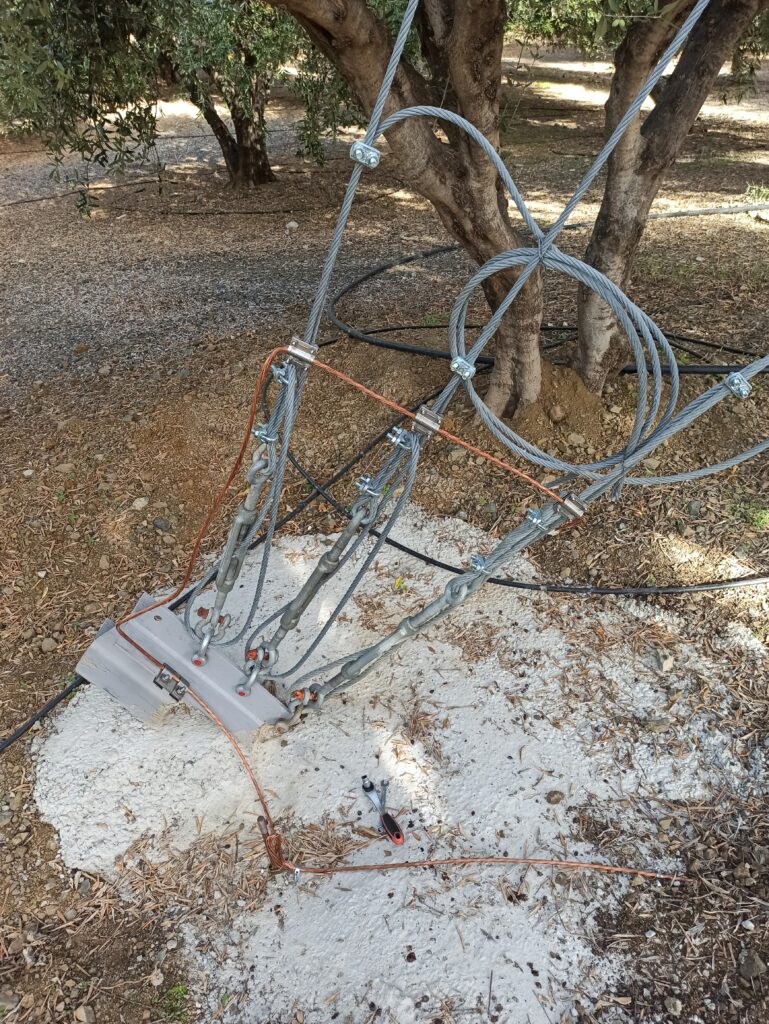
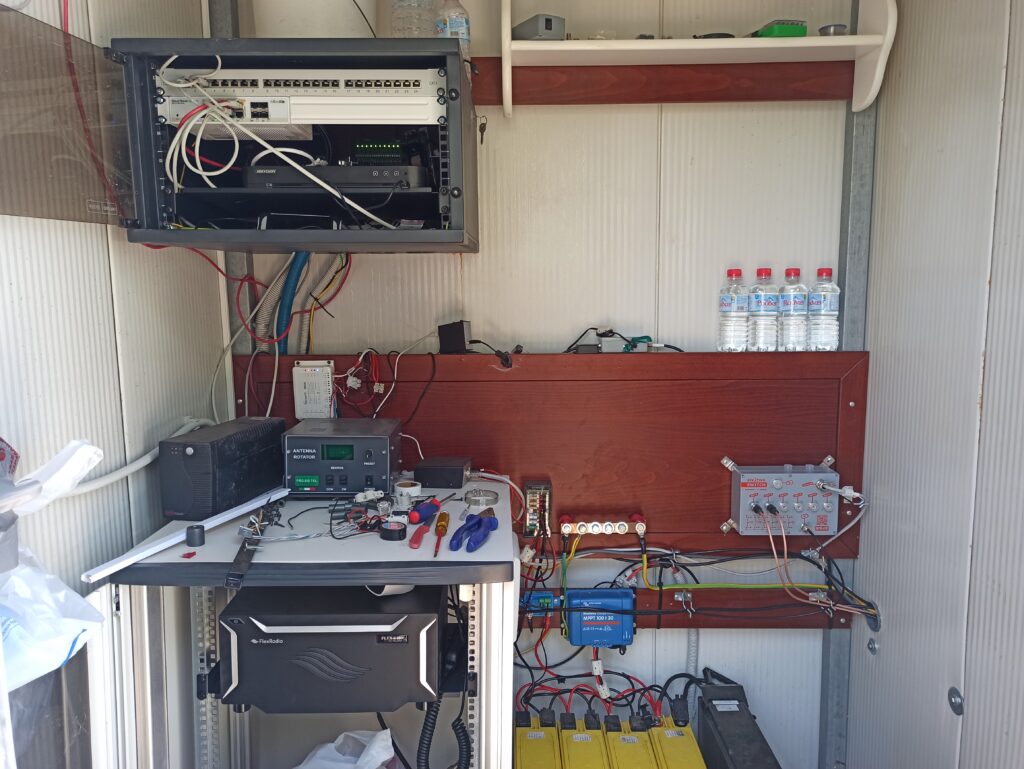
We installed triangular grounding rods at the base of the tower and at the guy anchors, all interconnected with 50mm2 multi-strand copper cable, and with all the necessary heavy-duty grounding accessories supplied by ELEMKO. The feedline for the directional beam antenna selected was Andrew 7/8” HELIAX (donated by the contractor!). For the lower bands, Double Bazookas were installed at a height of 20m. The choice was made due to their low noise, their large bandwidth, but also because they are DC grounded which would provide additional protection against static buildup. The feedlines were grounded at the top of the tower as well as at the base and fed through PolyPhaser lightning arresters. So was the rotator control cable, where my friend Thomas SV2CLJ did his excellent homebrew magic, along with the patch RF cables! The CCTV security part was again implemented by SV9GPV with the best camera and recording systems. The alarm system was taken care of by Francis SV9DJR. The networking part is based on Mikrotik routing/switching/VPN/LTE backup & a Mimosa backbone, in order to transfer the VDSL line to the station. A total of 4 p2p low latency links were used.
Power supply
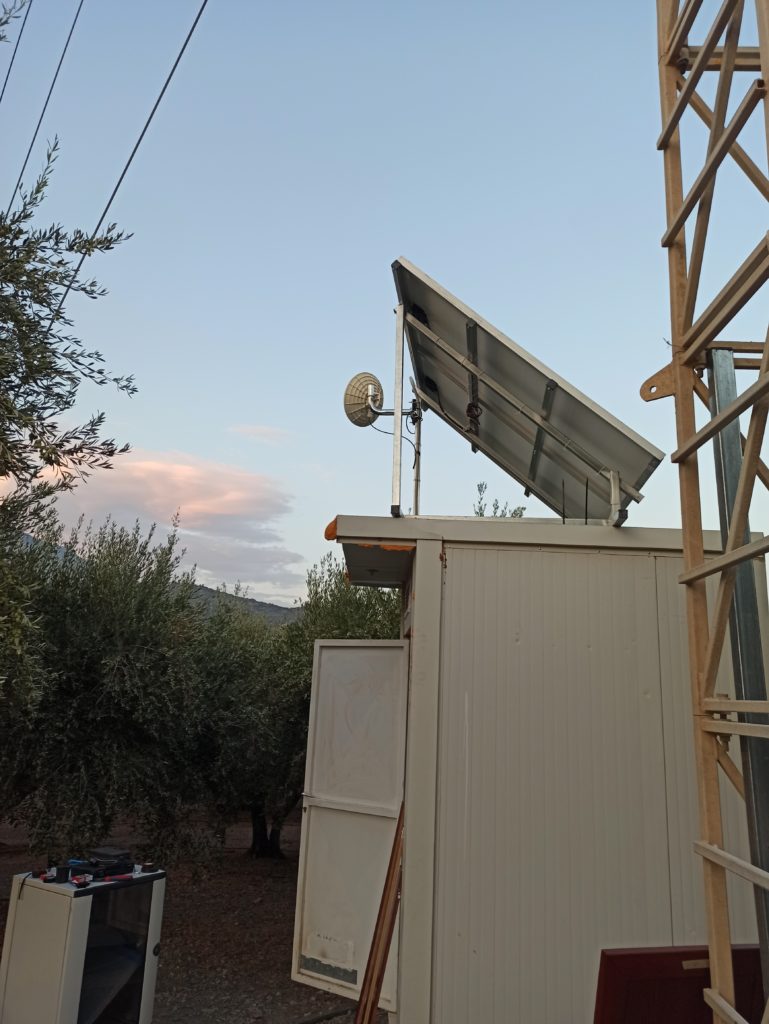
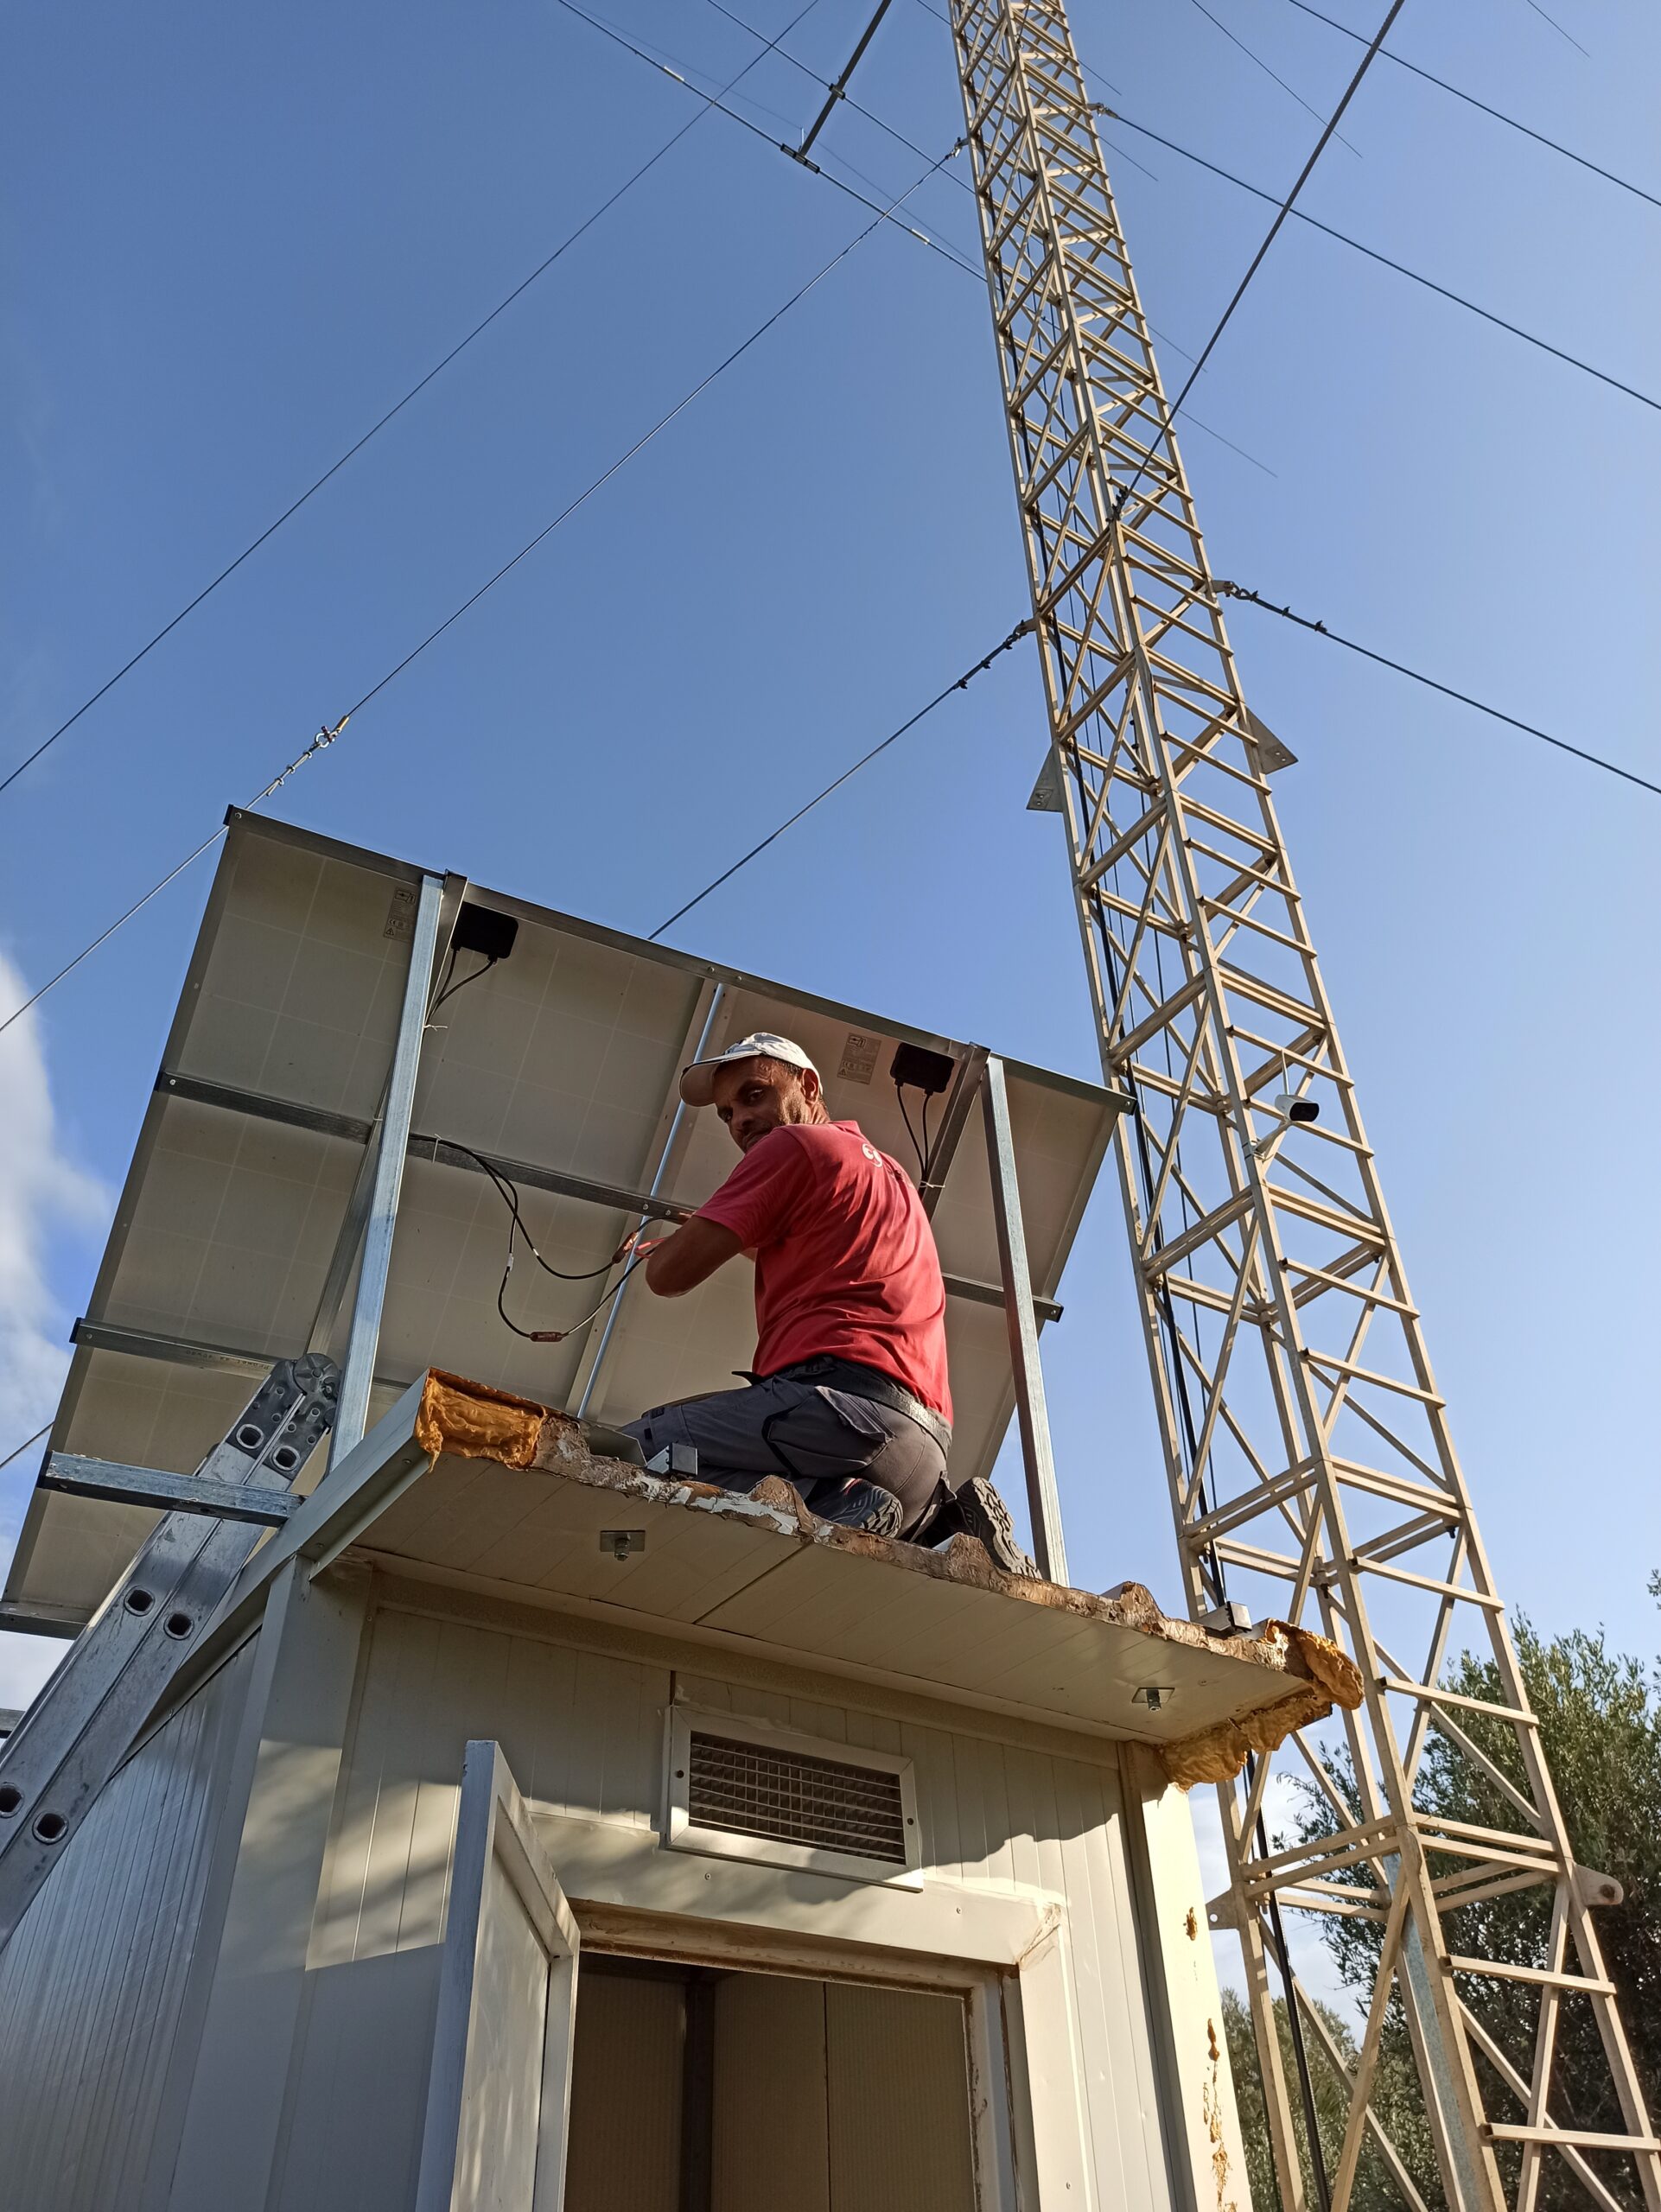
Given the lack of a 220V power-grid, in such a complex project, power consumption and management is a challenge and requires proper power budget planning. We started with the installation of two 245W solar panels that were each placed on the roof of the Isobox. 12V Power Supply voltage was selected instead of 24V, because most of the equipment is supplied at 12V with the exception of some relays @ 5V, and the link that works with a DC2DC inverter @ 24V.
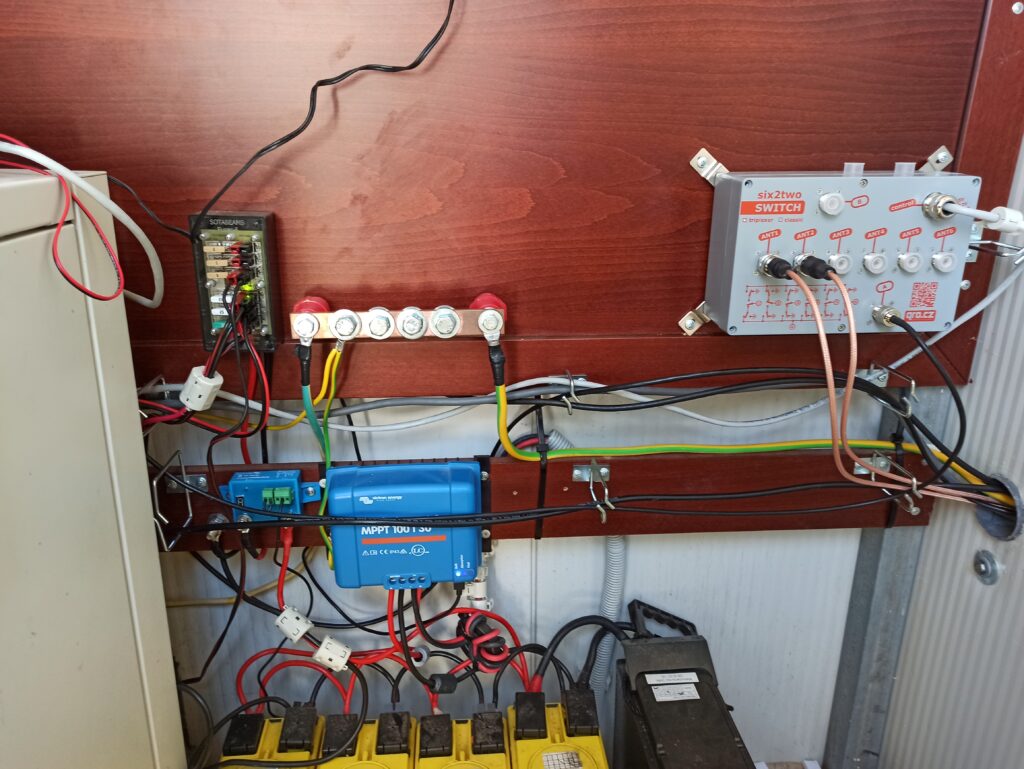
For the solar charging controller, we used the Victron MPΡT 100/30 which easily produces 30A (on a good day it delivers over 2.5KWh) to four PowerSafe 92Ah batteries each, all connected in parallel. Continuous consumption is around 5Ah during the day and 7Ah at night due to the infrared from the cameras. With the above equipment, we ran our first CQ WW contest 48H without sunshine for about a day and a half (only on Sunday for 4 hours). Pretty good for the month of November which was the most difficult month in terms of sunshine. At the time of writing this article we also received the generator that will help whenever needed and will make possible the use of an amplifier mainly for DX hunting. Connecting to the 220V power grid is also planned in the future, so we will have many options to run off-grid and on-grid if required.
Automation
For the remote control of the station it is necessary that all the devices are remote controlled reliably. Also, due to the current lack of mains power, the installation of a PC is not worth the energy. Therefore, we had to choose autonomous wifi devices or LAN relays to control the transceiver, preamplifiers, rotor, RX antennas and of course the generator.
Indicatively, SONOFF 4ch PRO, Denkovi 16 relays module din were used, and GPIO relays from the raspberry PI that will be installed in the future on site. All of the above needed to be accessible from a single webpage, both for convenience and to avoid any mistakes. The software that was installed and I experimented a lot with during the first lockdown was nodered and it has been installed on Raspberry PI 3. There is enough literature on many types of automation and it is worth the effort experimenting with and building stuff on.
Band switching – Antenna switching
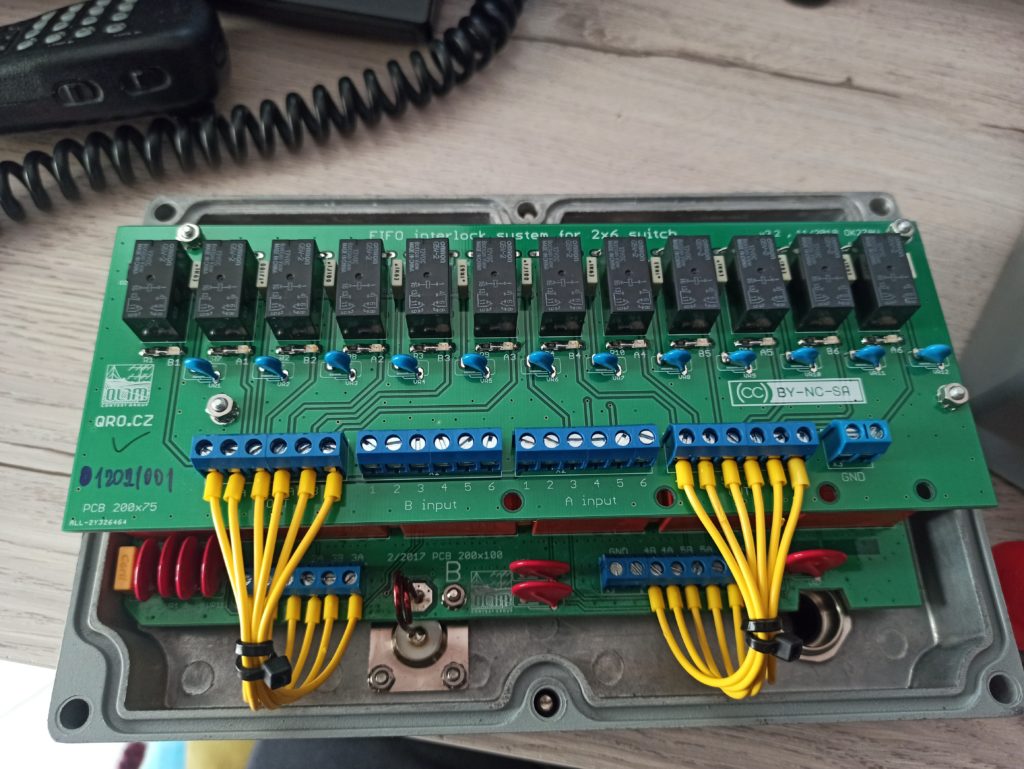
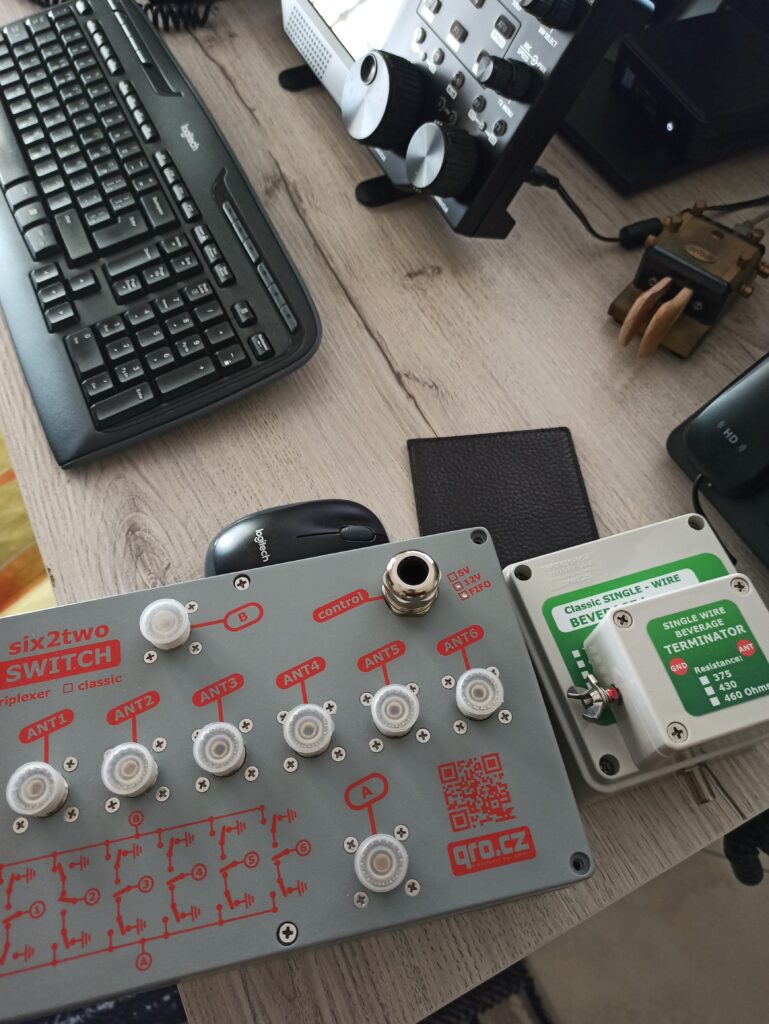
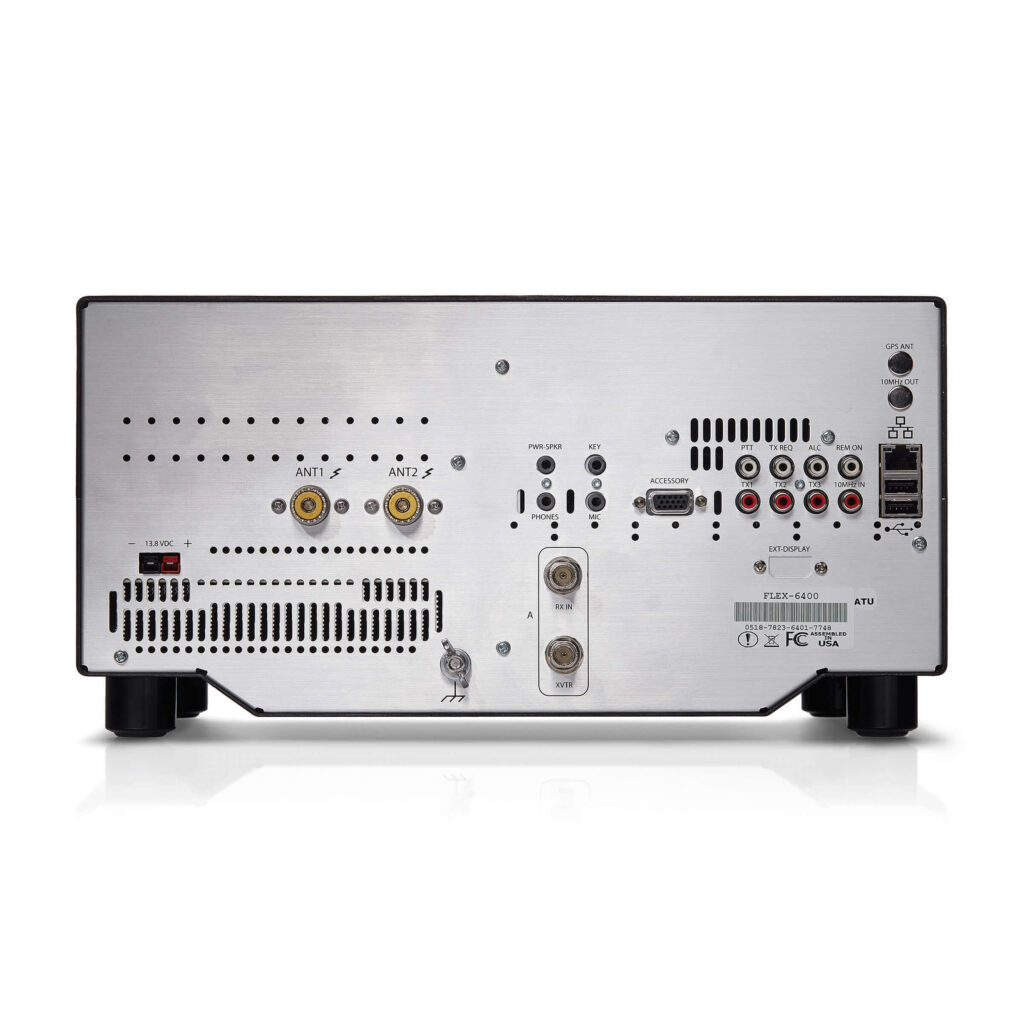
The selection of transmitting antennas is done automatically by a USB Relay connected directly to the FlexRadio which reads the frequency and activates the 6 x 2 antenna switch. With this automation, an incorrect antenna selection is completely avoided.
The management console
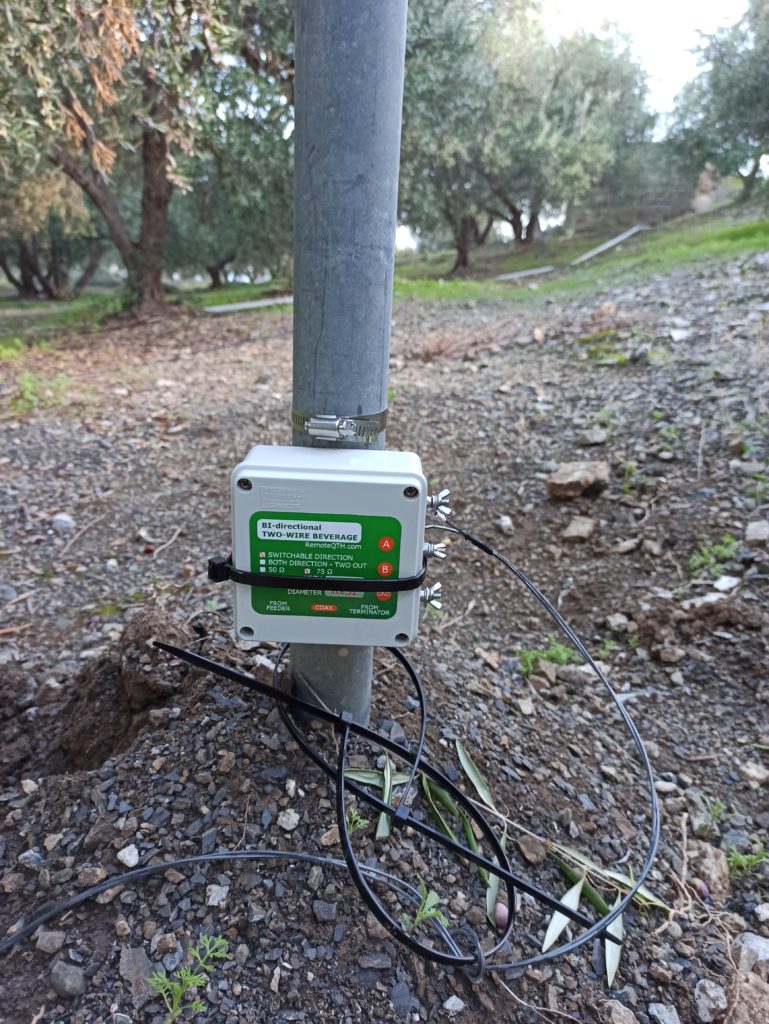
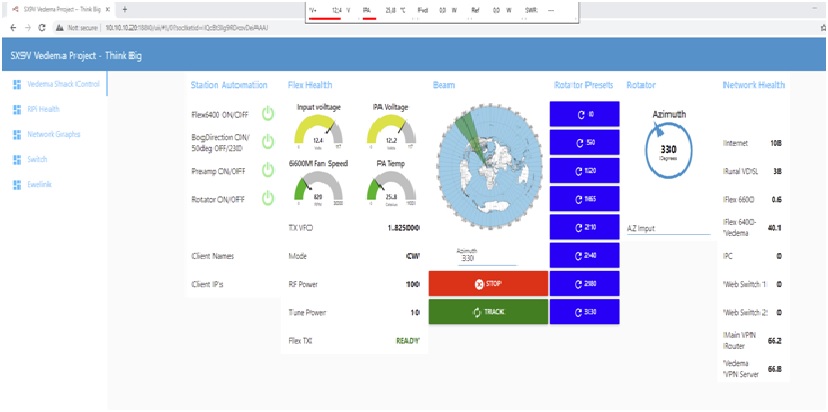
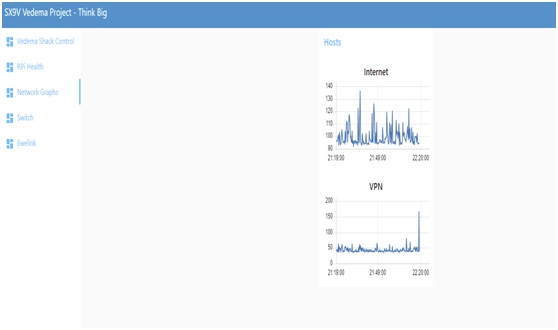
In any web browser, we can open the management page and we have in front of us the ability to see and select receiving antennas – direction, connected users, frequency, power, mode, Flexradio status and the rotator with preset memories, or click on map, manual selection or even with auto-track from N1MM+ for example.
We also see important network status information that is useful:
Why Flexradio?
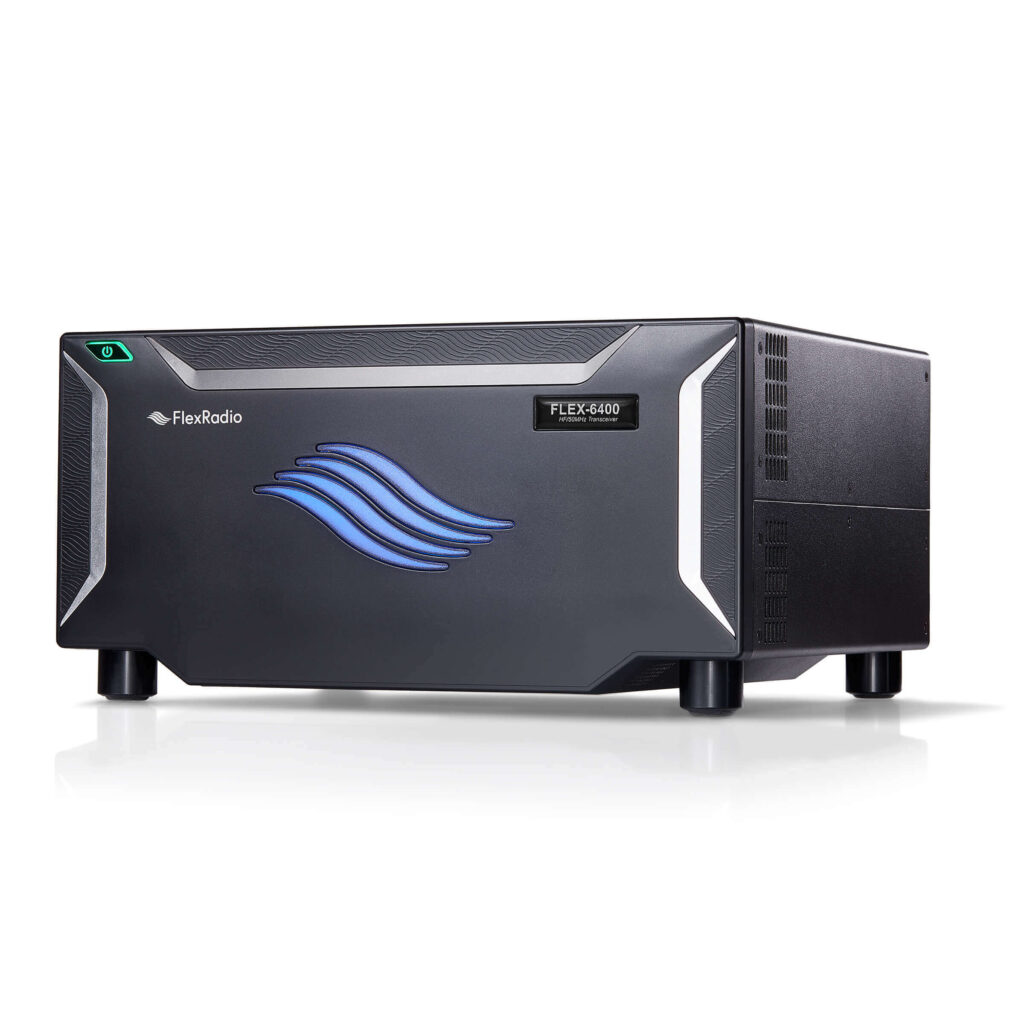
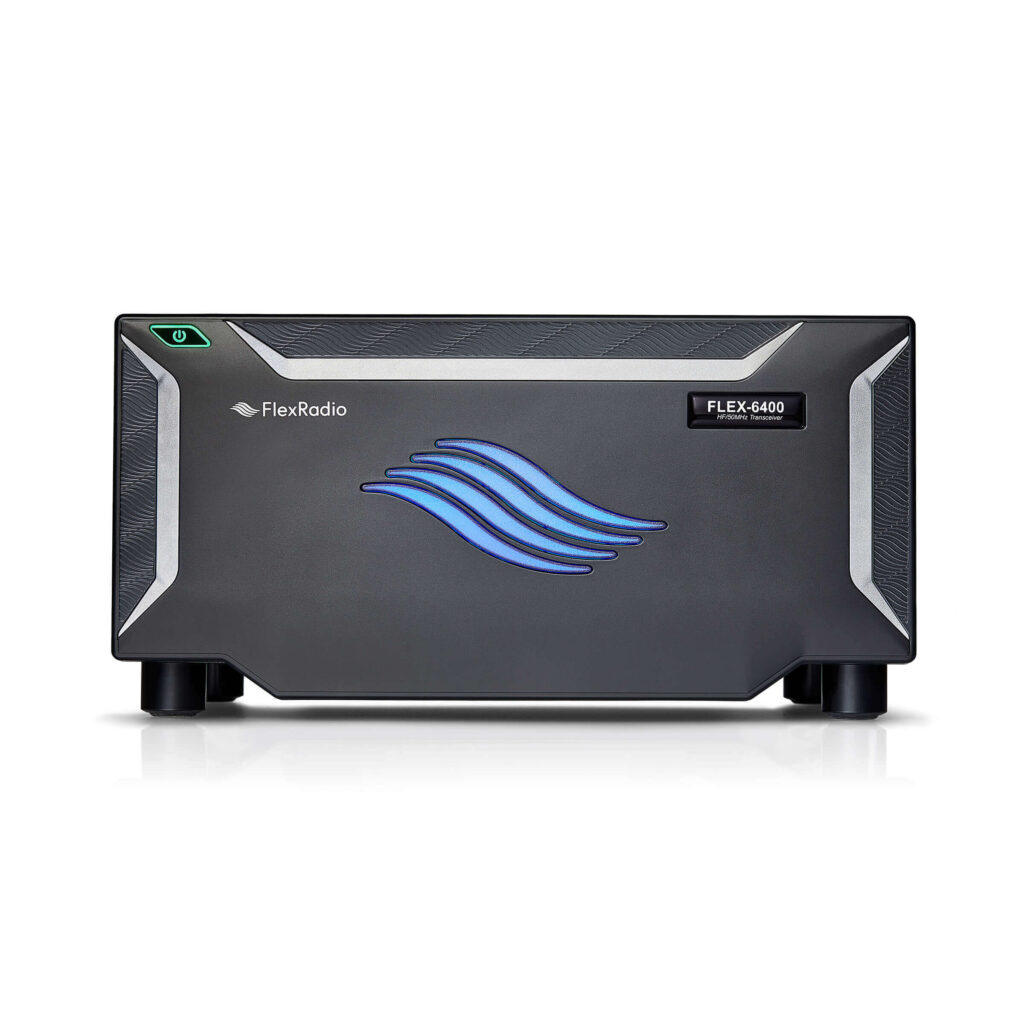
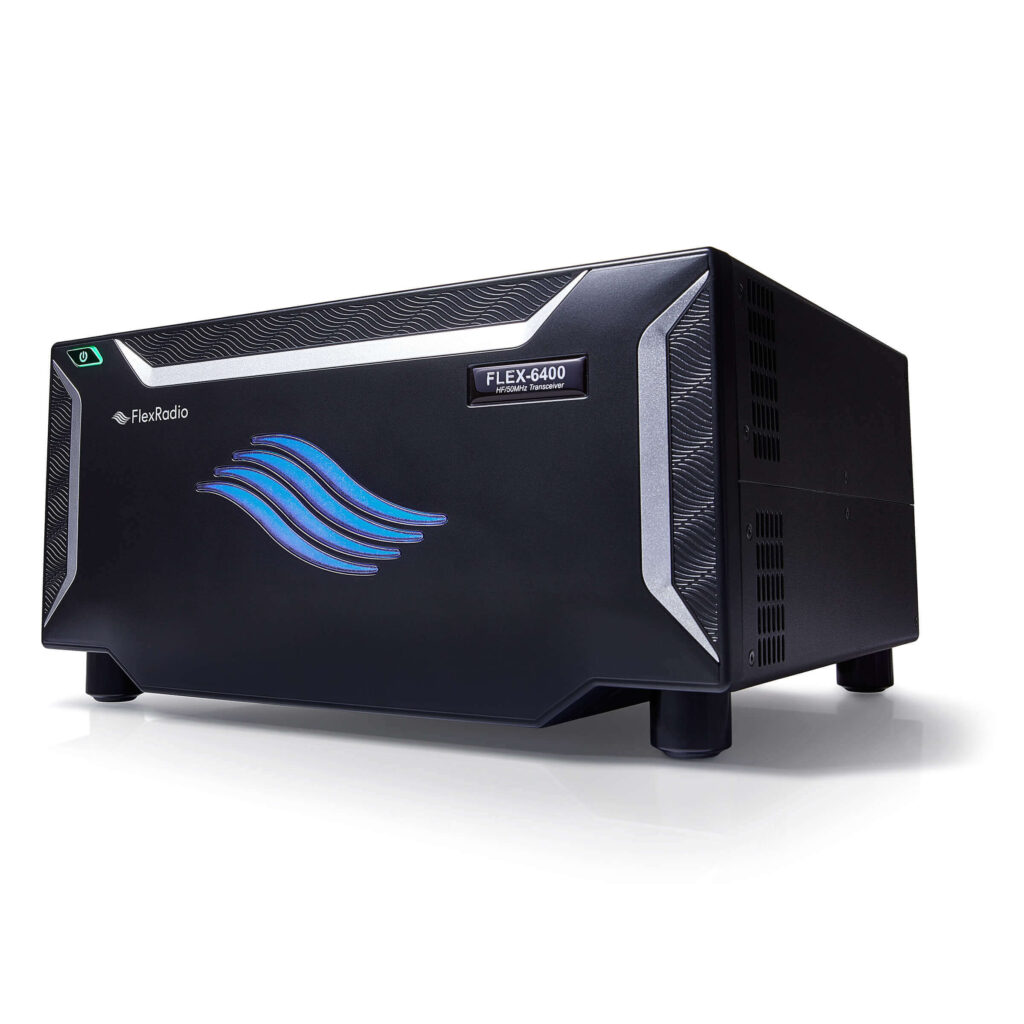
The choice of FlexRadio (FLEX-6400 Signature Series SDR Transceiver) was made with the criteria, apart from useful features, mainly because it has the most complete, at the moment, remote software that does not require the use of a connected computer at the remote location. It also supports SO2R – OTRSP functions for contests and has a variety of programs (supports API) that add additional facilities and integration with other programs such as skimmer, digital modes and others with more important functionality, including FRstack!!
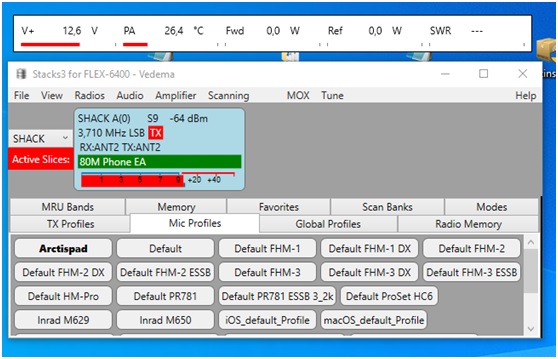
With this application we have the ability to control: flex menus, status overview, SteppIR, SPE or PGXL linear amplifiers and most importantly the most reliable footswitch for SSB contests. Additionally, during a contest it always runs on each PC, so operators can see where the RUN and the S&P station are.
How to and Real world experience…
All well and good, but how is the experience of a remote station with the above equipment? What does the user need?
In addition to providing direct access, the station’s remote accessibility for colleagues had to be provided & controlled, so that we could run a contest together as a team. Something especially important during the lockdown period, where there was no possibility of physically visiting an existing contest station. Additionally, the goal was to also allow participation in smaller contests that we would not normally run as a team physically from a single contest station.
A necessary condition for the above, in addition to the use of the remote transceiver and peripherals, was the network interconnection between the team for use of logging software (Ν1ΜΜ+ in our case) and access to the remote management console. The interconnection is achieved in two ways:
- L2 VPN hardware interconnect. In this case, each user has a VPN router in their possession and it is as if we are all connected to a single local network.
- Interconnection with OPEN VPN client on the central server that also provides local network connectivity.
In practice, the difference between the above two ways of interconnection is that in the first case additional equipment is needed but it provides lower latency (<40msec with a good VDSL line), while with the second case, which is aimed mainly at casual users, additional equipment is not required with the tradeoff of higher latency >80msec.
From a user point of view, the transceiver control program is free for windows, but unfortunately, its use with the best sound card (asio) even locally introduces a delay of about 180msec in relation to the direct output of the radio (recommended only for occasional use or ragchewing QSOs). There is a solution for this but it also costs! Buy a MACbook Pro / MacMini in the best case refurbished and €150 for the purchase of SmartSDR for the MAC. Its performance is remarkable, almost zero latency. Practically latency (delay) is due to the round trip time of the packets reaching both ends of the network (about 40msec) depending on the internet provider, and it should be minimal for CW contests. The above know-how was also used with great success at the station of Leonidas SV2DCD @ J42L in several contests during the middle of quarantine lockdown!
By no means do I recommend nor compare the above type of remote operation, to the unethical use of out-of-country remote stations, and, of remote webSDRs in various parts of the world, which are inappropriately used to work DX using one’s home callsign
Why did we call it Project Vedema?
Vedema (Βεντέμα in Greek): A local expression of Crete which means great fruitfulness of olives. “Ventema” is Latin, in Crete it is used when we have a large successful harvest of olives. So when we moved the tower with the contractor, as soon as he saw the field he said “we have Vedema!!!!”. Since then the name stuck!!!
Is remote operation the future of the hobby?
My personal opinion is that amateur radio is moving towards that direction. Gradually everyone activates their holiday home, their remote getaway, installing a transceiver or even an SDR receiver and a low noise antenna to be able to hear weak signals. The countryside usually means more space for larger antennas, which means better reception. In no case can it be compared to a station that is next to you in the shack and which you have direct physical contact with, but on the other hand, the same applies to the performance advantage you get from the remote location, of course! Here I would say that it is a blessing to be able to have a station somewhere in a quiet remote location, in the village, in the cottage, etc., and to be able to operate it from the city, from work, from anywhere. Even if one does not have an alternative location, it is nice to be able to convert your existing station to a remote one, and have the flexibility to use it from anywhere. By no means do I recommend nor compare the above type of remote operation, to the unethical use of out-of-country remote stations, and, of remote webSDRs in various parts of the world, which are inappropriately used to work DX using one’s home callsign. In conclusion, I would say that remote operation is a double-edged sword, depending on how it is used, it can either be a fantastic tool – a true blessing, or, a harmful curse used against the hobby…
