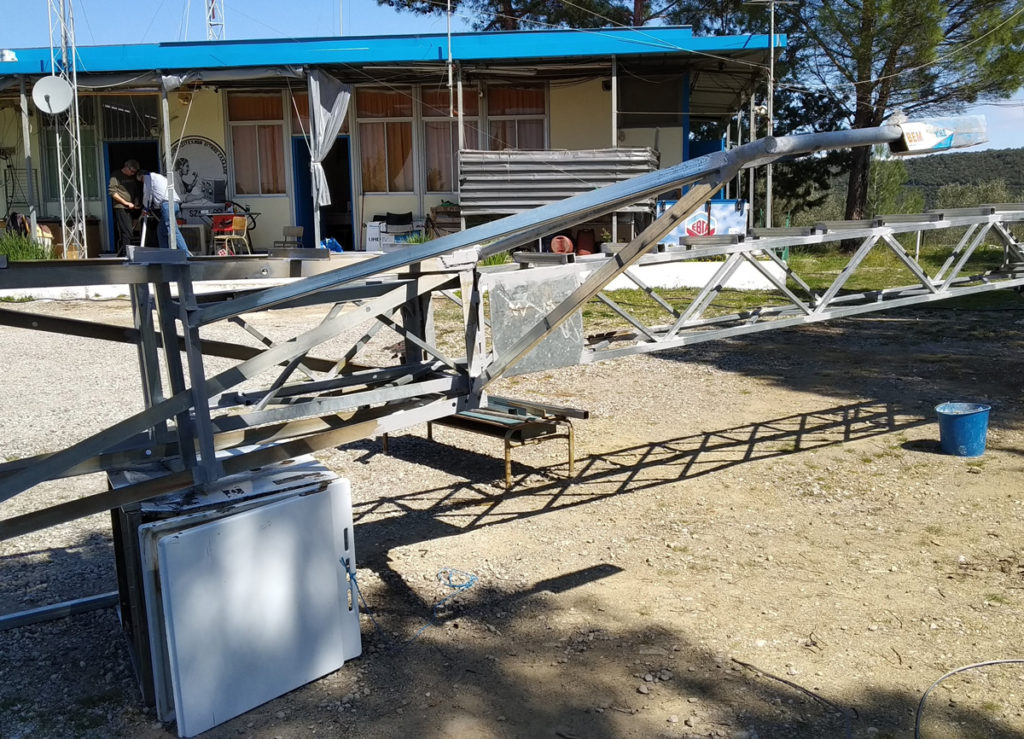
During the last weekend of March 14-15, several tasks were undertaken at SZ1A. The most significant was the installation and fitting of three telescopic tower sections, that were kindly donated by Kostas, SV1DPI, on the 3rd tower, or, otherwise affectionately known as the 40M tower. The upper part of this tower had been broken by the extreme-weather storm Ifaistionas. So, only the lower section of about 11m was left, consisting of 2 pieces of 5.5 meters each. The top section of 5.5m was temporarily removed for the upgrade to take place.
Our dear colleagues Kostas, SV1CQN, and Dimitris, SV1CIB, had mainly undertaken the rigging task, which needed about 3-4 days of work in total to complete. Most of it took place last weekend. The tower’s climbing/maintenance ladder was welded, the 3rd and 2nd sections were fitted, as well as the two telescoping sections.
A heavy-duty mounting bracket was also installed at about 11m height above ground. This will serve as the mounting point for a future beam antenna which will face the opposite direction from the RUN antenna, so that the RUN station can instantly reverse direction.
Also installed was the pully base for the 160M dipole, and an additional pully base that can be used to raise the shunt wire for a 160M shunt fed vertical. We also couldn’t forget about our flag, so we installed a carabineer for it too.
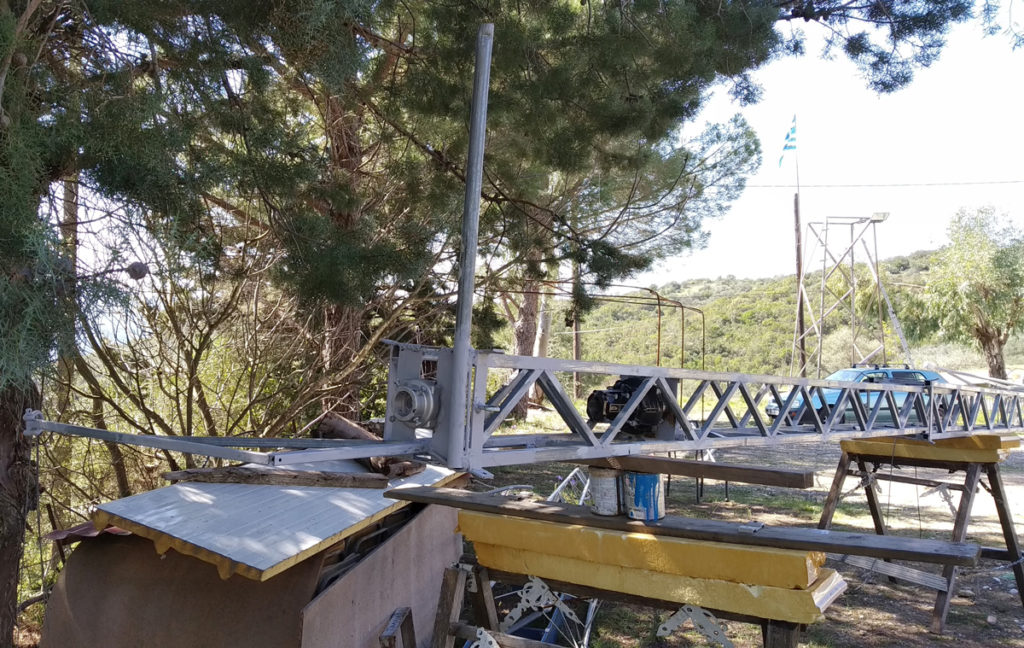
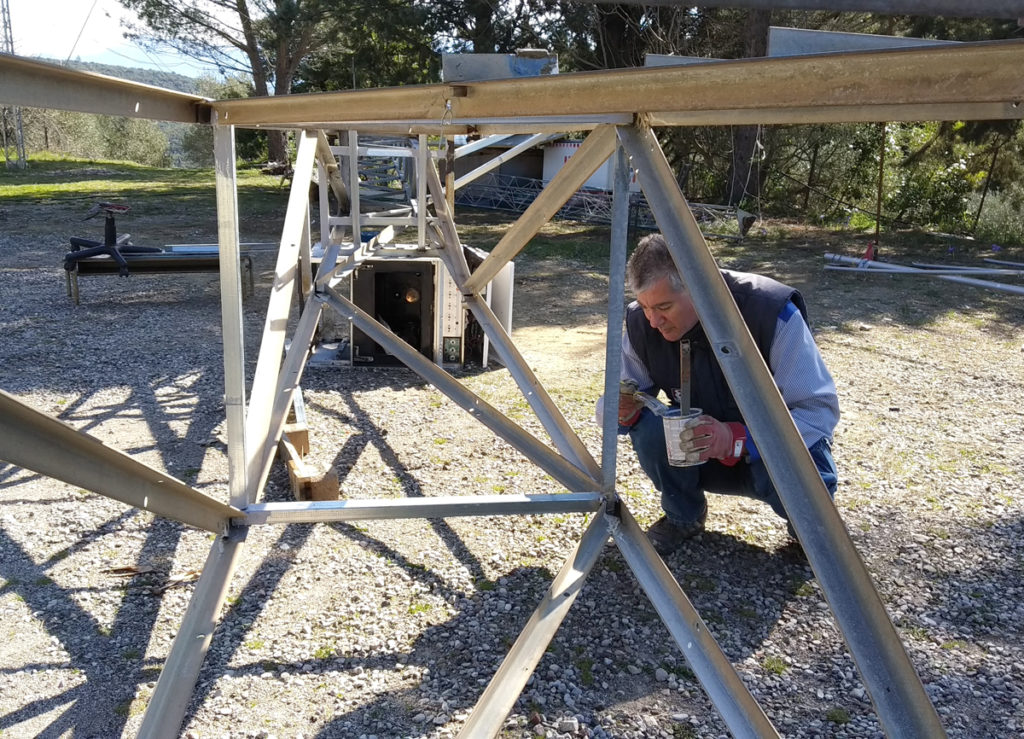
The solder points were coated with galvanizing paint for protection, since the rest of the construction is already galvanized. The tower, after the conversion-upgrade, will be 23m tall and the antenna will be approximately at 24m, a significant improvement from before!
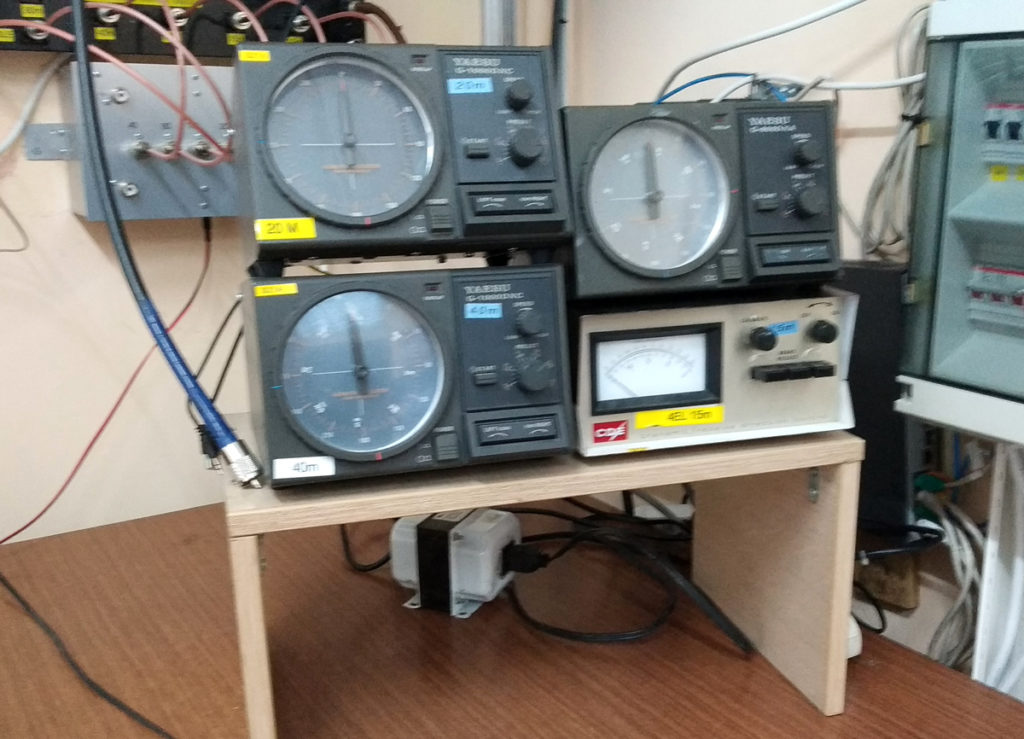
Naturally, more work was done, such as the installation of an Arduino-based rotor remote controller built by George, SV1ELF. With this unit, the completion of which needs only a few minor touches, each rotor will be controlled via the network, directly from logging software.